HyWorks Scheduler and Action Processor Prerequisites
To install HyWorks Scheduler and Action Processor setup on a Windows desktop system, the following prerequisites must be fulfilled:
Hardware Requirements
Accops HyWorks Scheduler and Action Processor can be installed on Windows systems (physical or virtual) with the following minimum configuration:
Minimum Server Configurations:
-
Minimum 4 GB RAM
-
Two (2) vCPUs
-
10 GB of free space on the installation disk for installation, dependencies, and post-installation management files.
Note
Actual server sizing must be derived based on the expected user load and user profiles (e.g., Type of applications, browser instances, etc.).
Where to install HyWorks Scheduler and Action Processor
The HyWorks Scheduler and Action Processor modules should only be installed on the HyWorks Controller.
Supported Operating Systems
As the Scheduler and Action Processor are installed on the HyWorks Controller, the OS support will be the same as that of the HyWorks Controller. Refer to the HyWorks Controller Supporting Platforms section for a list of supported operating systems.
Software Requirements (ASP.NET Core Runtime, .NET Desktop Runtime, Erlang OTP, RabbitMQ)
The following software dependencies must be fulfilled for the installation of Accops HyWorks Scheduler and Action Processor:
ASP.NET Core 8.0 Installation
Official Download Location:
ASP.NET Core Installation Steps:
-
Log in to the server using user credentials that have local administrator privileges.
-
Copy the setup files for aspnetcore-runtime-8.0.0-win-x64. (x64 or x86 based on system architecture).
-
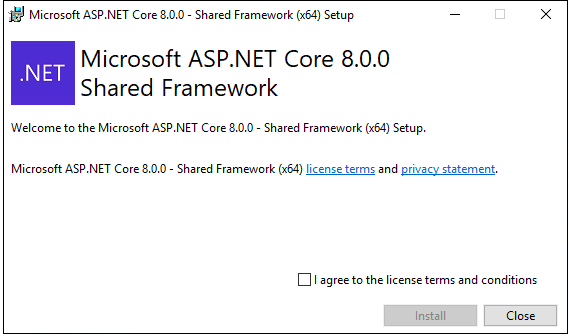
Double-click the setup file aspnetcore-runtime-8.0.0-win-x64.
-
Accept the license terms and conditions and click Install.
-
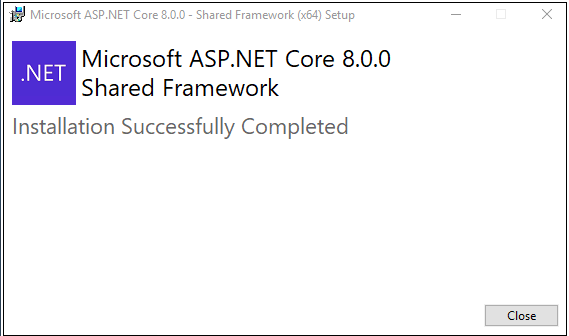
Close the setup wizard once the installation is complete.
.NET Desktop Runtime 8.0 Installation
Official Download Links for Dot Net Windows Desktop Runtime 8.0:
-
Dot Net Windows Runtime x64 Download Location
-
Download as per the system architecture.
Important
The page is having multiple setups and downloadable. Download from section .NET Desktop Runtime 8.0.x. This includes the .NET Runtime and does not need separate installation.
-
.NET Windows Desktop Runtime Installation Steps:
-
Log in to the server using user credentials that have local administrator privileges.
-
Copy the setup files for Microsoft.WindowsDesktop.App 8.0 (x64 or x86 based on system architecture).
-
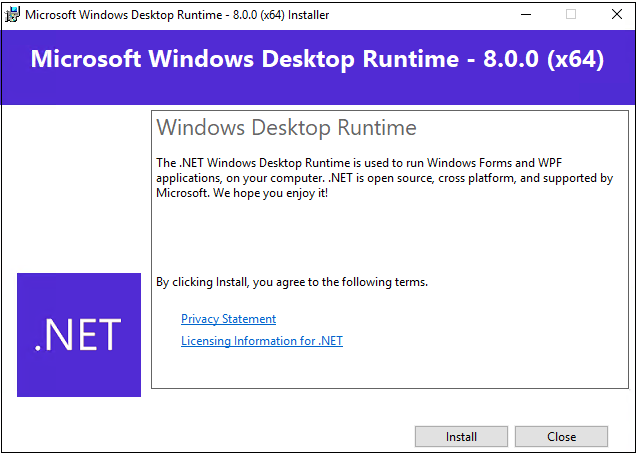
Double-click the setup file windowsdesktop-runtime-8.0-win-x64.exe.
-
Click Install to start the installation.
-
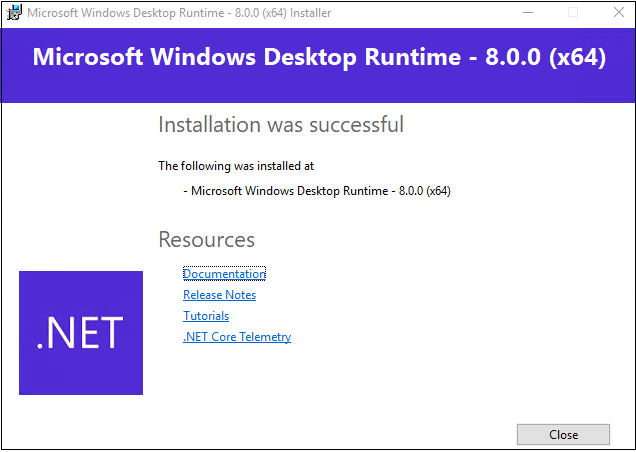
Close the setup wizard once the installation is complete.
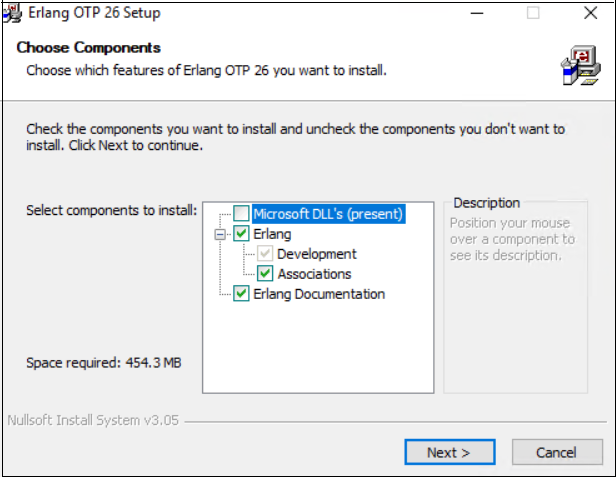
Erlang OTP Installation
Official Download Link for Erlang OTP:
Erlang OTP Installation Steps:
-
Copy the setup file of the downloaded Erlang (OTP) v26.2.X.
-
Log in to the server using user credentials that have local administrator privileges.
-
Double-click the otp_win64_26.2.X.exe, and install with the default selections.
-
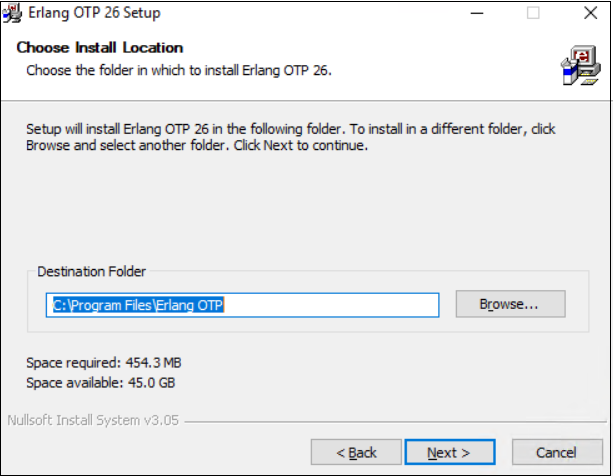
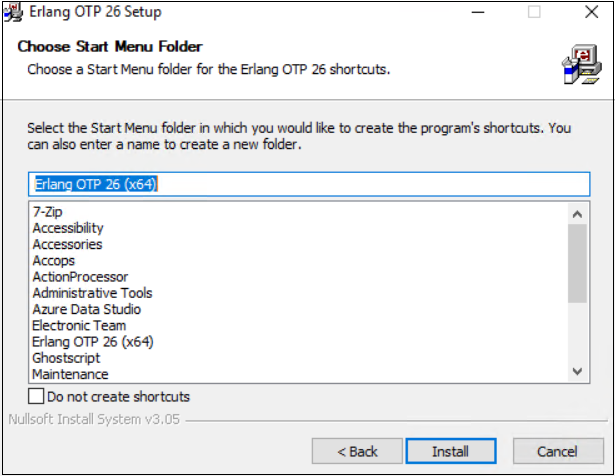
Select the install location for the ErlangOTP and click Next.
-
Click Install to start the installation.
-
Once the installation is complete, click Finish to close the installation wizard of Erlang.
-
Reboot the system if required to complete the Erlang installation process.
Note
The exact version of Erlang (OTP) is required for the installation.
RabbitMQ Installation
RabbitMQ is used in HyWorks by several modules to send, receive, and manage messages to support multiple features, enabling various features, some of which are outlined below:
-
DVM Push: Desktop agents will push session events and heartbeats while the VM Scale Booster (Consumer service) updates the database, thereby reducing overhead on the HyWorks Controller.
-
HA Notify: The HyWorks Controller sends updates regarding the current high availability status, including the active primary server, enabling modules to connect to the appropriate primary server.
-
Scheduler Action and Notification: Scheduler and Action Processor components use message queues to perform scheduled actions and then send notifications to the agents in the sessions.
Note
The exact version of RabbitMQ is required for the installation.
Download Location of RabbitMQ:
RabbitMQ Installation Steps:
-
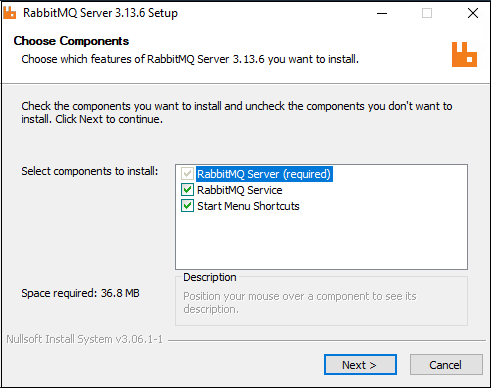
Copy the setup file of the downloaded RabbitMQ server module v3.13.X.
-
Log in to the server using user credentials that have local administrator privileges.
-
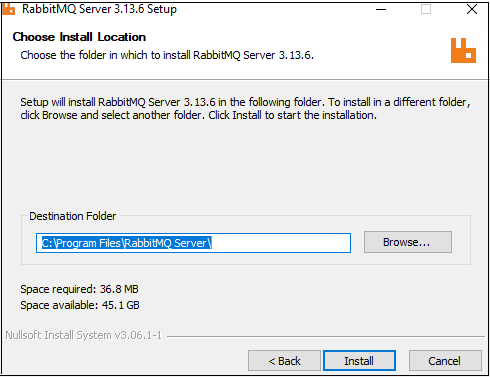
Double-click the rabbitmq-server-3.13.X.exe and proceed with the installation.
-
Select the install location folder and click Next.
-
Once the installation is complete, confirm that the RabbitMQ service is installed properly and running.
-
At this point, RabbitMQ, with its prerequisite Erlang OTP, will be ready.
-
The next step is to configure the RabbitMQ service to enable it for other Accops modules such as VM Scale Booster, Scheduler, or Action Processor.
-
Basic Configuration: To configure the basic RabbitMQ server, follow the RabbitMQ Server Configuration steps.
-
Advanced Configuration: To perform the advanced configurations like enabling SSL, changing the default port, upgrading, and high-availability, refer to the RabbitMQ Advanced Configurations section.
-
RabbitMQ Configurations
RabbitMQ is used in HyWorks by multiple modules to send, receive, and manage messages to support multiple features, some of which are mentioned below:
-
DVM Push: Desktop agents will push the session events and heartbeat and VM Scale Booster (Consumer service) pushes the updates to the database and thus reducing overhead on the HyWorks Controller.
-
HA Notify: HyWorks Controllers push the updates about current HA status e.g., current primary server and thus modules reading this can connect to correct primary server.
-
Schedule Action and Notification: Scheduler, Action Processor components use message queues for performing scheduled actions and then send notifications to agents in the sessions.
Understanding the importance of RabbitMQ in HyWorks deployments, this section will provide detailed information on RabbitMQ configurations(assuming installation is already completed):
RabbitMQ Server Configuration
RabbitMQ settings require modification after installation. A configuration script is provided and needed to execute the following necessary tasks:
-
Create a user in RabbitMQ: This user account will be configured in RabbitMQ to communicate with RabbitMQ from external hosts. A default user will not be allowed to connect other than localhost.
-
Set the Erlang cookie so that the RabbitMQ command works correctly.
-
Configuring some plugins and timestamp settings.
Steps to run RabbitMQ Configuration Script:
Follow the steps below to configure the RabbitMQ server for use with HyWorks components:
-
Log in to the server using user credentials that have administrator privileges.
-
Make sure the exact versions of Erlang OTP (Prerequisite for RabbitMQ) and RabbitMQ are already installed on the server.
-
Make sure that the RabbitMQ service is running after the installation is complete.
-
Run the ConfigureRabbitMQ.bat with admin privileges. Refer to this download link of the Configuration Script for RabbitMQ v3.13.
-
It will ask you to enter the username and password to configure RabbitMQ.
-
Enter the username and password, and remember these details. This information needs to be configured in the HyWorks components that use RabbitMQ.
-
-
RabbitMQ is ready to be configured into the Accops HyWorks Controller and other components.
-
This is a non-SSL configuration on port 5672.
-
Refer to the RabbitMQ Advance Configurations section to configure RabbitMQ for SSL communication.
-