HyWorks Client on Hy3020 device (Thin-Client Mode)
HyDesk Hy3020
HyDesk Hy3020 is an Accops device that can be used in Full Desktop mode to support local computing. It is configured in KIOSK (zero client) mode. The HyDesk Hy3020 has a Windows 7 Embedded OS running with a default login configured for an in-built non-admin Users.
HyWorks Client, when installed in a Thin-Client mode, converts the embedded Windows 7 desktops to restricted Thin-Clients and enables KIOSK mode and write filters.
Install HyWorks Client in Thin-Client mode
-
Log in to the system with local administrator privileges.
-
Copy the HyWorks Client for Windows.
-
Double-click the setup file to invoke the installer.
-
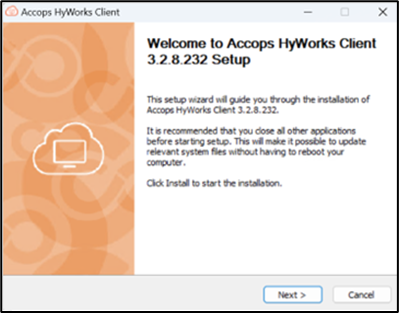
Click Next on the welcome screen.
-
Accept the agreement to proceed.
-
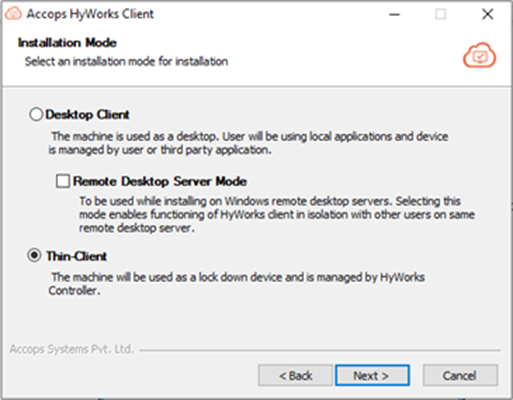
On the Installation Mode screen, select the Thin-Client and click Next.
-
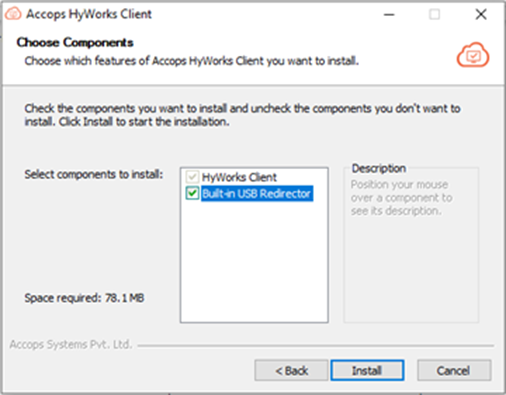
On the Components selection screen, make sure HyWorks Client is selected and select Built-in USB Redirector to enable USB redirection.
-
Click Install to proceed.
-
Once complete, click Finish.
Common Configuration
Refer to the Windows Client section for:
-
First Time Configuration
-
Different Controls and Usage
-
Before Logon
-
Post Logon
-
Printing Options
Device Level Configuration on HyDesk Hy3020
Join Hy3020 to Domain
-
Log in as Admin user: Users must log in using local admin user credentials before installing software or configuring changes.
-
Turn off the Volume Protection of the Hy3020 system: Disable Volume Protection once logged in successfully using the local admin account. Refer to section: Write Filter Changes.
Note: Failing to disable Volume Protection before making any changes will result in losing all configurations after the device reboot. Thus, the administrator must disable the volume protection before making any changes to the device.
-
Open the system by clicking the Start button, right-click Computer, and then click Properties.
-
Under Computer name, Domain, and Workgroup settings, click Change settings. If you're prompted for an administrator password or confirmation, type the password, or provide confirmation.
-
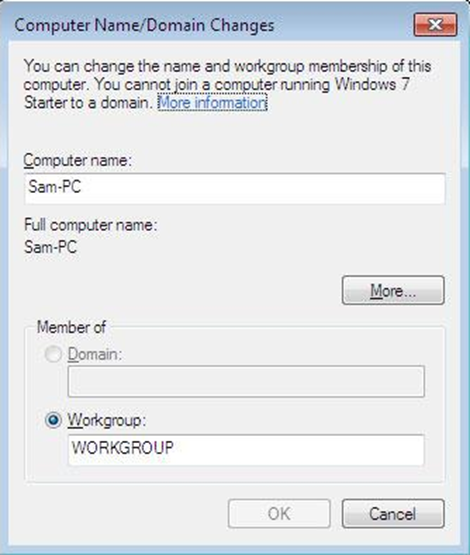
Click the Computer Name tab, and then click Change. Alternatively, click Network ID to use the Join a Domain or Workgroup Wizard to automate connecting to a domain and creating a domain user account on your computer.
-
Under Member of, click Domain.
-
Type the Domain name you want to join, and then click OK. You will be asked to type your username and password for the domain. You will be prompted to restart your computer once you successfully join the domain. It's best to restart your computer before the changes take effect.
Configure Specific User for Auto-Login after Reboot
Admin can configure a user account which will be used for auto-login after the device reboots. Admin should follow the following steps for configuring the account for auto-login:
-
Login as an Admin user: Before installing any software or configuring changes, the user must log in using the local admin user.
-
Turn off the Volume Protection of the Hy3020 system: Once logged in successfully using the local admin account, disable the Volume Protection Refer to section: Write Filter Changes**.
Note
Failing to disable volume protection before making any changes will result in losing all configurations after the device reboot. Thus, the administrator must disable the volume protection before making any changes to the device.
-
Open the Run window by pressing the key combination Win+R.
-
In the Run window, type the regedit command and press Enter.
-
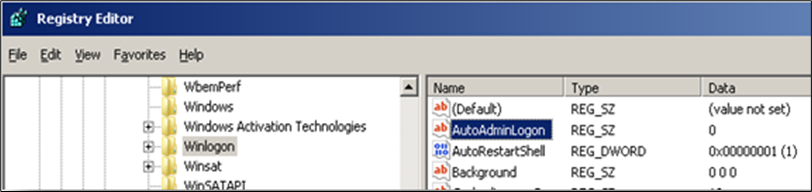
In the Registry Editor, locate the following entry - HKEY_LOCAL_MACHINE\SOFTWARE\Microsoft\Windows NT\CurrentVersion\Winlogon.
-
Change the AutoAdminLogon entry to 1 (If it is zero).
-
If the machine is in the domain and you want to configure domain user auto-login, find the DefaultDomainName registry entry and input your domain name in Value date. (if the DefaultDomainName registry does not exist, then create a new registry (right-click> new >String Value to add it).
-
Locate the DefaultUserName registry and modify it with the desired username.
-
Add a new String Value registry and name it as Defaultpassword, then set it to the appropriate password at the value field.
-
Restart the device; it should log in automatically with the configured user.
Write Filter
Write Filter programs protect HyDesk Hy3020 volumes by disabling writing on it. However, managing Hy3020, it may require uninstalling existing programs, installing new programs, or changing system configurations, and to achieve these, the Volume Protection must be disabled.
Types of Write Filters:
- **Enhance Write Filter**: Locks the whole drive

- **File-based Write Filter**: Allows to add exceptions at the folder/file level
Enhanced Write Filter (EWF)
EWF is installed and enabled by default on Hy3020 devices.
Disable Write Protection
To disable, Volume Protection on Hy3020, follow the below mentioned steps:
-
Login with Admin user.
-
Navigate to Control Panel.
-
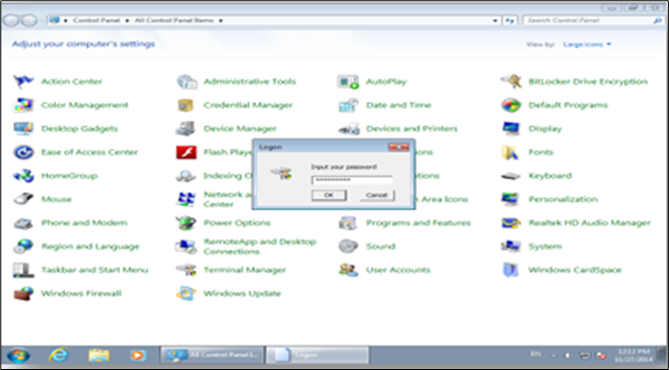
Open the Terminal Manager from All Control Panel items, and when asked for a password, provide an appropriate password.
-
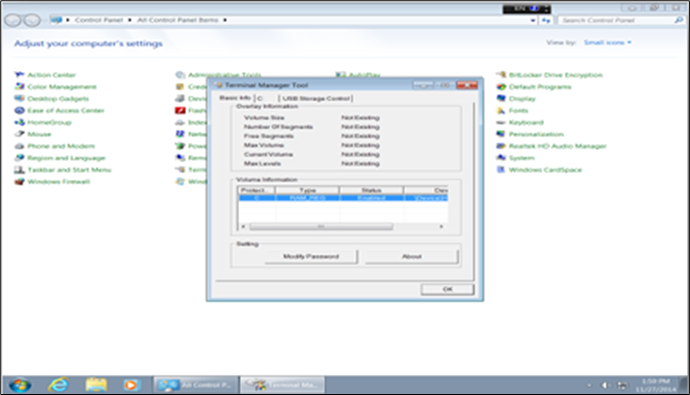
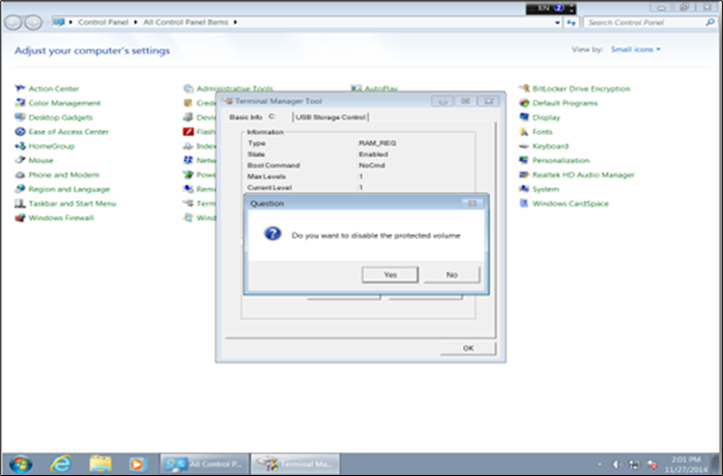
In the Terminal Manager window, navigate to the 2nd tab (Shown with the Volume name, e.g., C: in the screenshot below)
-
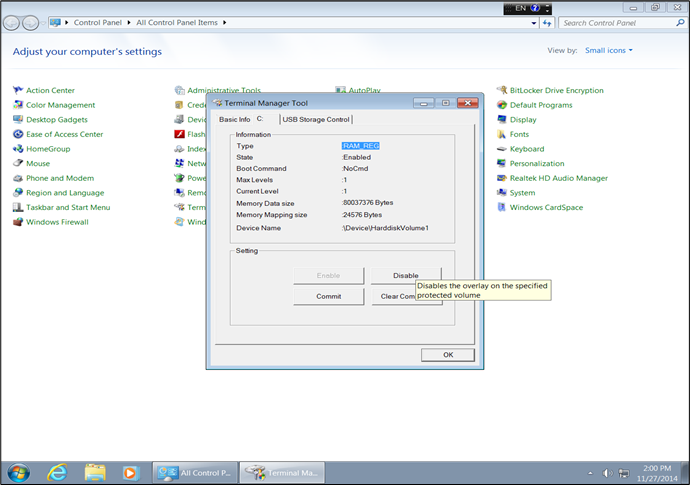
It will display the information regarding the current state of Volume Protection and buttons for altering the settings.
-
Click the Disable button to disable the Volume Protection, and confirm the operation by clicking the Yes button on the confirmation window.
-
Confirm the operation by clicking the Yes button on the second confirmation window for the Commit operation.
Enable/Disable USB Storage Control
Follow the below steps to enable/disable USB Storage control:
-
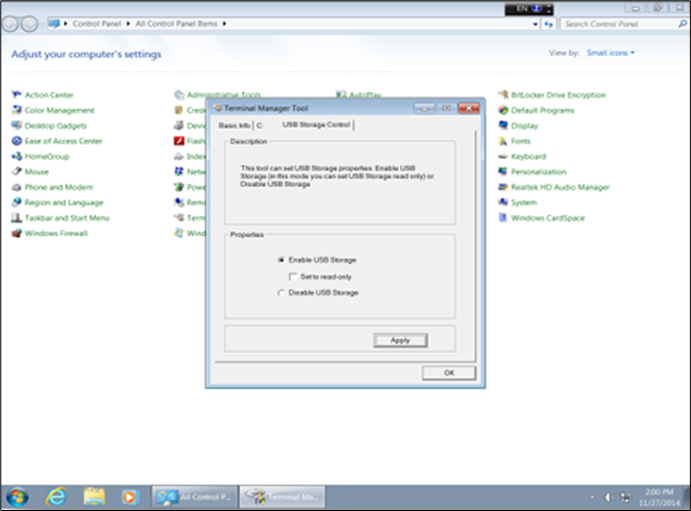
Go to the USB Storage Control tab in the Terminal Manager window and make necessary changes (Enable/ Disable USB Storage)
- This should be enabled to support the USB redirection using the SEP utility.
-
Click OK to complete the setting and confirm the system reboot operation by clicking Yes on the confirmation window.
File-Based Write Filter (FBWF)
With HyWorks v 3.2.0.8564, HyDesk Hy3020 devices will be installed with the Admin Tab utility, a file-based Write Filter.
Accessing Admin Tab
To make any configurational changes, the Admin Tab utility must be initialized. Once installed with the HyWorks Client setup, a shortcut for the Admin Tab utility is created on the desktop of the Admin user.
Double-clicking on it will open the Admin Tab utility, it provides the following options to the administrator:
-
File Protection
-
Page Lock
The section below will provide details for these operations:
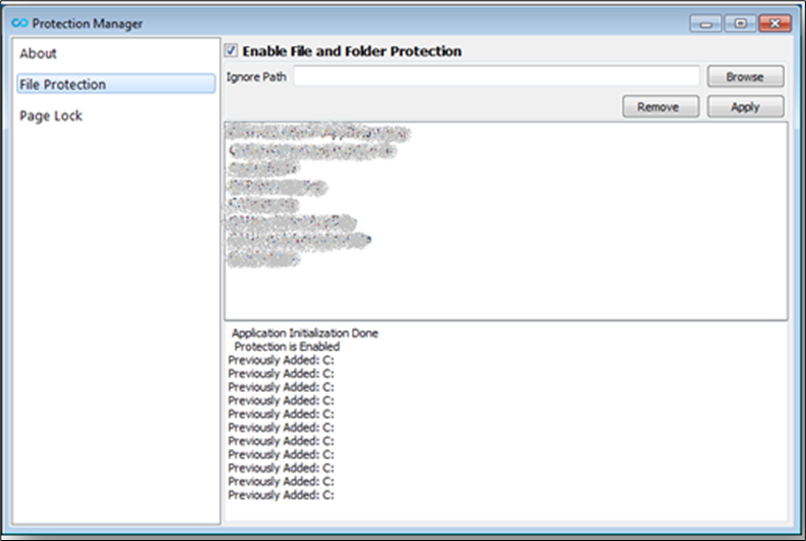
File protection
File Protection is used for locking all drives; it is enabled by default, and a few required paths are added to the exceptions list.
Once excluded from write protection, the directories can be used for writing new files. The entire drive is write-protected except for the folders inside the excluded list.
If the file protection is disabled, writing anywhere inside the disc is possible.
Enable/Disable File Protection
To turn On/Off file protections:
-
Open Admin Tab utility.
-
Provide an appropriate password (Contact Accops Support to get the default password).
-
Click Login.
-
Go to the File Protection tab.
-
Select the checkbox Enable file and folder protection to enable the File Protection or deselect it to disable the file protection.
-
A reboot is required for desired changes to take place.
Add folders to the Exceptions list
To add a folder or file to exclude the list:
-
Open Admin Tab utility.
-
Click on the Browse button, navigate to the intended directory to be excluded from file protection, and click Select Folder.
-
After the desired folders are added, click on the Apply button.
-
Reboot the device to apply changes.
-
Selected directories will be added to the exception list. The changes in these directories will persist over the device reboot exclude list and it will be possible to write into these folders.
Remove Folder from exclude list
-
Open Admin Tab utility
-
To remove a folder from the exclude list select the intended folder from the list. Click on the Remove button and, click Apply.
-
Reboot the device to apply changes.
-
Removed directories will now be file protected and any changes made in those directories will get wiped out after reboot.
Page Lock
Page lock feature in Admin Tab utility helps configure Lockdown settings on Hy3020 device, which helps in limiting user’s access.
Page lock controls the options; to be displayed when Ctrl+Alt+Del is pressed. By default, nothing is disabled.
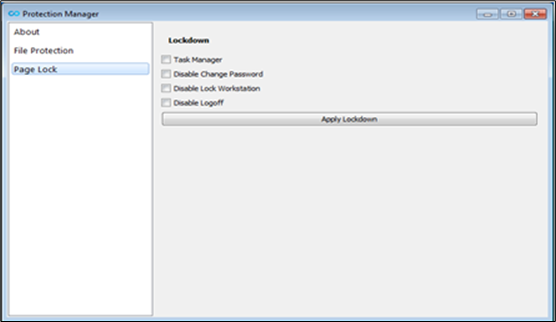
Lockdown provides the following four parameters:
-
Task manager
-
Disable change password
-
Disable Lock Workstation
-
Disable Logoff
Upon selecting the checkbox for the particular setting and clicking Apply Lockdown will disable that control for the user.