Installation on Azure
Prerequisites
- Existing or New Tenant in Azure
- Global Azure Admin Access
- Role : Owner
- HySecure VHD Installer:
- Download Link : https://propalmsnetwork-my.sharepoint.com/:u:/g/personal/support_accops_com/EXFfSEwqOk9Ns0pe0W791YwB3OSZp5HHPT9KUsCpxmJCwA?e=ESUY45
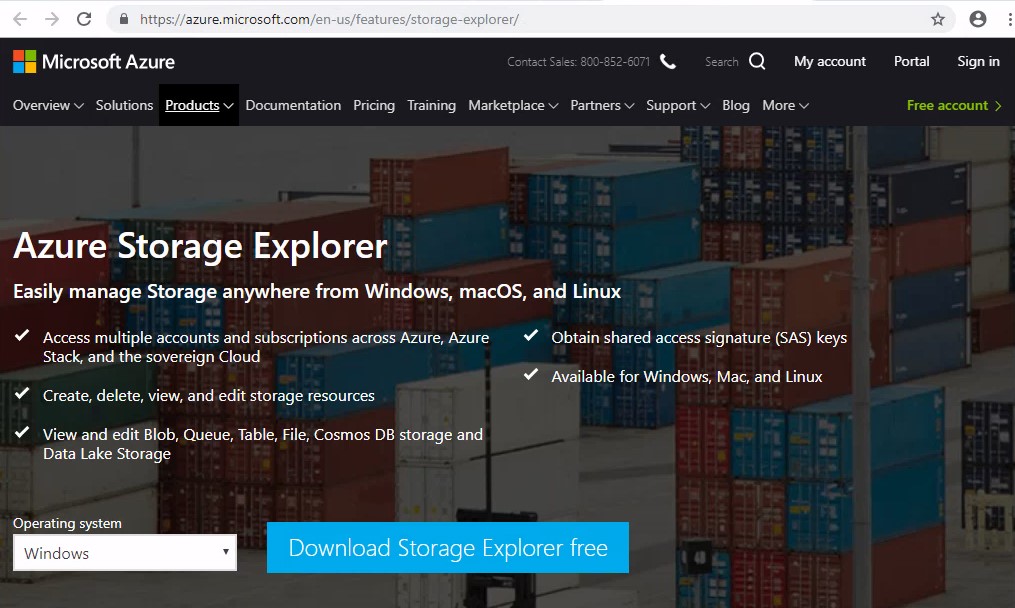
- Microsoft Azure Storage Explorer Installer:
- Download Link : https://azure.microsoft.com/en-in/features/storage-explorer/
- 7zip utility
- putty
Steps
- Upload HySecure VHD to Azure portal
- Prepare VM from uploaded VHD
- Configure network
Step 1 Upload HySecure VHD to Azure Portal
-
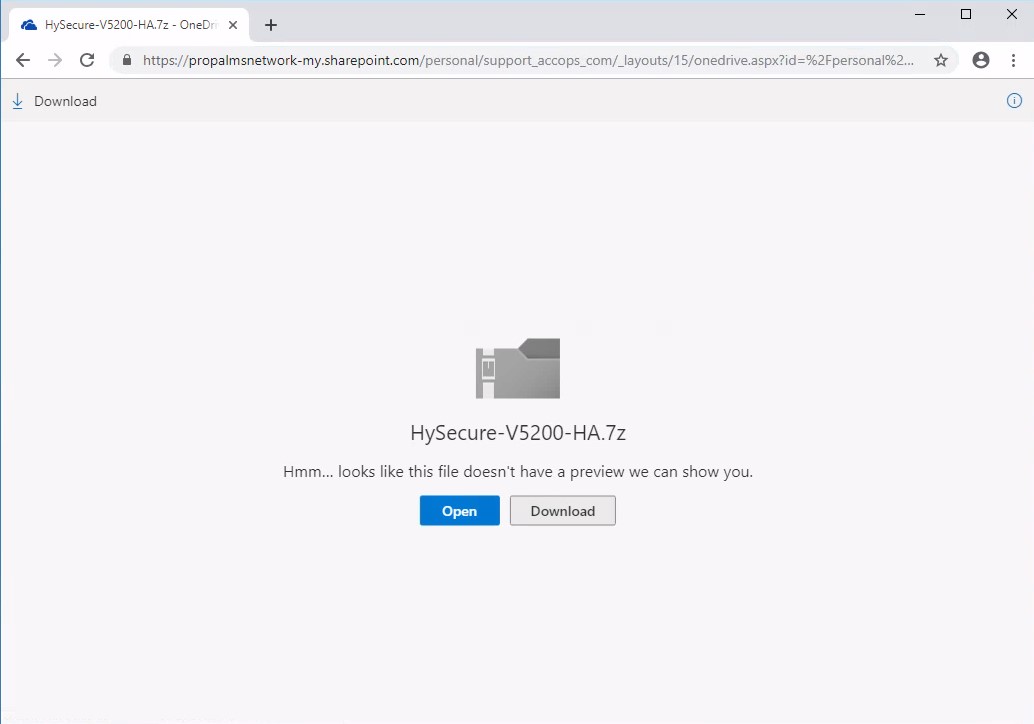
Download HySecure VHD
-
Download 7zip and putty from the internet if not installed in the machine.
-
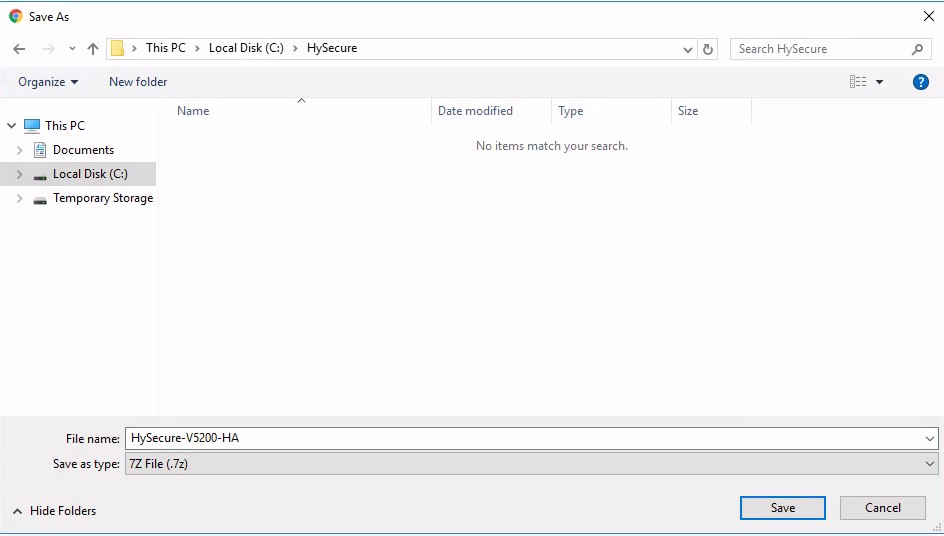
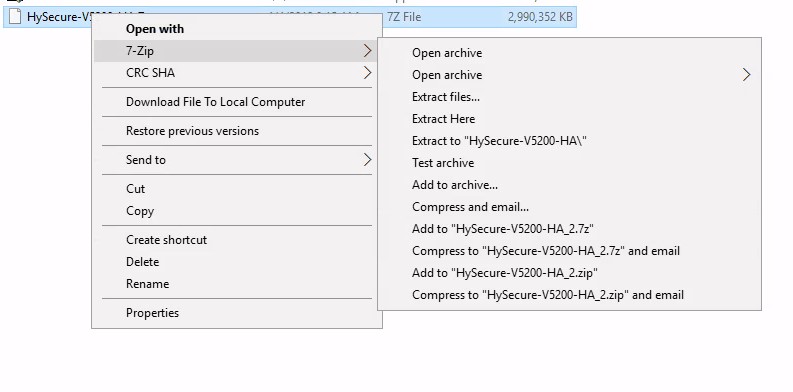
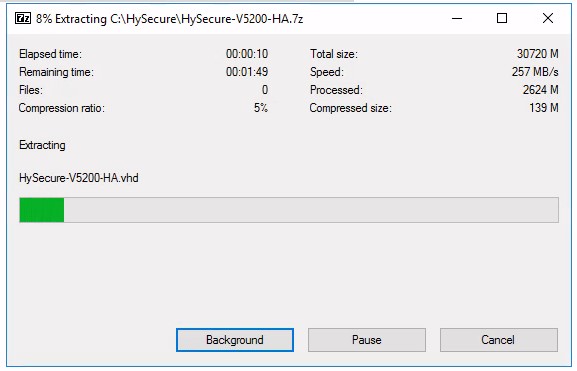
Unzip the HySecure VHD file and extract to "HySecure-V5200-HA"
-
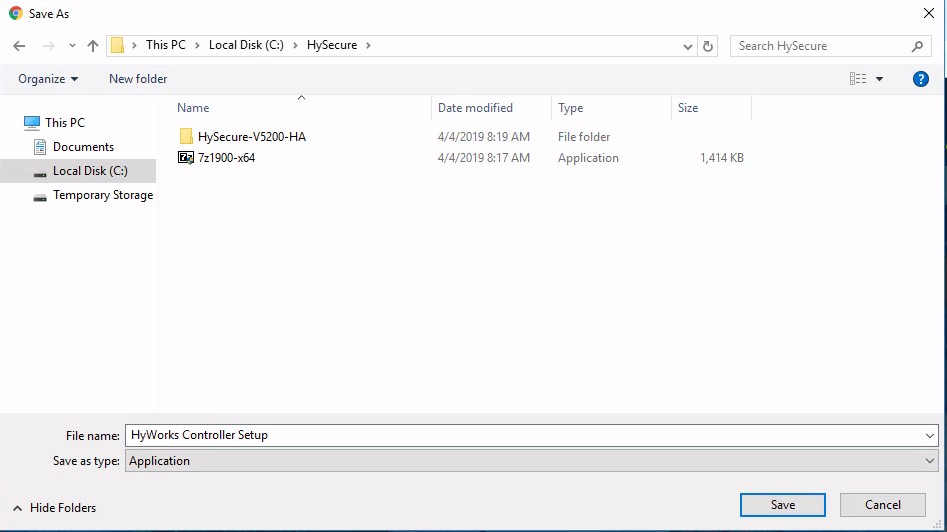
Download Microsoft Azure Storage Explorer from provided link and save the file
-
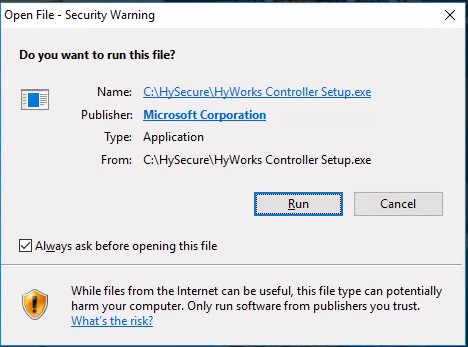
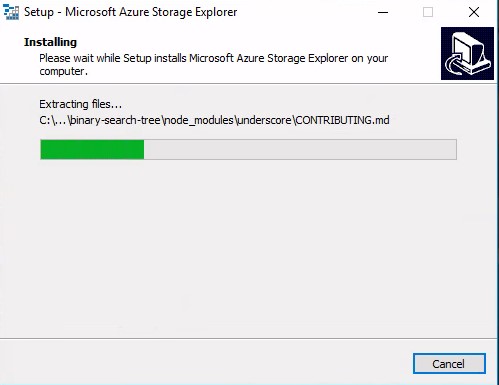
Open saved file and run it
-
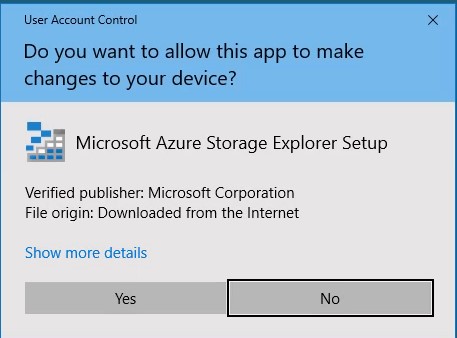
Allow the application to make changes in your machine
-
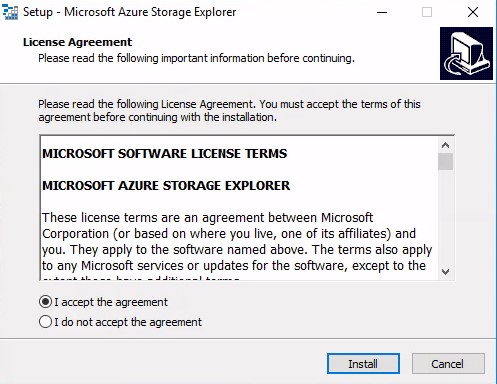
Accept the License
-
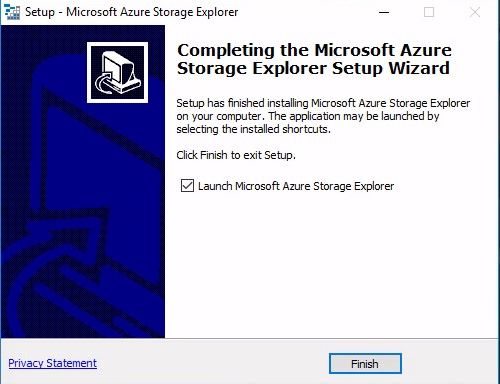
Click Finish to exit the setup
-
Microsoft Azure storage Explorer will launch
-
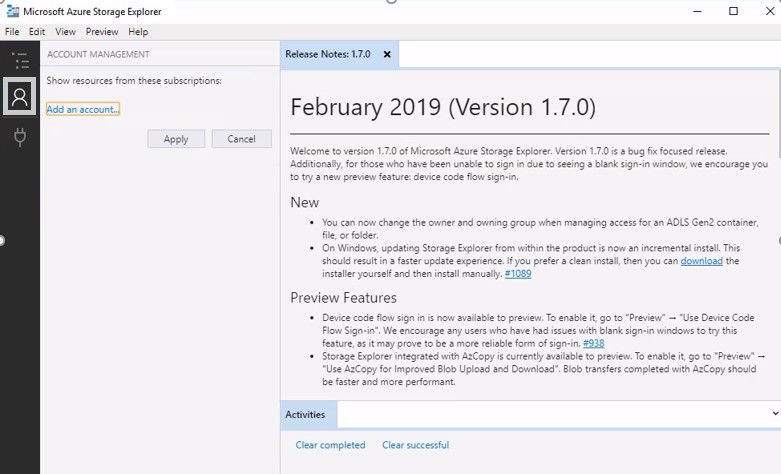
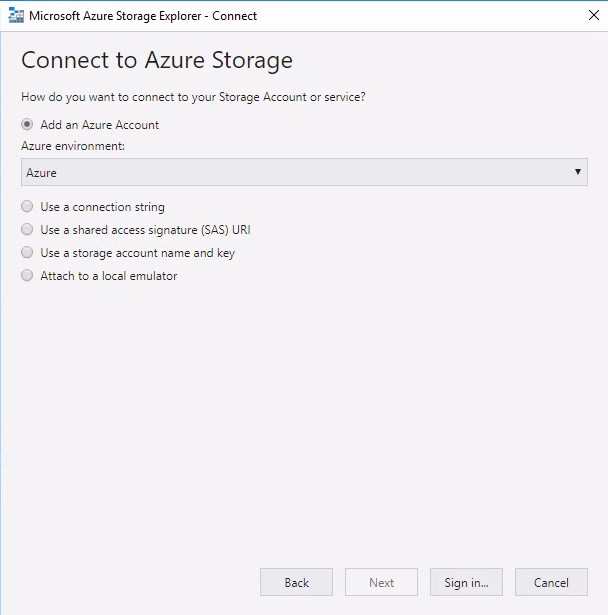
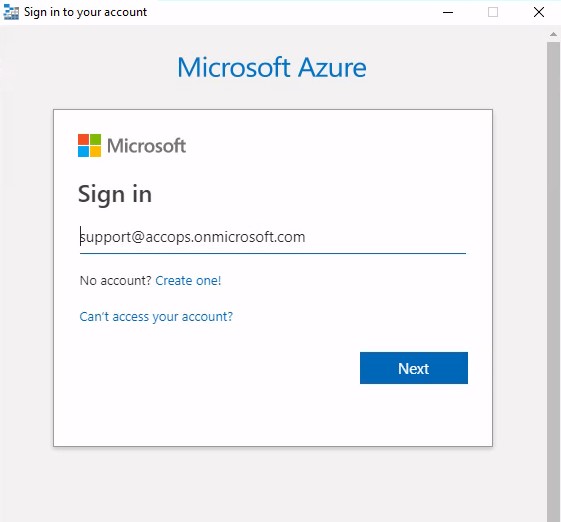
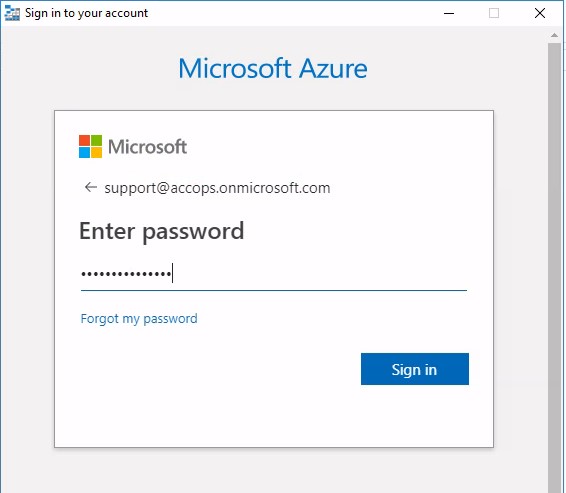
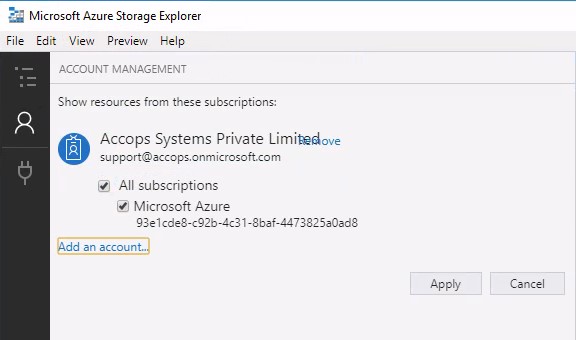
Go to Account Management > Add an account. Click Sign in and follow the onscreen steps to login to your azure account.
-
Choose the required subscription and click Apply
-
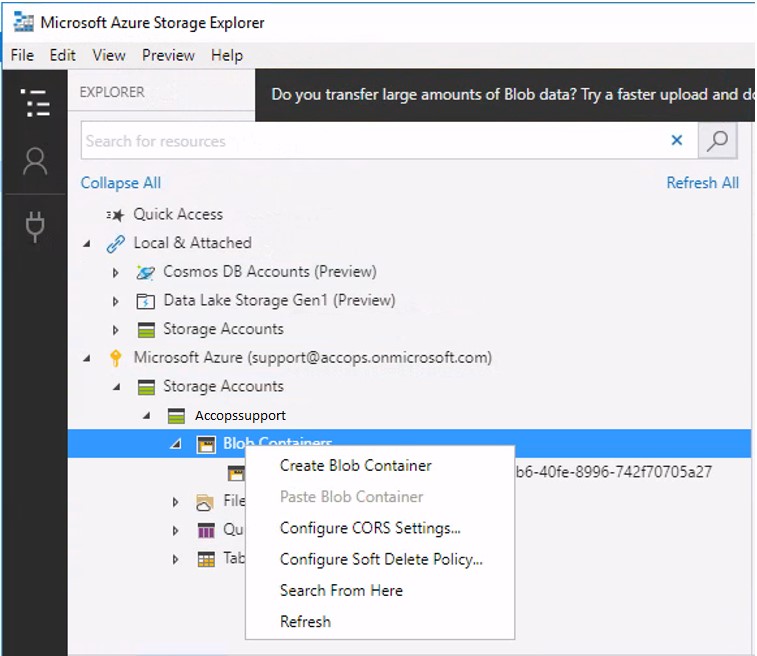
Go to Microsoft Azure > Storage Accounts
- Select the Storage account. If you do not have account, create an account.
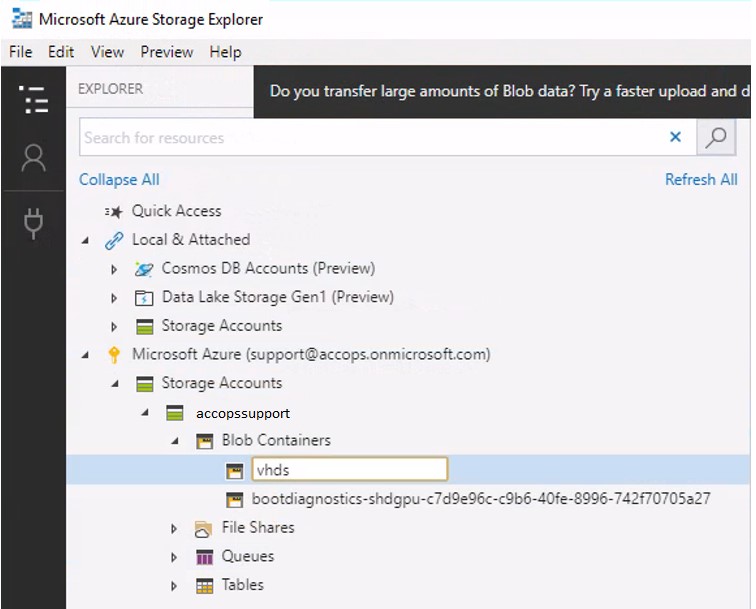
- Select Blob. If you do not have Blob, right click Blob Container and create a new Blob.
-
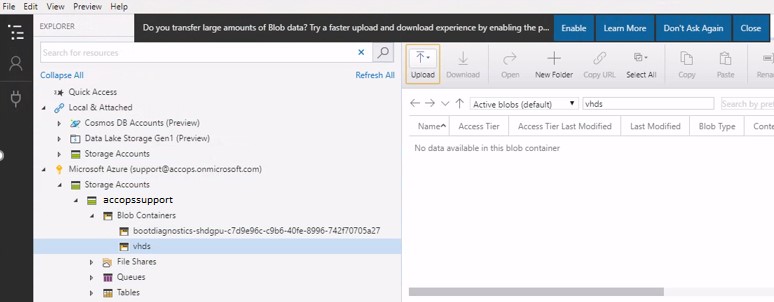
Click Upload > Upload Files

a. Select HySecure VHD file location in files. Give name of the folder if you want to create a new folder. Click Upload.
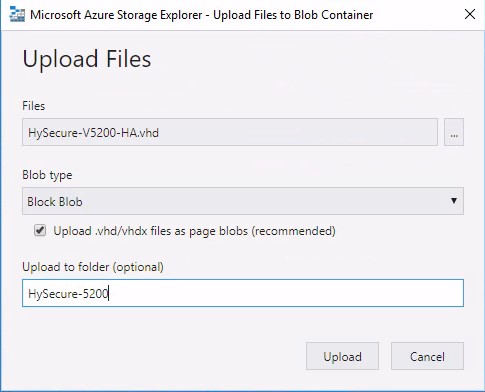

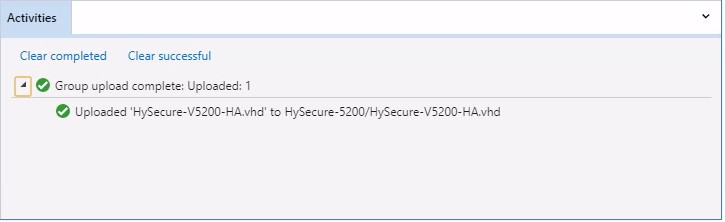
b. Green tick besides the file indicates that file is uploaded successfully.
Step 2 Prepare VM from uploaded VHD
-
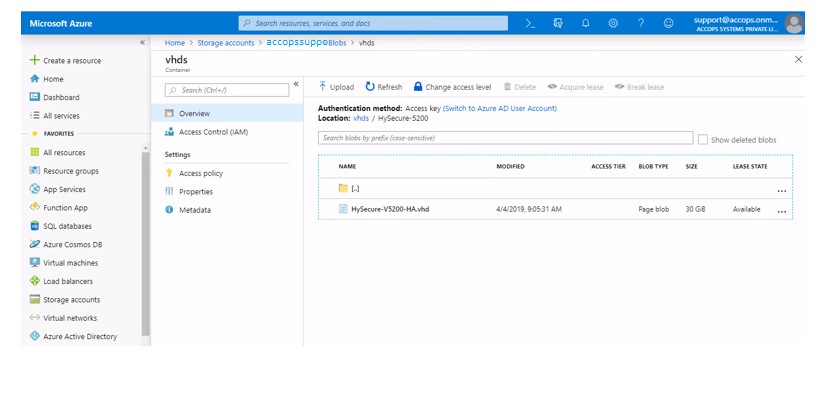
Sign in into Azure portal
-
Refresh the page and make sure HySecure VHD is uploaded
-
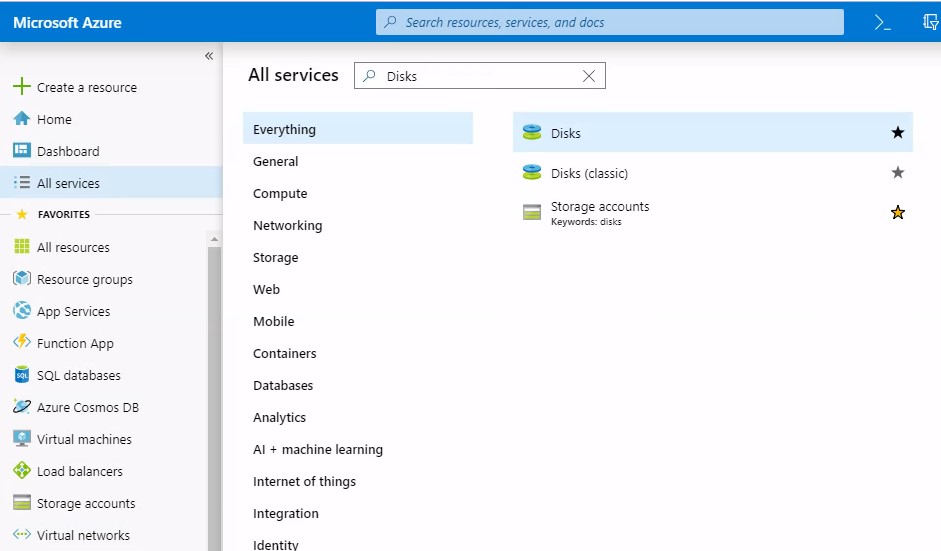
Go to All Services and search for Disks. Click Disks
-
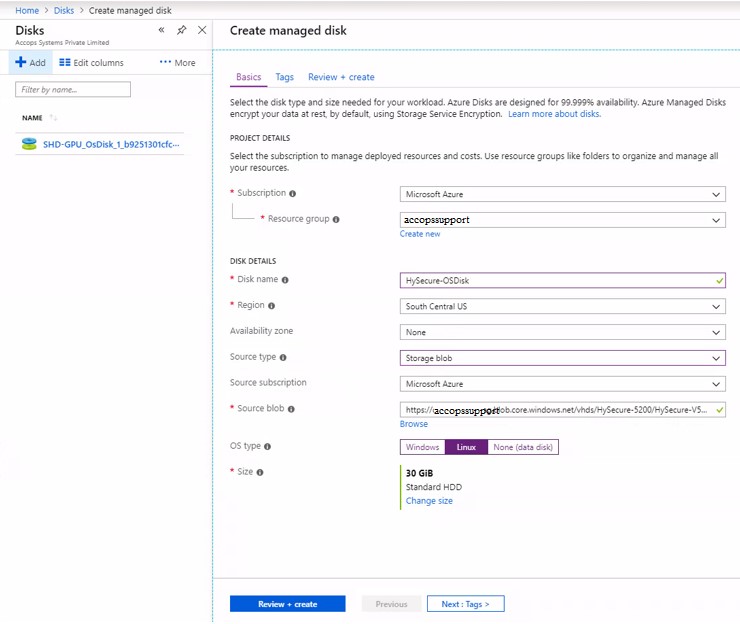
Click Add to create new managed disk
- Subscription is populated automatically
- Select Resource group
- Provide Disk Name
- Select Region in which you want to give access to this Disk.
- Select None for Availability zone
- Select Storage blob for Source type
- Source subscription is populated automatically
- In Source blob provide the path of uploaded vhd
- In OS type select Linux
- Set Size as Standard HDD and 30GB
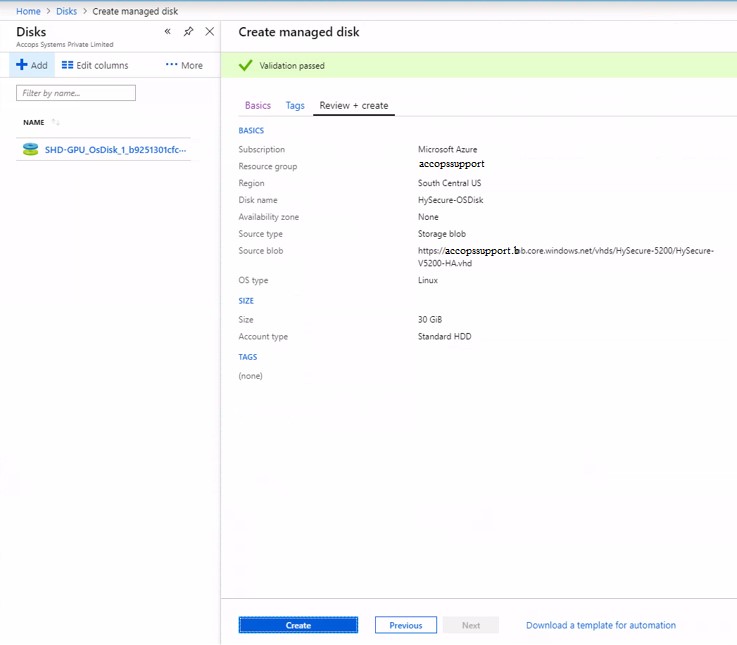
- Click Review+Create
-
Click Create
-
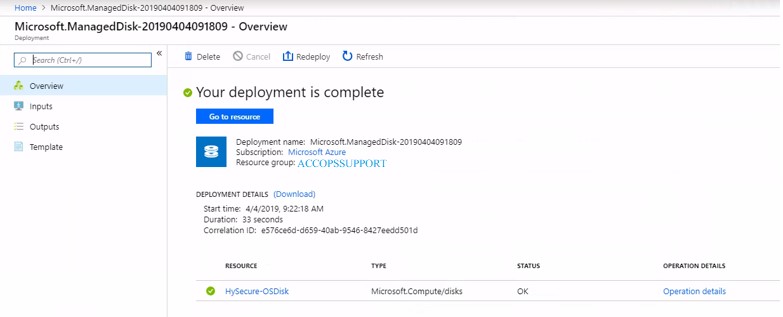
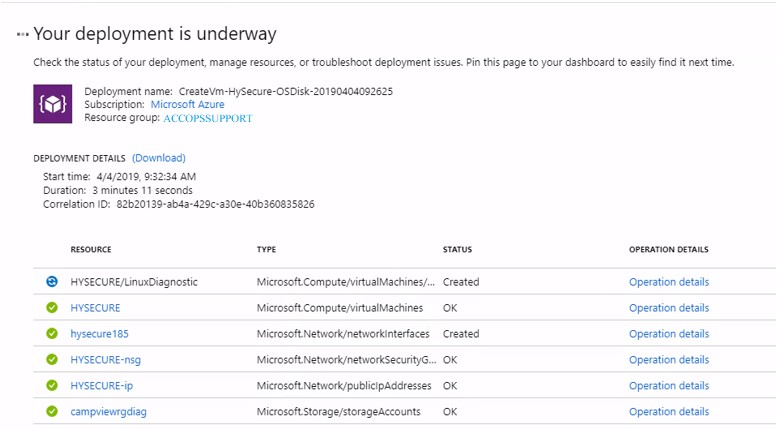
This completes the deployment
-
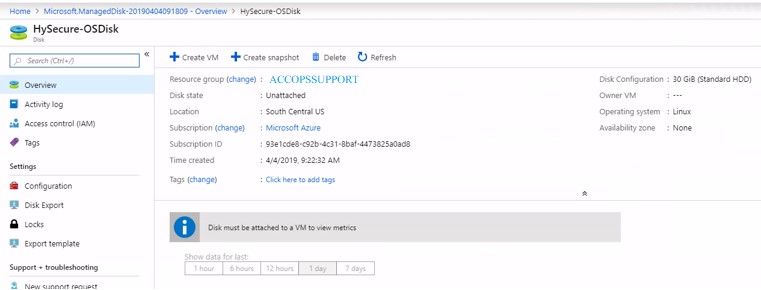
Click HySecure Disk created in above step.
-
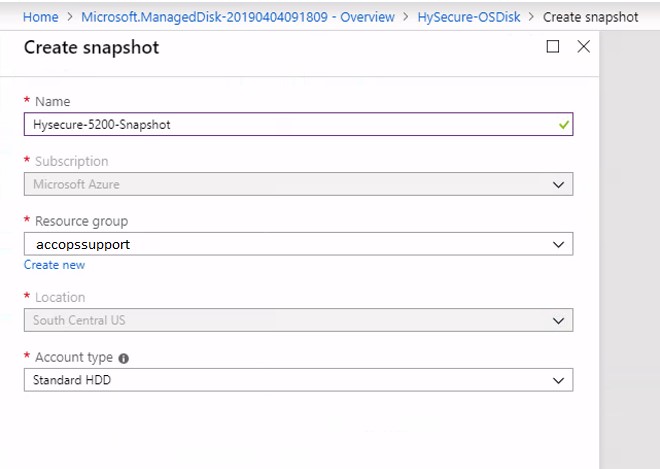
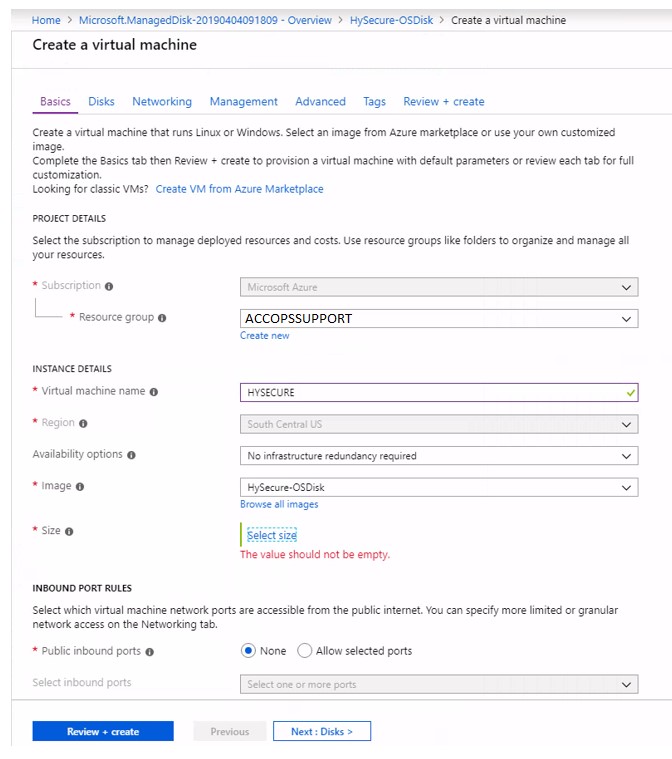
To create snaphot, click Create Snapshot > Create. To create VM, Create VM. Configure the required parameters.
-
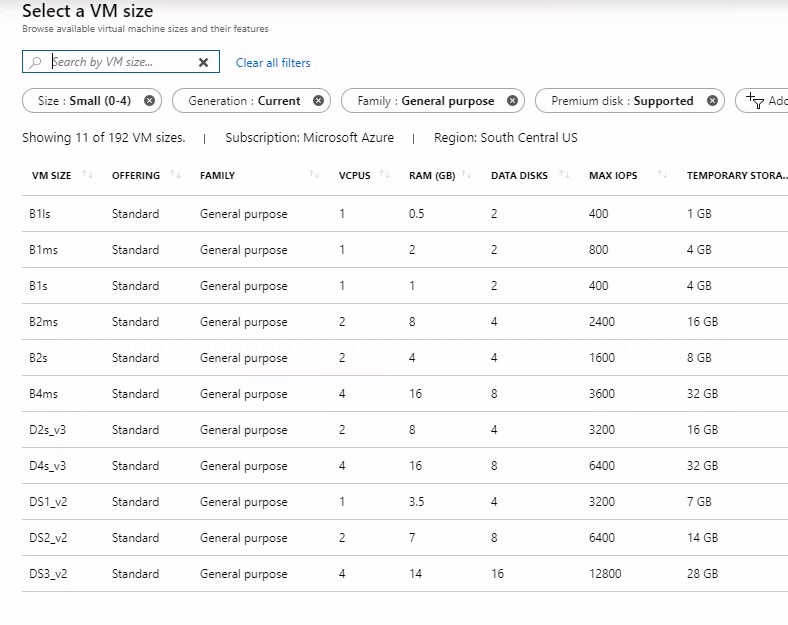
Selected sizing based on the requirements
-
Selected Option Detail

-
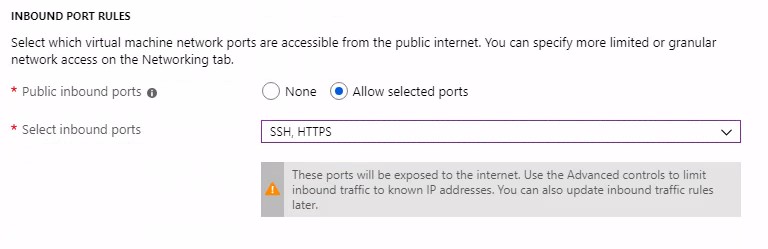
Set HTTPS and SSH as Public inbound ports. These ports will be allowed.
-
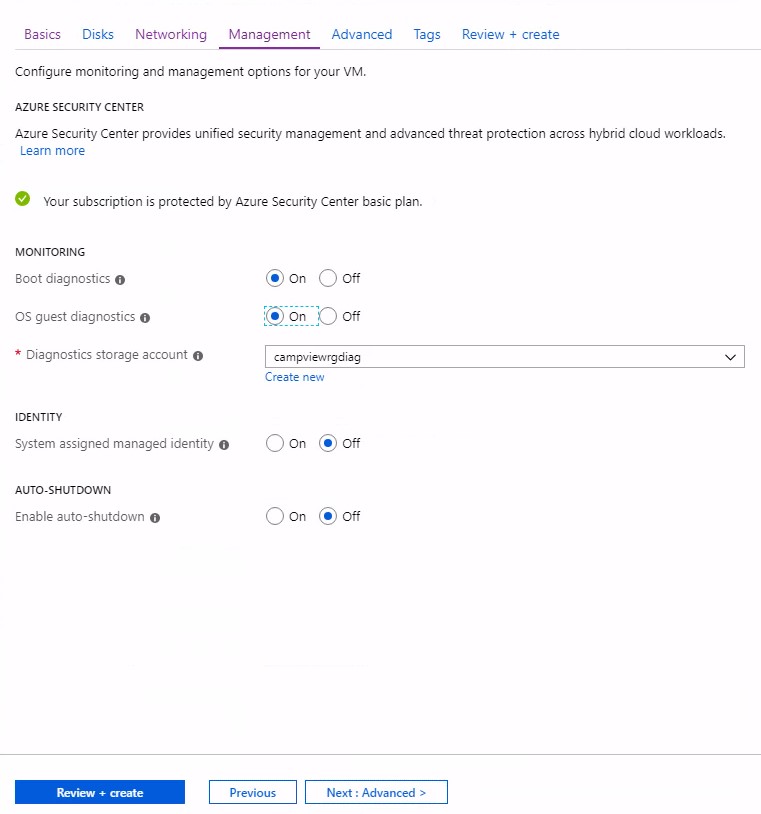
Go to Management. Set OS guest diagnostics to ON and click Review + Create
Go to Networking and specify VNet if you want to configure specific virtual network
-
Review details and click Create
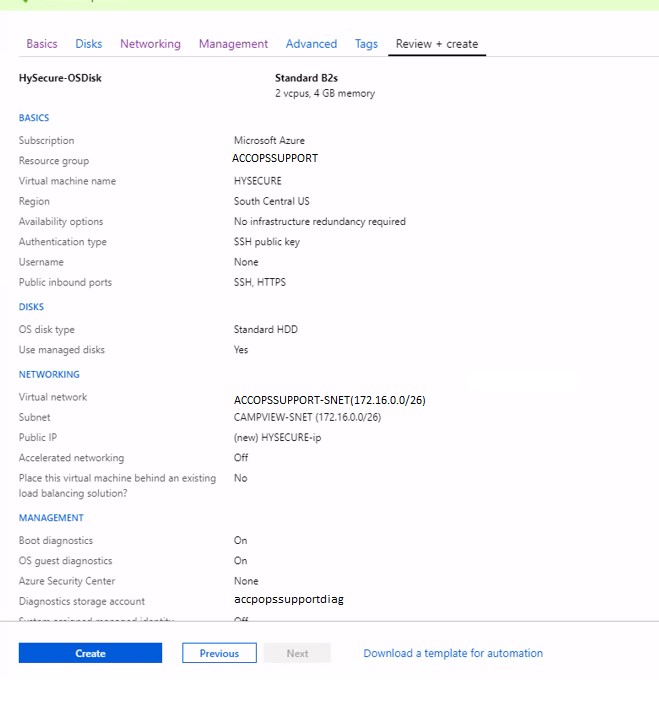
It may take sometime to create VM.
-
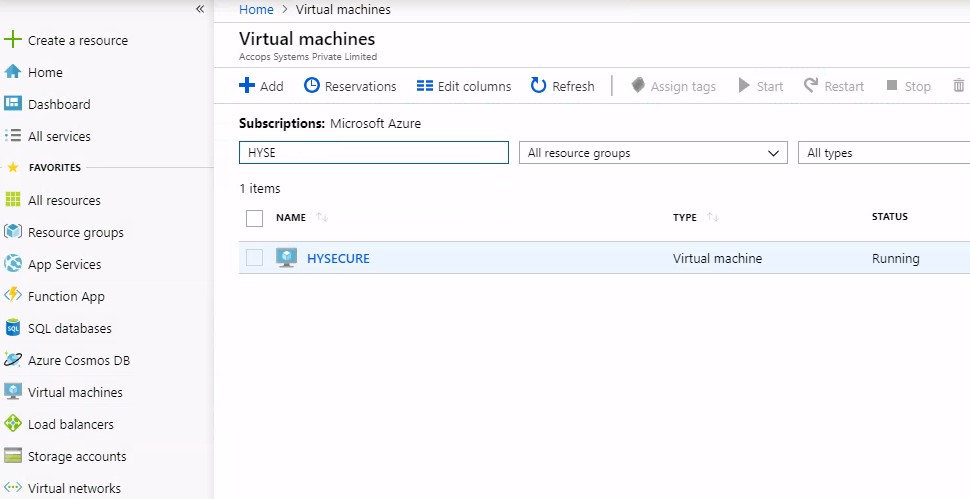
After sometime, search for VM by typing its name in the Search tab and verify that VM is created.
-
Click VM name to check the overview of the VM

-
Go to Azure Portal and select the created VM.
-
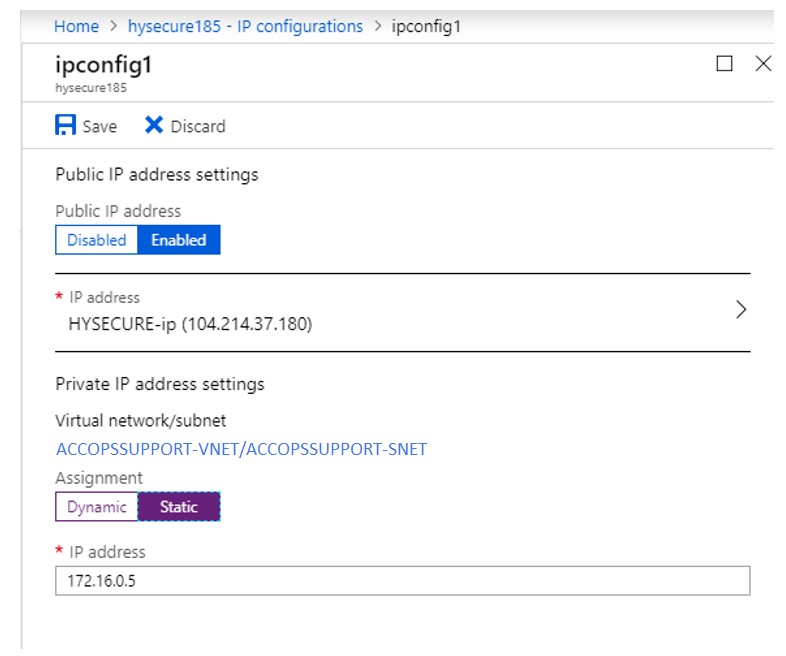
Click Networking > Network Interface > IP Configuration
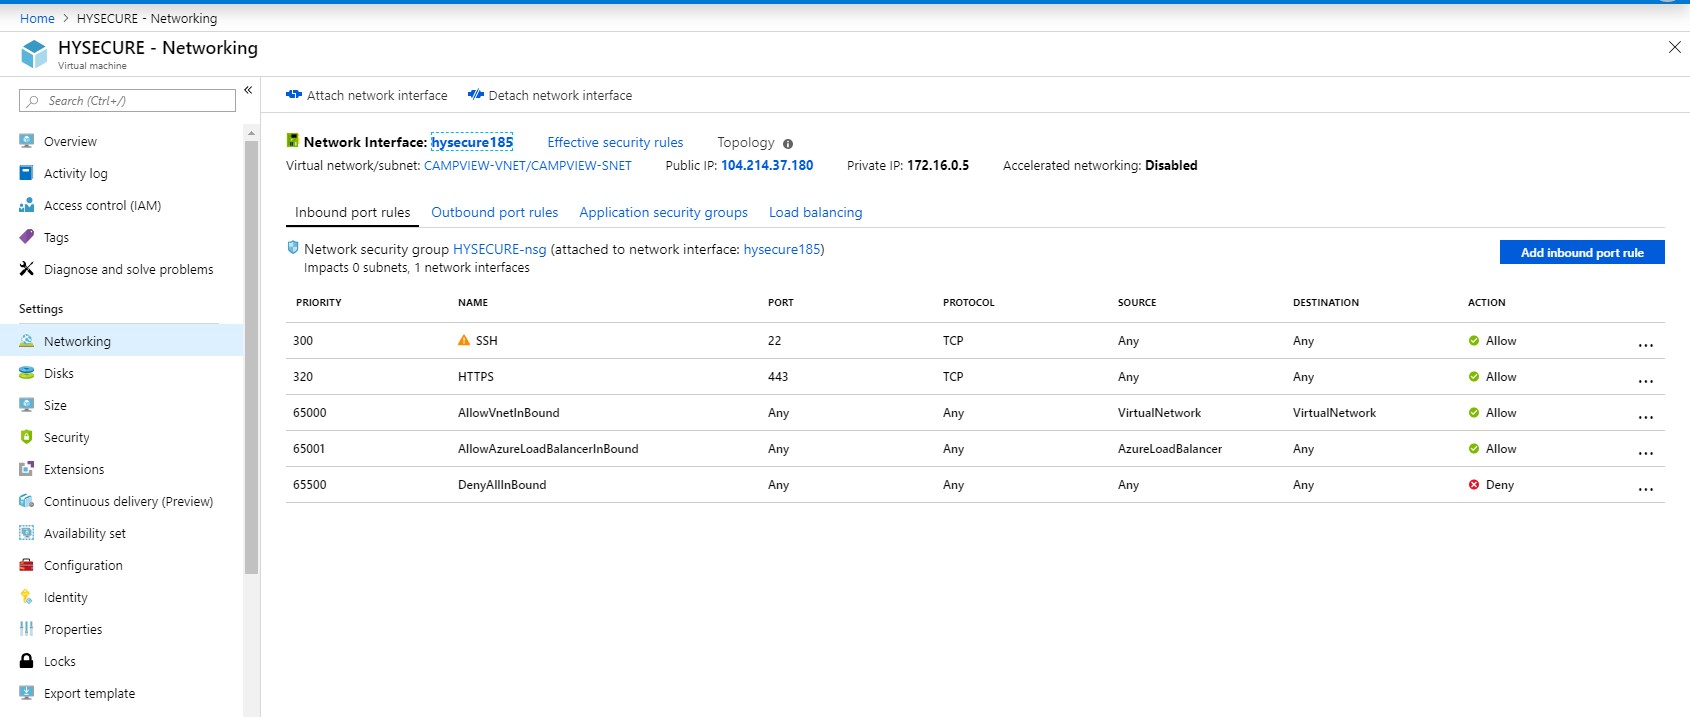
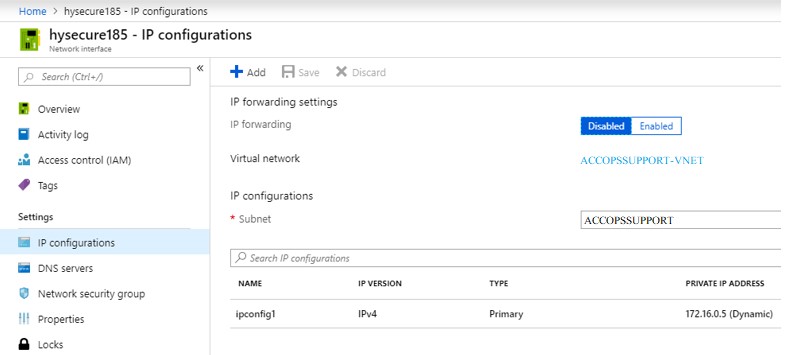
-
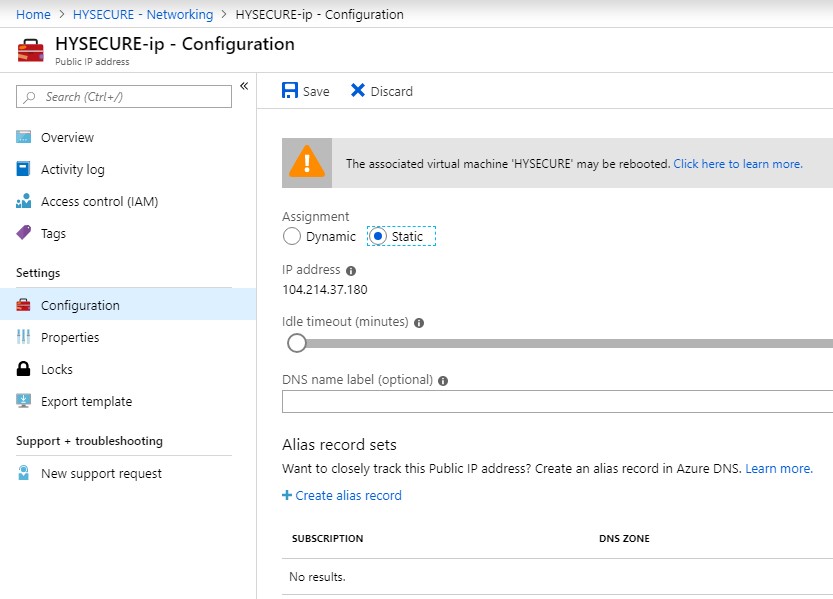
Create new IP and set its assignment as Static
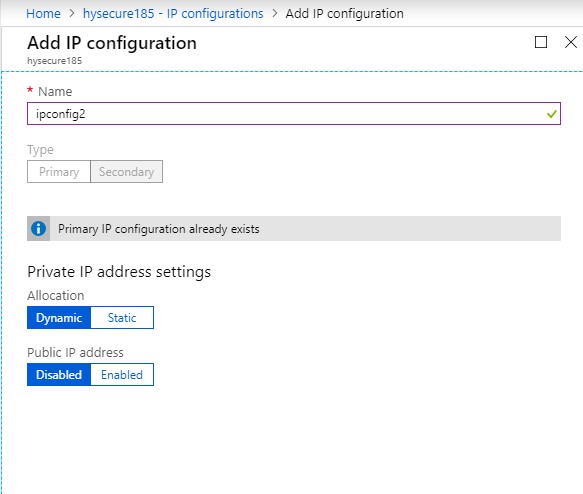
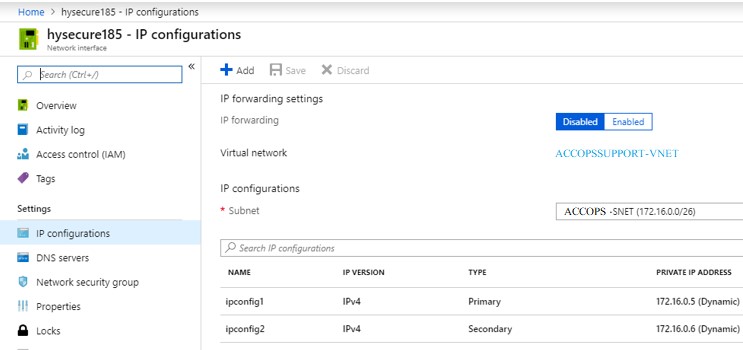
-
Referesh the page. Multiple IPs will be displayed. Set assignment of all the IPs as Static.
Step 3 Hysecure network configuration
Refer here