RADIUS Server
Authentication Servers
Having a local database of users who can authenticate to HySecure, you can configure authentication servers which will allow integration with LDAP based directories such as Active Directory or RADIUS based authentication systems. Once configured, these Authentication Servers become active in the Authentication Domains and Access Controls pages.
Adding Authentication Server

- Open HySecure management console.
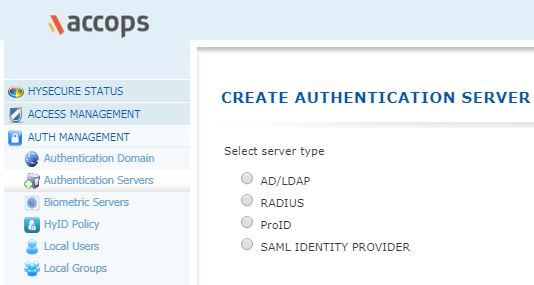
- Click to expand Access Management, and then click Authentication Servers.
- Click Add to specify a new Authentication Server.
- Select RADIUS from Server type.
Create RADIUS Authentication Server

Given below are the details of the fields and their description.
| # | FIELD | TYPE | DESCRIPTION |
|---|---|---|---|
| 1 | Server Name | String | Enter an identifier of the External RADIUS Authentication Server in this field. This identifier is used to identify the server being configured, in different reports, logs and configuration screens of HySecure |
| 2 | IP Address / Host Name | IP or String | Enter the IP address, host name, or FQDN of the RADIUS server. |
| 3 | Port | Number | The default RADIUS port number 1812 is displayed in the Port field. Please note that you can change this port number as needed. |
| 4 | Shared Secret | String | Enter the shared secret of admin to be used for communication with the RADIUS server |
| 5 | Server Prefix | String | Information needs to be made available by Sampad |
Domain Suffix Configuration
| # | Field | Description |
|---|---|---|
| 1 | Use the domain name entered by user | Check this option to use the domain as entered by the user while logging in. For e.g. if the user enters name as username@mycompany.com, then the domain is considered as mycompany.com and the user is searched in that domain |
| 2 | Use the domain name configured here | Select this option and enter the domain to use. In this case, the user would need to enter just the name, while logging in and the user is searched in the domain entered in this field |
User Interface Configuration
| # | Field | Description |
|---|---|---|
| 1 | Message For Users | Enter the message which you expect to be displayed to the user on the login window of the client. In absence of this message a default message gets displayed |
| 2 | Username Label | Enter the name of label to be displayed against the username on the login window of the client. |
| 3 | Password Label | Enter the name of label to be displayed against the Password on the login window of the client |
| 4 | OTP Label | Enter the name of label to be displayed against the OTP, on the login window of the client |
Click Submit to save the configuration data or Reset to clear all data in this screen. Radius configuration info updated successfully message will be displayed.
Important
The AD/LDAP and RADIUS users must download the root certificate (cacert.cer) and import it to the list of Trusted Root Certification Authorities.