VM Scale Booster
About HyWorks VM Scale Booster
HyWorks VM Scale Booster is used by HyWorks Desktop Agent to send status updates and events. The latest releases of HyWorks VM Scale Booster also support pushing HyWorks Session Host Server and Monitoring Service status/system load information. This helps to get faster updates and reduces polling overhead on controller.
Installation of HyWorks VM Scale Booster
Prerequisites
HyWorks VM Scale Booster can be installed either on controller server or any other Windows machine having below mentioned prerequisites installed:
-
.NET Framework 4.7.2
-
Erlang (otp_win64_22.0.exe)
-
RabbitMQ
.Net Framework 4.7.2 Installation
Dot net 4.7.2 comes pre-installed in latest Windows servers but for older version of Windows servers it should be downloaded from the Microsoft website and installed.
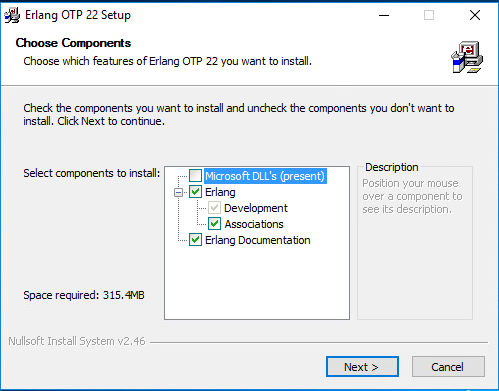
Erlang (OTP) Installation
-
Download Erlang (OTP) v22.0 from its website (http://erlang.org/download/)
-
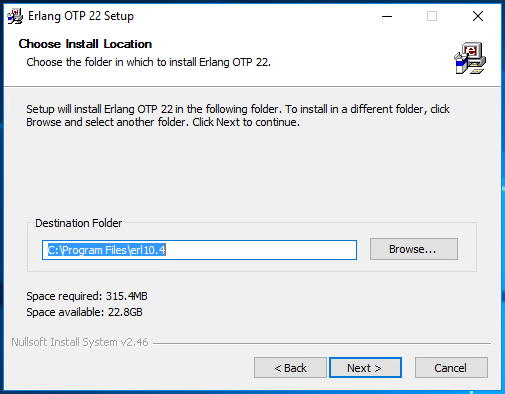
Connect to server to be configured as VM Scale Booster with user credentials having local administrator privileges, double click on otp_win64_22.0.exe and proceed with the installation with all the default options.
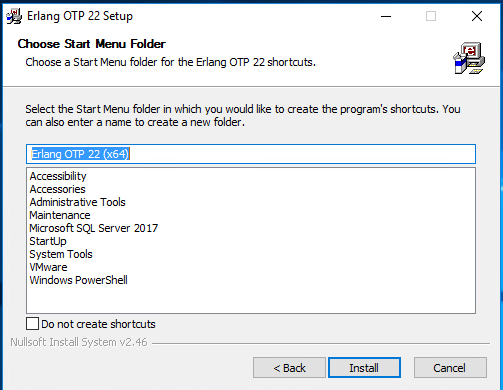
-
Once the installation is complete, click on Finish to close the installation wizard of Erlang.
-
Reboot if required to complete Erlang installation process.
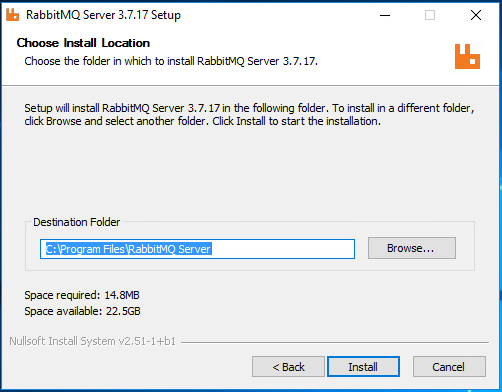
RabbitMQ (v3.7.17) Installation
-
Download Rabbit MQ server module v3.7.17 (https://github.com/rabbitmq/rabbitmq-server/releases/tag/v3.7.17)
-
Connect to server to be configured as VM Scale Booster with user credentials having local administrator privileges, double click on rabbitmq-server-3.7.17.exe
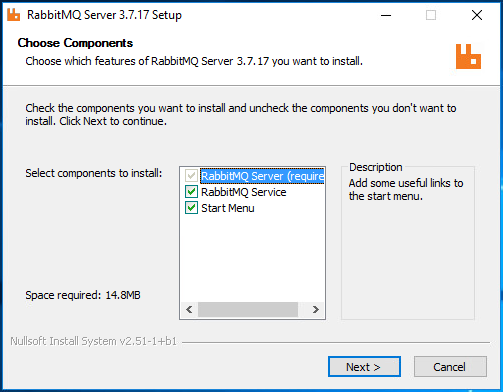
-
Confirm RabbitMQ service is installed and running, once the installation is completed.
HyWorks VM Scale Booster Installation
Download latest HyWorks VM Scale Booster for Windows and follow below steps to install:
-
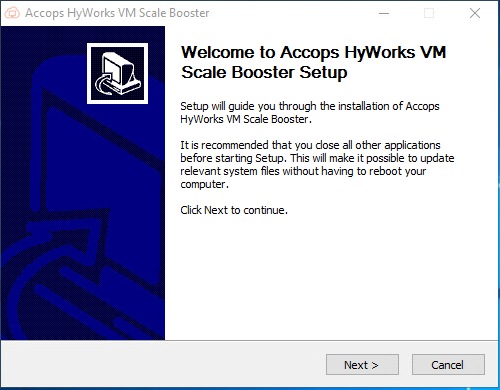
Double click HyWorks VM Scale Booster installer [HyWorksVMScaleBooster_Net472.exe].
-
In Accops HyWorks VM Scale Booster wizard, click Next to proceed.
-
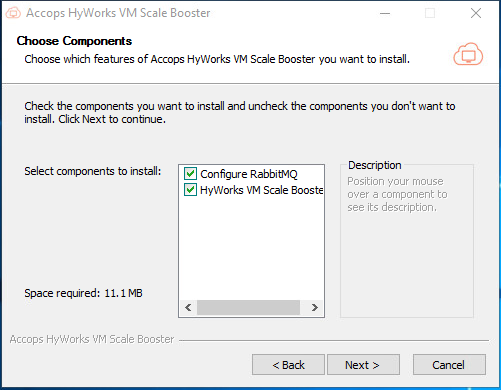
Select components to install and click Next
-
Installing for first time: Select both the components - Accops HyWorks VM Scale Booster and Configure RabbitMQ
-
Upgrade: select Accops HyWorks VM Scale Booster
-
-
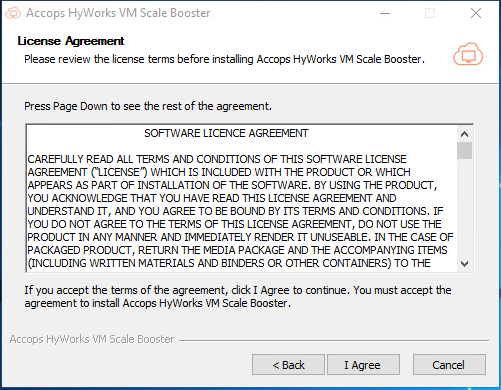
Accept license agreement by clicking I Agree to proceed
-
This will start installation. Once completed, click Finish to close the installation wizard.
-
Check services for Accops HyWorks VM Scale Booster Service, it should be installed and running.
HyWorks VM Scale Booster Configuration
After successful installation, following configurations should be done to enable communication between HyWorks VM Scale Booster and HyWorks Controller:
-
Locate appsettings.json file in the directory in which HyWorks VM Scale Booster is installed - C:\Program Files (x86)\Accops\HyWorks VM Scale Booster\appsettings.json.
-
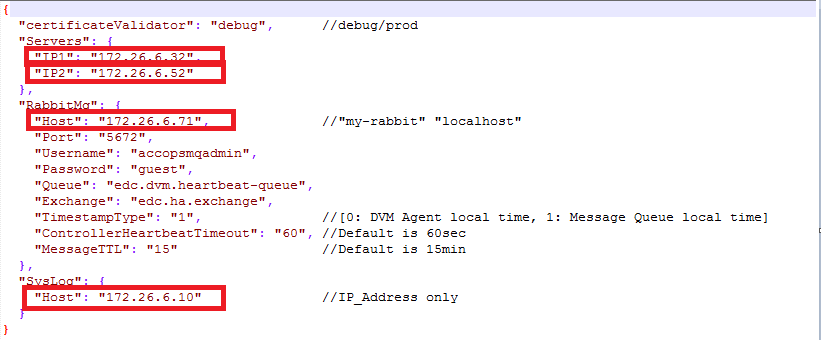
Update following tags (refer screenshot)
-
Servers
-
IP1: IP address of Primary HyWorks Controller
-
IP2: IP address of Secondary HyWorks Controller
-
-
RabbitMQ
-
Host: IP address of RabbitMQ server
-
Port: If RabbitMQ is running on other than default 5672 port
-
-
Syslog
- Host IP address of syslog server
-
-
Save appsettings.json
-
Restart the Accops HyWorks VM Scale Booster service
Enable VM Scale Booster on Controller
Configuration on HyWorks Controller
Once HyWorks VM Scale Booster is configured and services are running, follow the below steps to enable VM Scale Booster from HyWorks Controller:
-
Open HyWorks Management Console > System > Advance config
-
Search for tag DVM push and make the following changes:
-
DVM Agent Queue Username: accopsmqadmin
-
Desktop Poll Mode: 2
-
DVM Agent Queue Hostname: IP of RabbitMQ (in case of HA, VIP of RabbitMQ)

-
-
Save configurations and click Update to push the changes.
Configuration on SHD
-
Install latest Session Host installer setup which has in-built DVM Tools-Lite. Session host server and monitoring services will use DVM Tools to push service and load status.
-
On session host server, verify registry entry EnableShdMode flag should be set as true at HKLM\Software\Accops\DesktopAgent.
Limitations of VM Scale Booster
-
VM Scale Booster feature works only for Managed SHD Pools.
-
VM Scale Booster feature works only for Windows Managed SHDs. Linux SHD does not support SHD push Feature.
-
HyWorks VM Scale Booster [v3.3.0.20] requires 3.3 GA and above Controller & SHD and vice versa.
Important (VM Scale Booster)
-
While installation of this new Session Host, it installs a DVMTools-Lite automatically and sets EnableShdMode registry of Desktop Agent as True. So, if manual false set is done then SHD Push will not work.
-
Manual installation arguments for SHD Mode enabled DVMTools with regular release:
- Argument: HyWorksDVMTools.exe /S /desktopagent=1 /hyprint=0 /usbcleaner=0 /usbredirection=0 /EnableShdMode=1
-
DVM push agent refresh timeout: After this timeout only controller driven manual poll will be executed to each SessionHosts/MonitoringServers/DVMAgents.
Azure-specific configurations on Controller
Add following inbound firewall rule for ports:
-
5672: RabbitMQ Message Queue [Must]
-
15672: RabbitMQ management console [Optional]
Troubleshooting
-
In case of Azure, the rule needs to be added on Network Interface via Azure portal for port number 5672 and 15672
-
Check IP address of the Controllers in appsetting.json file
-
Check Username and Hostname for RabbitMq in Advance config on Management console
Appendix
Change default port of RabbitMQ
-
Controller: Update port into MMC > Advance Config with Key [DVM Agent Queue Port]
-
HyWorks VM Scale Booster: update port [key: RabbitMQ-> Port] in config file at
-
Filename: appsettings.json
-
Path: C:\Program Files (x86)\Accops\HyWorks VM Scale Booster
-
-
Update RabbitMQ port at config file:
-
Path: C:\Users\Administrator\AppData\Roaming\RabbitMQ
-
File name: rabbitmq.config.example
-
Changes:
-
Existing string: %% {tcp_listeners, [5672]},
-
Updated string: {tcp_listeners, [5673]}
-
Please note that comma is removed from the end
-
Save the file and rename it to rabbitmq.config
-
-
RabbitMQ Service reinstall steps:
-
cd C:\Program Files\RabbitMQ Server\rabbitmq_server-3.7.17\sbin
-
rabbitmqctl.bat stop
-
rabbitmq-service.bat remove
-
rabbitmq-service.bat install
-
rabbitmq-service.bat start
-
-
VM Scale Booster HA Configuration
-
After installation of Accops HyWorks VM Scale Booster, login to both the VMs with AD admin (both VMs should be joined to the same domain)
-
Copy the PowerShell script FC_Configure.ps1 locally to both the VMs
-
Update the configurations into the scripts [viz. Failover Cluster old/new names, hostnames & VIPs]
-
Run PowerShell ISE with admin privilege
-
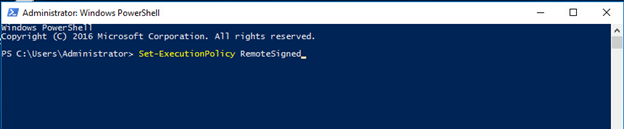
Execute set-executionpolicy remotesigned to enable PowerShell script execution
-
Open or load the script FC_Configure.ps1
-
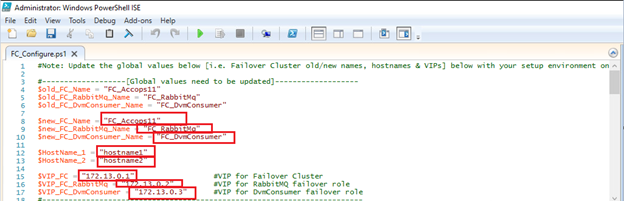
Update following tags (refer screenshot)
-
: new_FC_Name: Name of Failover Cluster
-
: new_FC_RabbitMq_Name: Name of Failover Cluster role for RabbitMq of
-
: new_FC_DVMConsumer_Name: Name of Failover Cluster role for HyWorks VM Scale Booster
-
: HostName_1: Hostname of first VM of HA configuration
-
: HostName_1: Hostname of Second VM of HA configuration
-
: VIP_FC: Provide an available IP address for Failover Cluster
-
: VIP_FCRabbitMq: Provide an available IP address for RabbitMq role on Failover Cluster
-
: VIP_FC_DVMConsumer: Provide an available IP address for HyWorks VM Scale Booster role on Failover Cluster
Note
Name for Failover cluster and roles should not be greater than 15 characters
-
-
This will enable Failover Clustering Feature into the machine and will prompt for Failover clustering configuration
-
On one VM, click No to clean-up if any previous Cluster Group or Role is added
-
On another VM, click Yes to configure the failover cluster [it will first cleanup local failover cluster followed by configuring the new one]
-
-
Now the failover cluster configured and is ready to use.
-
Confirm the configured Roles are visible and are in running state.
-
Update VIP used for FC_RabbitMq in appsettings.json file on both the machines and restart the Accops HyWorks VM Scale Booster service
-
On Failover Cluster Manager, right click on FC_AccopsDvmConsumer role > Move > Select Node > (Select another node) Ok
-
For FC_RabbitMq role do the same steps mentioned above
Now the system is ready to use, it will automatically switch the VIP in case of service failure. Hence DVMs can push to only one RabbitMQ server using the VIP.