HyWorks Scheduler and Action Processor
Accops HyWorks Scheduler and Action Processor are used for on-demand provisioning and automatic power management of session host servers. In this section, detailed steps to install scheduler and action processor will be provided.
Scheduler Installation and Configuration
Scheduler component manages schedules (Create/update/delete) as per capacity plan creation, modification or deletion. It also sends the input to queue with details of capacity plan and session team, which will be picked by Action processor to process as per requirement. Scheduler component is installed on HyWorks controller server itself.
Installation
To install scheduler, follow below steps:
Prerequisites: Following prerequisites must be installed before installing scheduler on same server hosting HyWorks Controller:
- Erlang OTP 22.0 (Prerequisite for RabbitMQ) Installation
- Rabbit MQ Server 3.7.17 Installation
- ASP.NET Core Hosting Bundle 3.1 Installation
- .NET Desktop Runtime 3.1 Installation
Installation Steps:
- Once all above prerequisites are installed, copy Scheduler setup on Controller server
- Run setup with user having local administrator privileges on the server
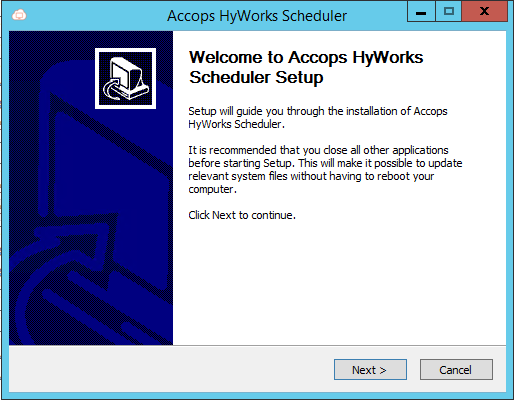
-
Click on Next button on Welcome screen
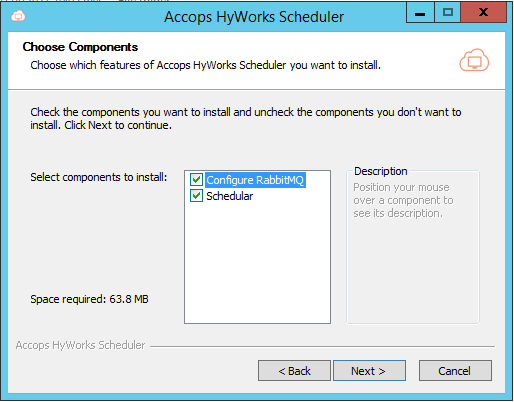
-
In *Choose Components screen
- Select option Configure RabbitMQ
- Select component Scheduler
- Click on Next button to proceed
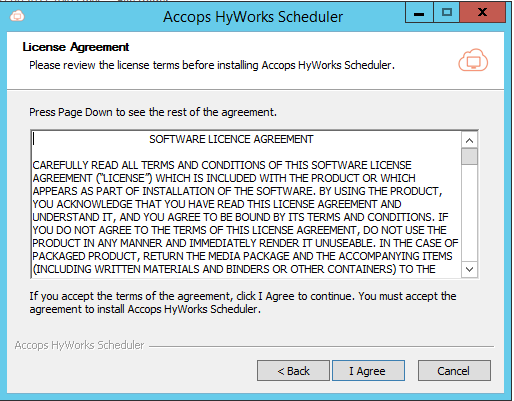
-
On License and Agreement screen, click on I agree button to proceed
-
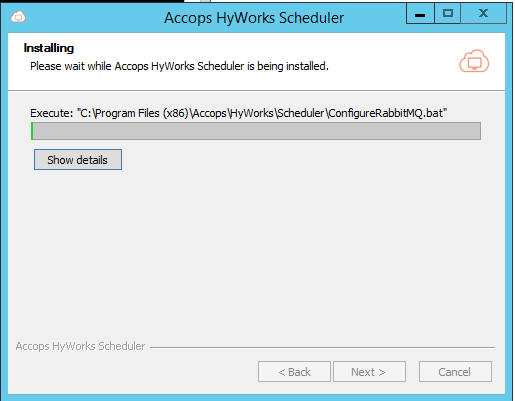
Required components will be installed and RabbitMQ will be configured as per scheduler requirements.
-
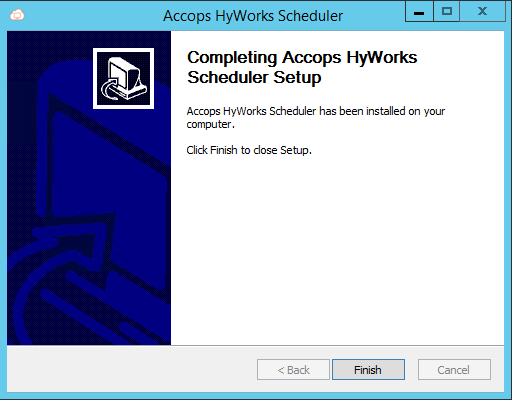
Proceed for configuring required settings
Scheduler Service Configuration
Following configurations must be done on scheduler components for functioning with HyWorks Controller:
-
Update Scheduler Service Configuration:
- Go to Scheduler installation directory (Default path: C:\Program Files (x86)\Accops\HyWorks\Scheduler\SchedulerService)
- Locate configuration file AppSettings.json
- Change the database configurations to point to database of controller server on which this scheduler is installed. In below example, scheduler is pointing to locally running SQL server with EDCDB database, username (sa) and password as xyz@123. "ConnectionString": { "SchedulerDB": "Data Source=localhost,1433;Initial Catalog=EDCDB;User Id=sa;password=xyz@123;MultipleActiveResultSets=true" },
-
Update Scheduler Worker Configuration:
- Go to Scheduler installation directory (Default path: C:\Program Files (x86)\Accops\HyWorks\Scheduler\SchedulerWorker)
- Locate configuration file AppSettings.json
- Change the database configurations to point to database of controller server on which this scheduler is installed. In below example, scheduler is pointing to locally running SQL server with EDCDB database, username (sa) and password as xyz@123. "ConnectionString": { "SchedulerDB": "Data Source=localhost,1433;Initial Catalog=EDCDB;User Id=sa;password=xyz@123;MultipleActiveResultSets=true" },
-
Restart scheduler service from services for changes to take effect
Enable Controller to manage scheduler service
- Login into management console with user having super-admin privileges
- Go to Host management -> System -> Advance config
- Apply filter 'Capacity Plan' in tags
- Set Manage Scheduler Service setting as True and click on Update to apply the changes
- If this setting is true, then Scheduler service will run only on the primary node of the controller, on secondary HyWorks controller the service will be stopped.
- If this setting is set as false, HyWorks Controller will not manage it and it will start and stop with system
Installation and Configuration in Controller Cluster
If HyWorks Controllers are installed in cluster mode (2 or more controllers are configured for high availability), then
- Scheduler should be installed on both management nodes, with configurations done same as specified above
Action Processor Installation and Configuration
Action Processor is the brain of capacity planning, it takes inputs from the controller and decides the current capacity, and then takes actions accordingly. It processes the two types of messages pushed by the scheduler
- Plan Implementation: Simply saving capacity recommendations in controller
- Team Scale: Triggering power-on, power-off, cloning jobs as per schedule or scaling requirements
Installation
To install Action Processor, follow below steps:
Prerequisites: Prerequisites are same as of scheduler, so if scheduler is already installed, the same prerequisites need not to be installed. But if Action processor is installed first, following prerequisites must be installed:
- Erlang OTP 22.0 (Prerequisite for RabbitMQ) Installation
- Rabbit MQ Server 3.7.17 Installation
- ASP.NET Core Hosting Bundle 3.1 Installation
- .NET Desktop Runtime 3.1 Installation
Installation Steps:
- Once all above prerequisites are installed, copy Action Processor setup on Controller server
- Run setup with user having local administrator privileges on the server
-
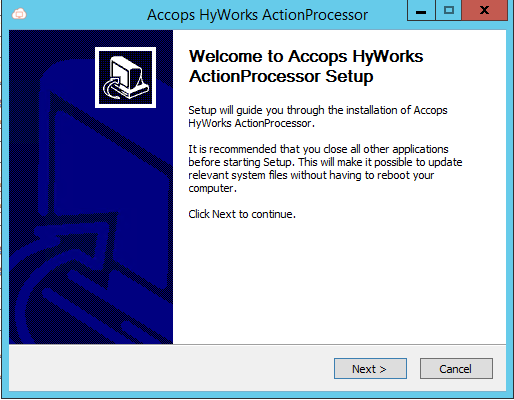
Click on Next button on Welcome screen
-
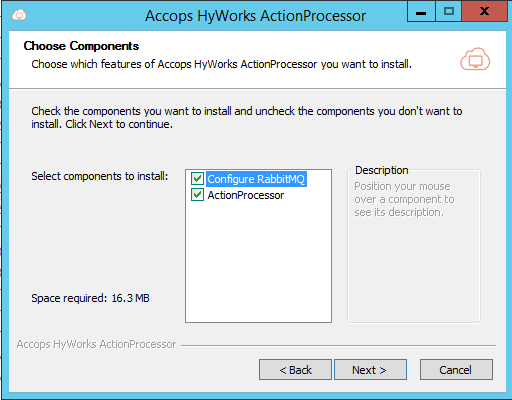
In *Choose Components screen,
- Select option Configure RabbitMQ
- Select component Action Processor
- Click on Next button to proceed
-
On License and Agreement screen, click on I agree button to proceed
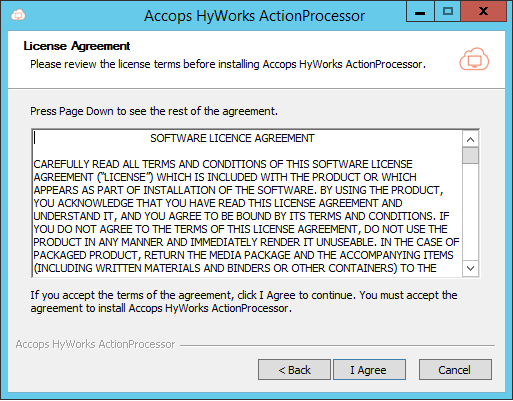
-
Required components will be installed and RabbitMQ will be configured as per Action Processor requirements.
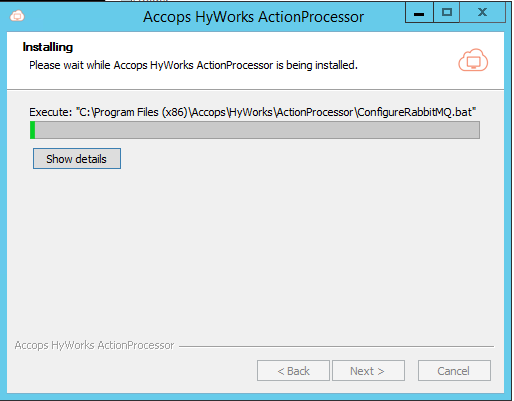
-
Proceed for configuring required settings
Configuring Action Processor
Following configurations must be done on scheduler components for functioning with HyWorks Controller:
- Go to Action processor installation directory (Default path: C:\Program Files (x86)\Accops\HyWorks\ActionProcessor)
- Locate configuration file AppSettings.json
- Change the controller information to point it to local hyWorks controller "HwConfigurationEndpoint": "https://localhost:38866/ResourceManagementController.svc"
- Restart action processor service from services for changes to take effect
Installation and Configuration in Controller Cluster
If HyWorks Controllers are installed in cluster mode (2 or more controllers are configured for high availability), then
- Action processor should be installed on both management nodes, with configurations done same as specified above
Prerequisites Installation
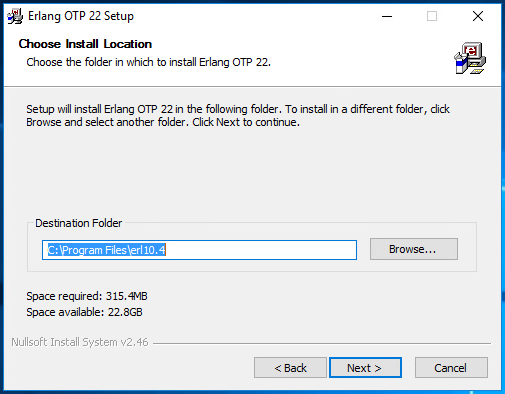
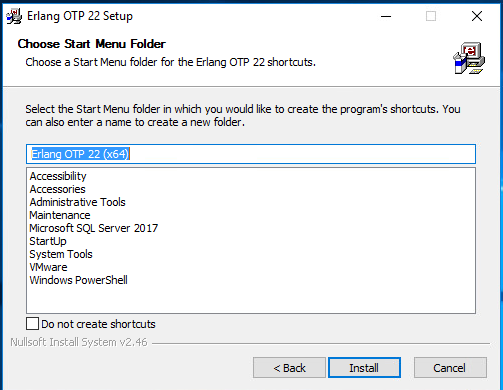
Erlang (OTP) Installation
-
Copy setup file of downloaded Erlang (OTP) v22.0
-
Connect to server with user credentials having local administrator privileges, double click on otp_win64_22.0.exe and proceed with the installation with all the default options.
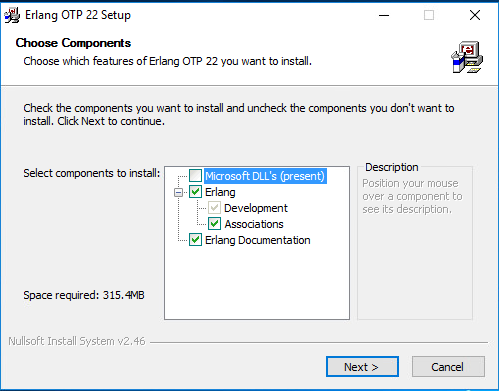
-
Once the installation is complete, click on Finish to close the installation wizard of Erlang.
-
Reboot if required to complete Erlang installation process.
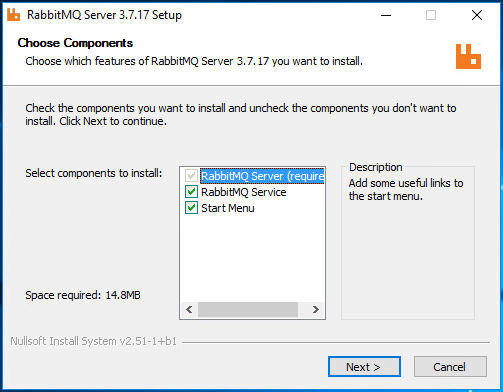
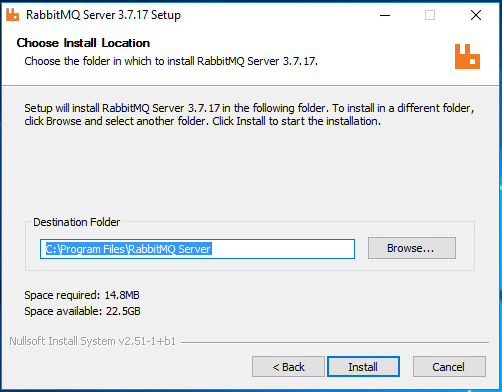
RabbitMQ Installation
-
Copy setup file of downloaded Rabbit MQ server module v3.7.17
-
Connect to server with user credentials having local administrator privileges, double click on rabbitmq-server-3.7.17.exe
-
Confirm RabbitMQ service is installed and running, once the installation is completed.
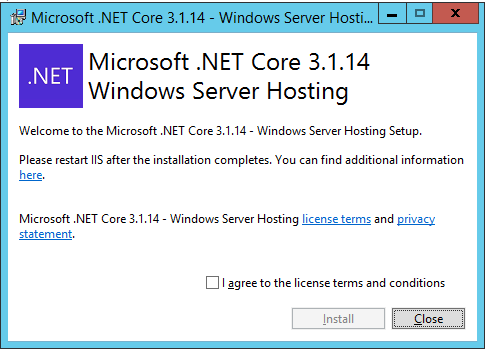
ASP Dot NET Core Hosting Bundle Installation
-
Connect to server with user credentials having local administrator privileges
-
Copy setup files of ASP.NET Core Hosting Bundle 3.1.14
-
Double click on setup file dotnet-hosting-3.1.14-win.exe
-
Close the setup wizard, once installation is completed
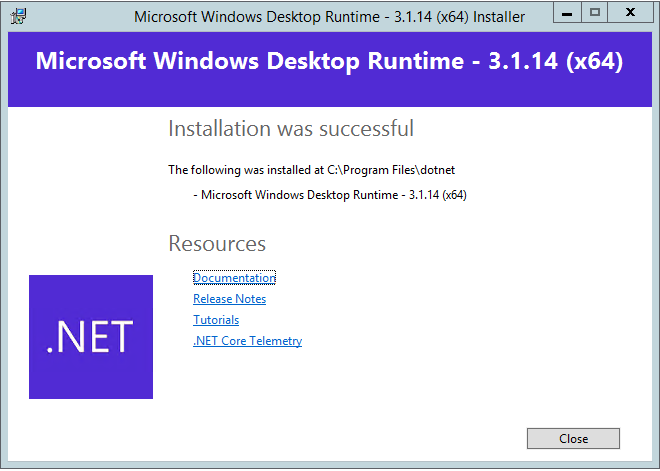
Dot NET Desktop Runtime Installation
-
Connect to server with user credentials having local administrator privileges
-
Copy setup files of .Net Desktop Runtime 3.1 (both x64 and x86)
-
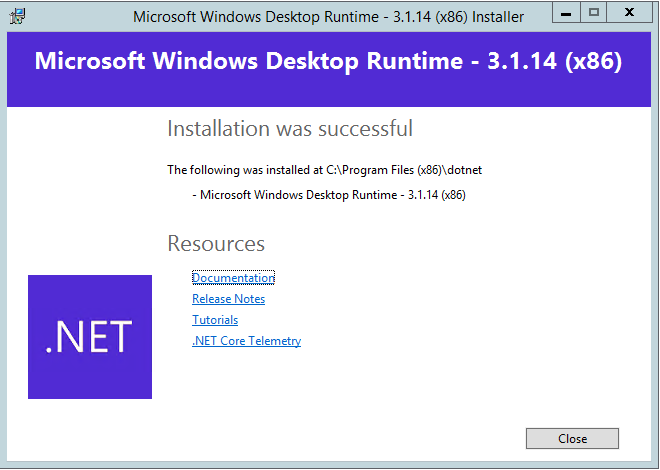
Double click on setup file windowsdesktop-runtime-3.1.14-win-x86.exe

-
Close the setup wizard, once installation is completed
-
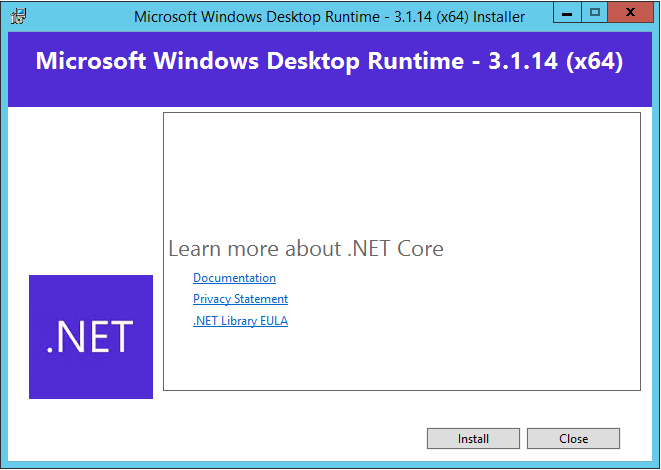
Double click on setup file windowsdesktop-runtime-3.1.14-win-x64.exe
-
Close the setup wizard, once installation is completed