Customize Theme
Overview
The HySecure Gateway can also be accessed through a web browser for login. The portal used to log in to the Gateway can be customized.
To customize and configure the Web Portal for your environment, perform the following steps:
- Log on to the Management console.
- Navigate to Settings > Theme.
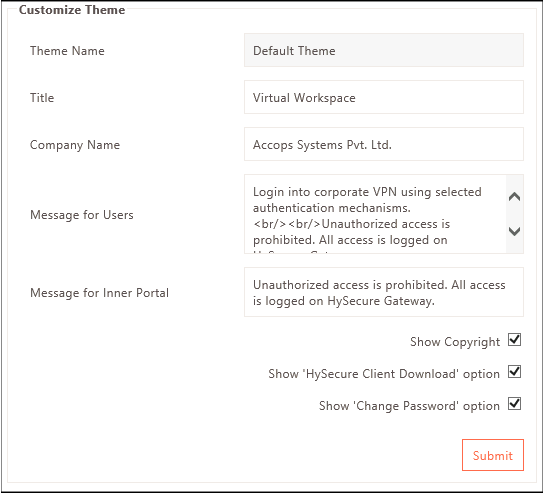
Customize Theme
| Field | Description |
|---|---|
| Theme Name | This indicates a Default Theme and is not editable. |
| Title | Specify the title for the web portal page. |
| Company Name | Set the company name that should be displayed on the portal pages. |
| Message for Users | Set a message to be shown to users on the portal at the time of login. You can set messages related to important events here. |
| Message for Inner Portal | Set a message to be shown to users on the portal after they log in. The message gets displayed on the left panel after login. Typically, this will be an authorization warning. |
| Show Copyright | Check this option to enable the display of the copyright message at the bottom of the page. |
| Show HySecure Client Download option | Check this option to show the download links for clients for desktops on the login portal. |
| Show Change Password option | Check this option to provide a change password option on the portal to users. |
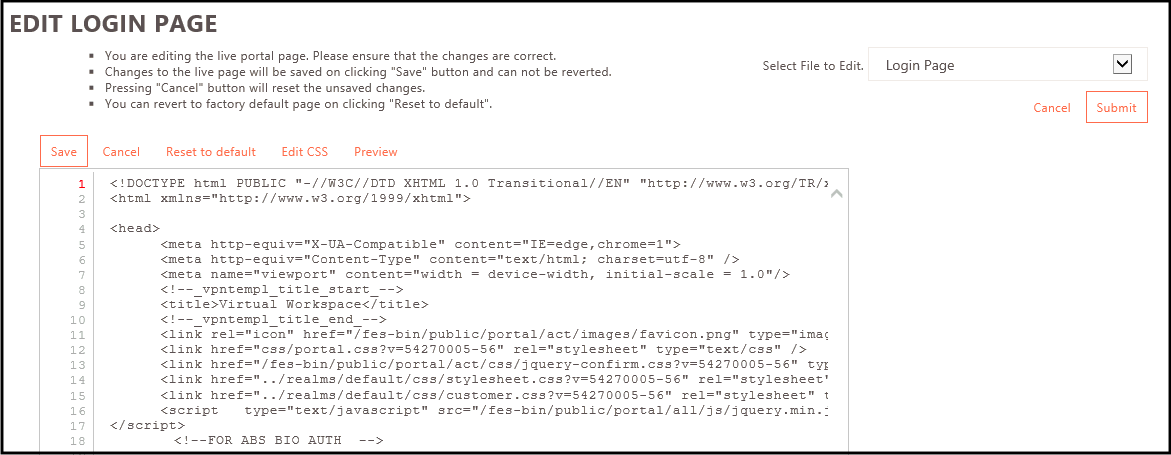
Edit web portal HTML files (Advanced Users Only)
The portal can be customized either by selecting specific options as indicated in the Customize Theme configuration section. However, if the admin needs complete control of the page, then they can edit the HTML files directly by clicking the Edit web portal HTML files option.
HTML files of the following pages can be edited directly by the administrator:
-
Login Page
-
Logout Page
-
Landing Page
Follow the steps below to update the HTML code of the selected page.
-
Select the appropriate page in the Select File to edit drop-down and click Submit. This will load the HTML code for the selected page in the editor.
-
Edit the code as desired in the editor.
-
Perform either of the following options available by clicking on the corresponding button:
-
Preview: Click to preview the page as per the edited HTML code.
-
Save: Click to save the changes made in the HTML code.
-
Cancel: Click to reset the unsaved changes. Thus, it will take the editor back to the last saved version of the code.
-
Reset to default: Click to revert the code to the factory default code.
-
Edit CSS: Click to override the current CSS.
-
Web Portal Logo
Upload logo for web portal: This section allows you to change the logo in the top left corner of the login page. Choose the PNG file from the local system with logo dimensions around 180x40 pixels and click Submit.
Set default logo for web portal: If the default logo needs to be switched back, click the Reset to default button.
![]()
Desktop Client Logo
Upload logo for desktop client: To change the Desktop client logo, choose a BMP file from the local system as per the logo dimensions, around 180x40 pixels, and click Submit.
Set default logo for desktop client: If the default logo needs to be switched back, click Reset to default.
![]()
Desktop client banner
Upload banner for desktop client: To change the Desktop client banner, select a BMP file from your local system with dimensions of approximately 373x85 pixels, and then click Submit.
Set default banner for desktop client: If the default banner needs to be switched back, click Reset to Default.
Note
None of the file sizes chosen for the logo or banner should exceed 500 KB.

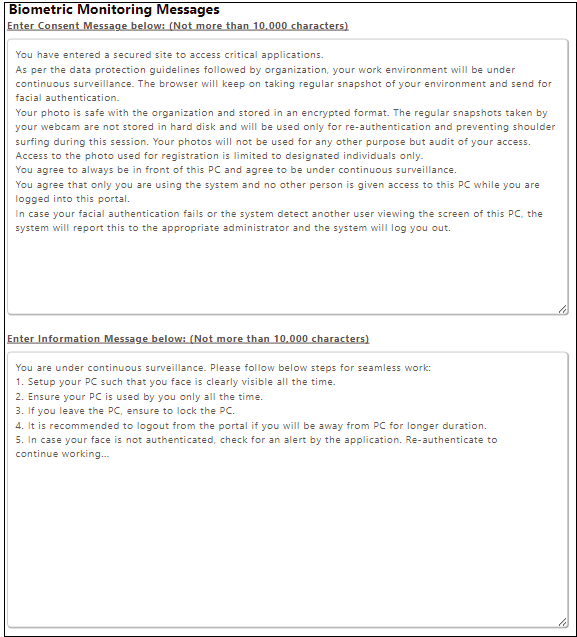
Biometric Monitoring Consent and Information
Click to add a Biometric consent message and any other related message. The message will be displayed at the time of login.