Bootable USB Drive Creation Guide for HySecure Gateway 7.0
Overview
This guide provides step-by-step instructions on creating a bootable USB drive for installing HySecure Gateway 7.0.
Prerequisites
Be sure to have the following before proceeding:
-
USB formatting tool: Rufus
-
Minimum 8 GB USB Flash drive
-
Download the Accops HySecure Gateway ISO file
Steps to Create a USB Bootable Drive for HySecure
-
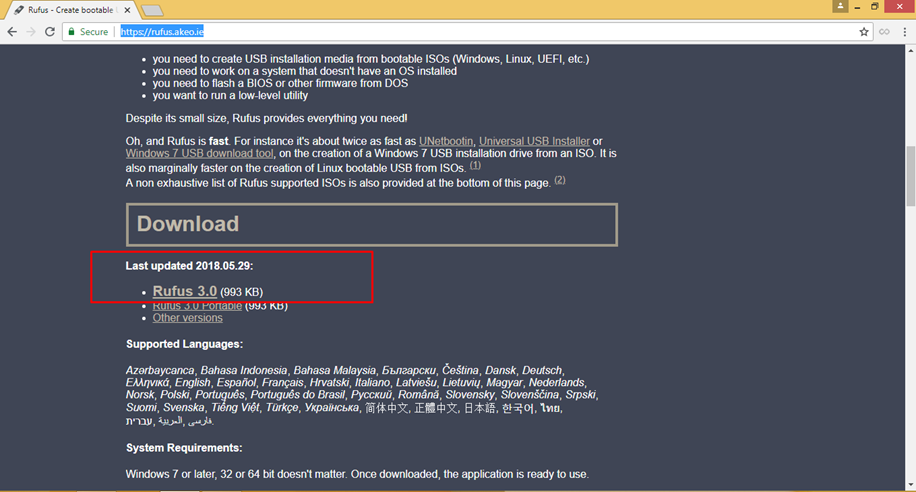
Download the Rufus executable (https://rufus.akeo.ie/) to burn the HySecure ISO file on a USB drive.
-
Insert the USB drive into your computer and launch the Rufus executable.
-
Click the SELECT button and choose the downloaded Accops HySecure ISO file.

-
Based on hardware compatibility, select the appropriate partition scheme:
- GPT (UEFI)
- MBR (BIOS or UEFI)
-
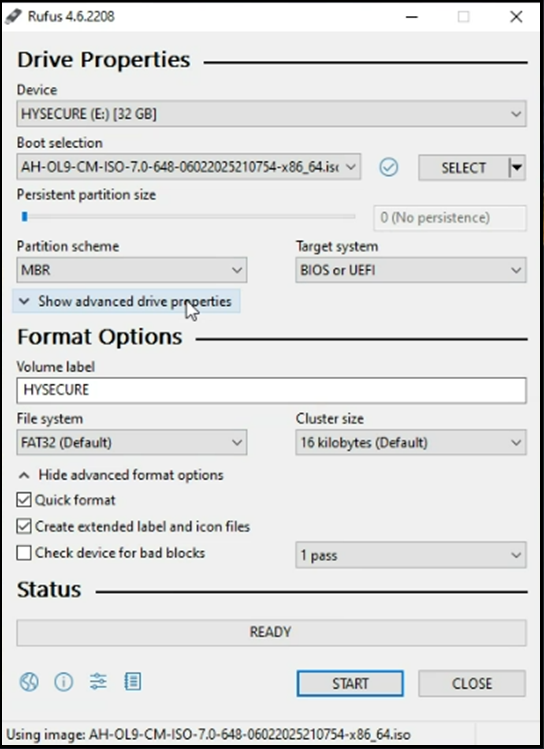
Set the following parameters (screenshot with sample values):
-
Boot selection: Accops HySecure ISO File
-
Volume Label: HYSECURE
-
File System: FAT32
-
Cluster Size: 16 kilobytes (Default Value)
-
Quick Format: Checked
-
Create extended label and icon files: Checked
-
Check the device for bad blocks: Unchecked
-
-
Verify that all parameters are correctly set and click on START to begin the process. A warning will appear about the destruction of all data on the USB. Confirm by clicking OK.
-
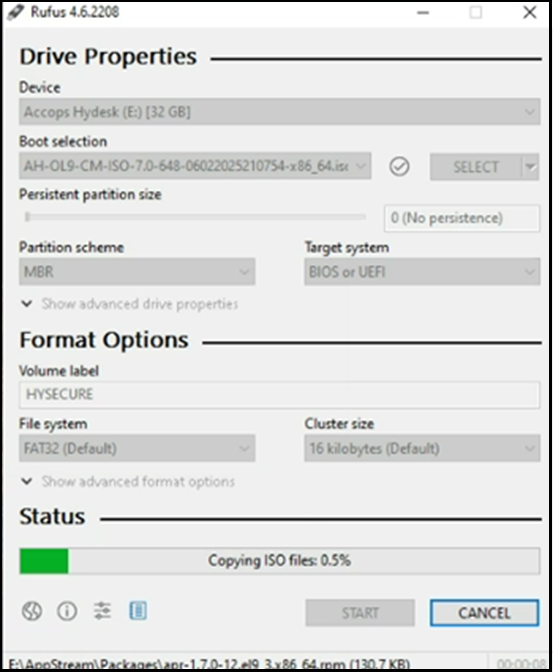
Rufus will now create the bootable USB drive. This process may take several minutes, depending on the size of the ISO file and the speed of your USB drive. Once it is completed, you will see the message READY in Rufus, indicating that the USB drive is now bootable.
-
Close Rufus and safely eject the USB drive from your computer.
Your USB drive is now bootable and ready to install HySecure Gateway V 7.0.