KB001: Configure MFA Application Access Control
Article ID: KB001
Last Updated: June 21, 2025
Applies To: HySecure Gateway 7.1 and above
Category: Security & Access Control
Overview
This guide explains how to configure access control for MFA-integrated applications. This feature enhances security by introducing ACL evaluation during application access, allowing administrators to enforce MFA on a per-application basis.
Prerequisites
- HySecure Gateway 7.1 or higher
- LDAP Integration Services (LIS) must be configured
- Security Officer or Administrator access to the HySecure Management Console
- Active HySecure license
Procedure
Step 1: Register MFA Application
-
Access Management Console
- Log in to the HySecure Management Console as a Security Officer or Administrator.
-
Navigate to MFA Apps
-
Go to Apps > MFA Apps.
-
Click Add.
-
-
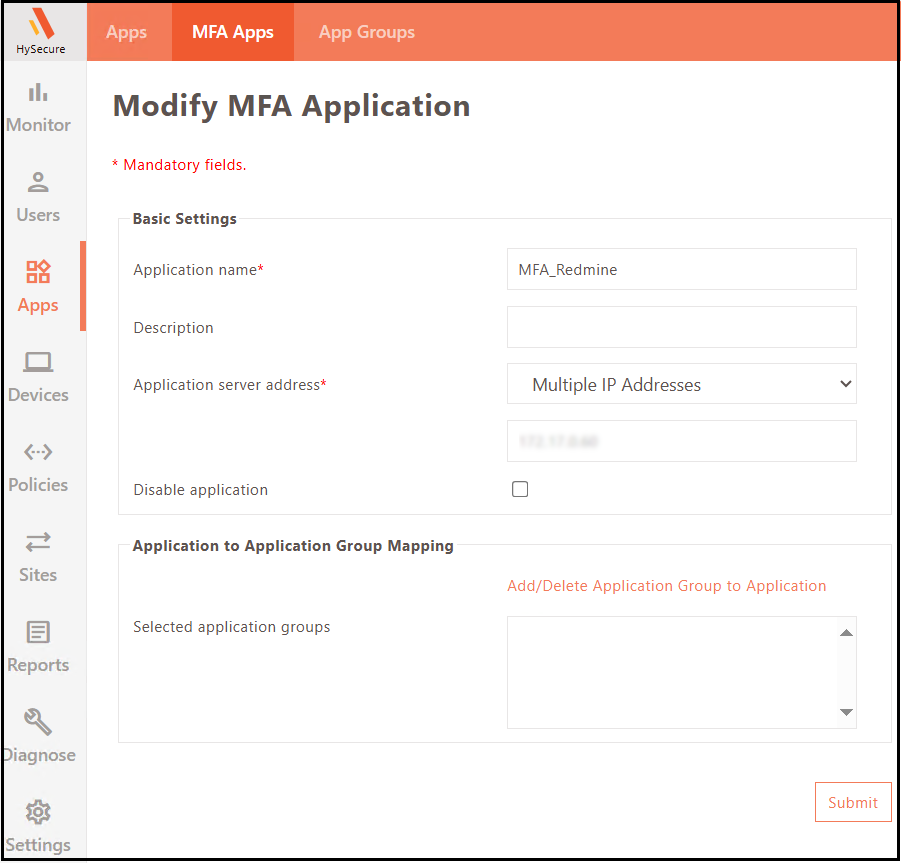
Configure Application Details
-
Enter a suitable Application Name.
-
Provide a Description for reference.
-
Select the Application Server Address option and input the Application Server Address.
-
Click Submit.
-
Step 2: Create MFA App Group
-
Navigate to Apps
-
Go to App Group.
-
Click Add.
-
-
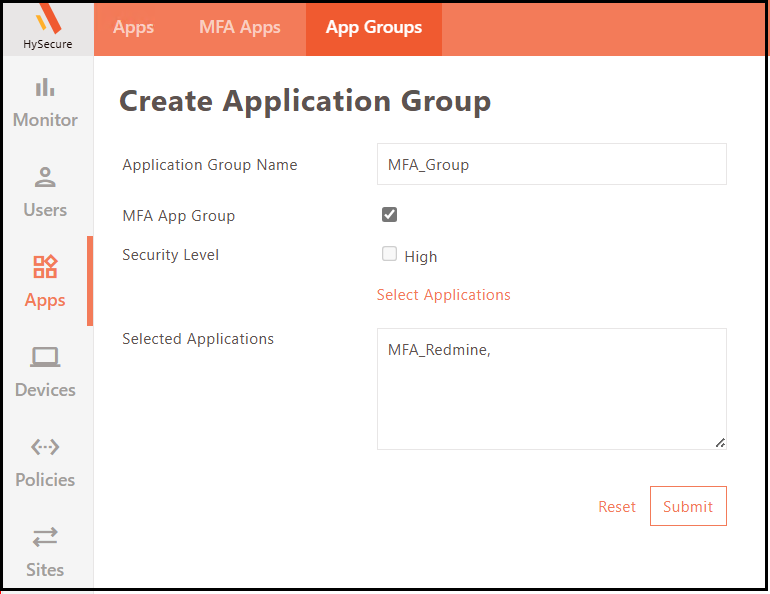
Configure App Group
-
Enter MFA Application Group Name.
-
Select the checkbox labeled MFA App Group to designate it as MFA App Group.
-
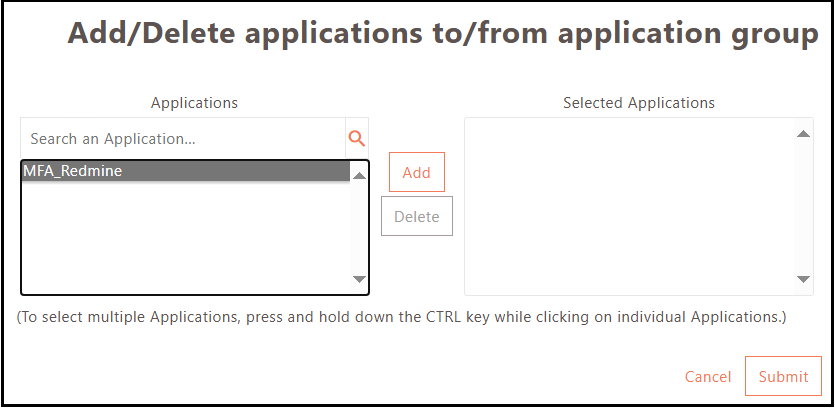
Click Select Application to add the previously created application.
-
Click Submit.
-
Step 3: Create MFA Profile
-
Navigate to MFA Profiles
-
Create an MFA profile to define MFA settings.
-
This profile will be assigned to users or user groups using MFA ACL.
-
-
Configure Profile Settings
-
Provide a suitable Profile Name and Description.
-
Select Profile Type as MFA Agent.
-
-
Configure 2FA Token Options
-
Mobile Token: Use when password and OTP are entered together in the format OTP.Password (dot acts as delimiter, configurable during LIS setup).
-
Push Notification: Use when push notification is sent as 2FA on Mobile/Desktop after entering credentials.
-
-
Complete Configuration
-
Configure remaining settings similar to the HyID policy.
-
Click Submit.

-
Step 4: Create Multi-Factor Authentication ACL
-
Navigate to ACL
-
Go to Policies > ACL.
-
Click Add.
-
Choose Multi-Factor Authentication as Access Control Type.
-
-
Configure Basic Settings
-
Provide a suitable Access Control Name and Description.
-
Select the appropriate HySecure Domain.
-
Select Authorization Server.
-
Set Assignment Type to User/User Groups.
-
-
Configure Application and Actions
-
Choose a previously created MFA Application Group.
-
Select MFA Action based on desired behavior:
-
Allow with MFA: Allow users to access the application with credentials and MFA.
-
Allow without MFA: Allow users to access the application with credentials only, bypassing MFA.
-
Block Login: Block the user from accessing the application (shows the Authentication failure error).
-
-
Complete Configuration
-
Configure the remaining details like other ACLs.
-
Click Submit.
-
Note
- LDAP Integration Services (LIS) must be configured as a prerequisite.
- Previously, LIS applications bypassed Application-specific ACL checks.
- MFA decisions were determined solely based on the user, not the application.
- This enhancement ties MFA prompts to specific applications.
Verification
After configuration:
-
Test application access with assigned users.
-
Verify that MFA prompts appear based on configured actions.
-
Check ACL evaluation logs for proper enforcement.
-
Confirm application-specific MFA behavior.
Troubleshooting
Common Issues:
-
LIS not configured: Ensure LDAP Integration Services are properly set up.
-
ACL not applying: Verify user/group assignments in ACL configuration.
-
MFA not triggering: Check MFA profile configuration and token settings.