Installing the HySecure Gateway on Azure
Follow the step-by-step guide on how to install HySecure Gateway on the Azure platform.
Prerequisites
- New or an Existing tenant in Azure.
- Global Azure Admin Access.
- Role: Owner
Steps to install HySecure Gateway
-
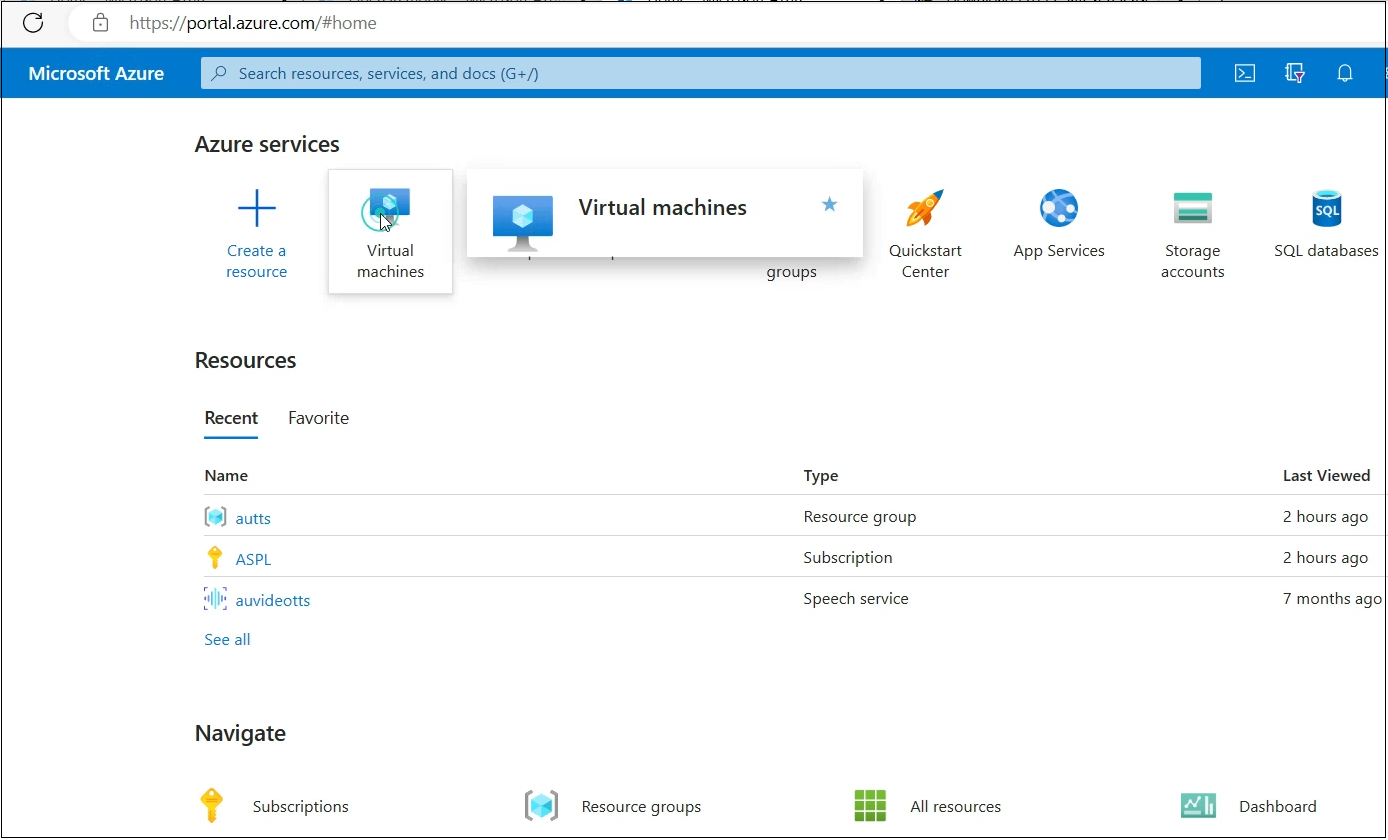
Log into the Azure portal.
-
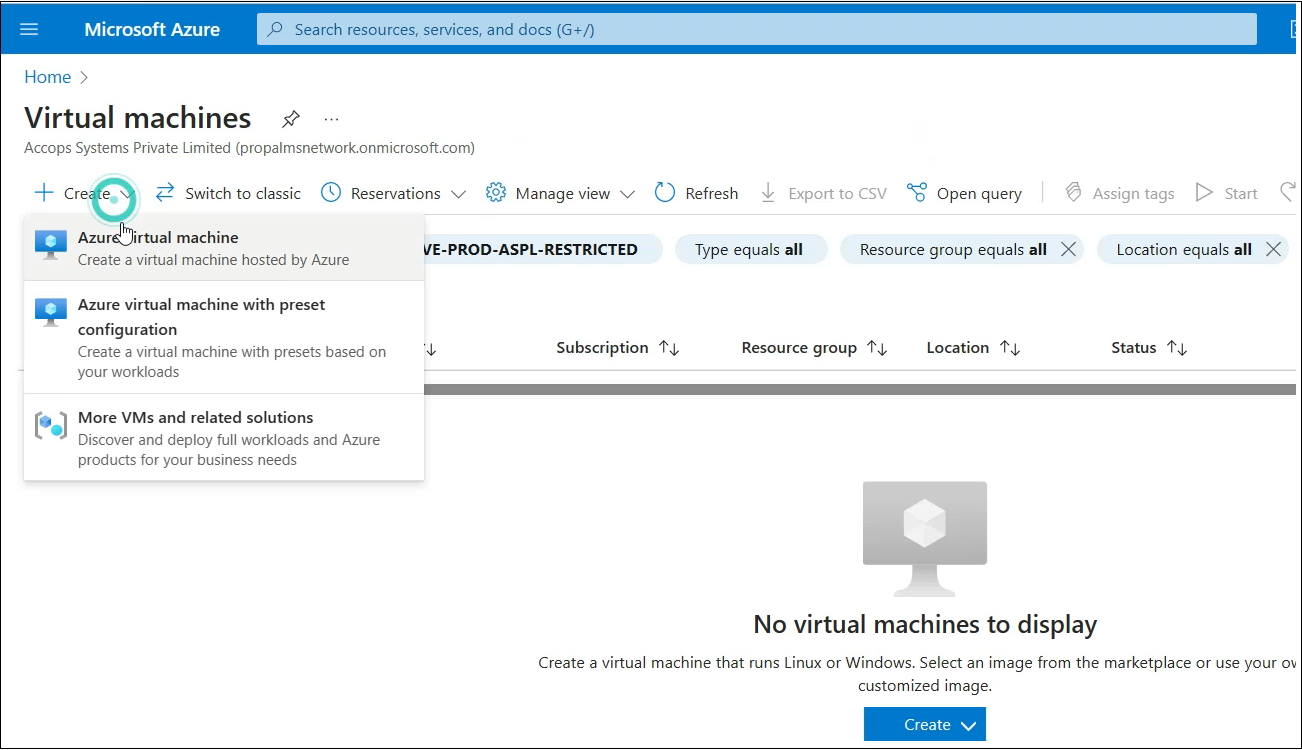
Navigate to the Virtual Machine (VM) section.
-
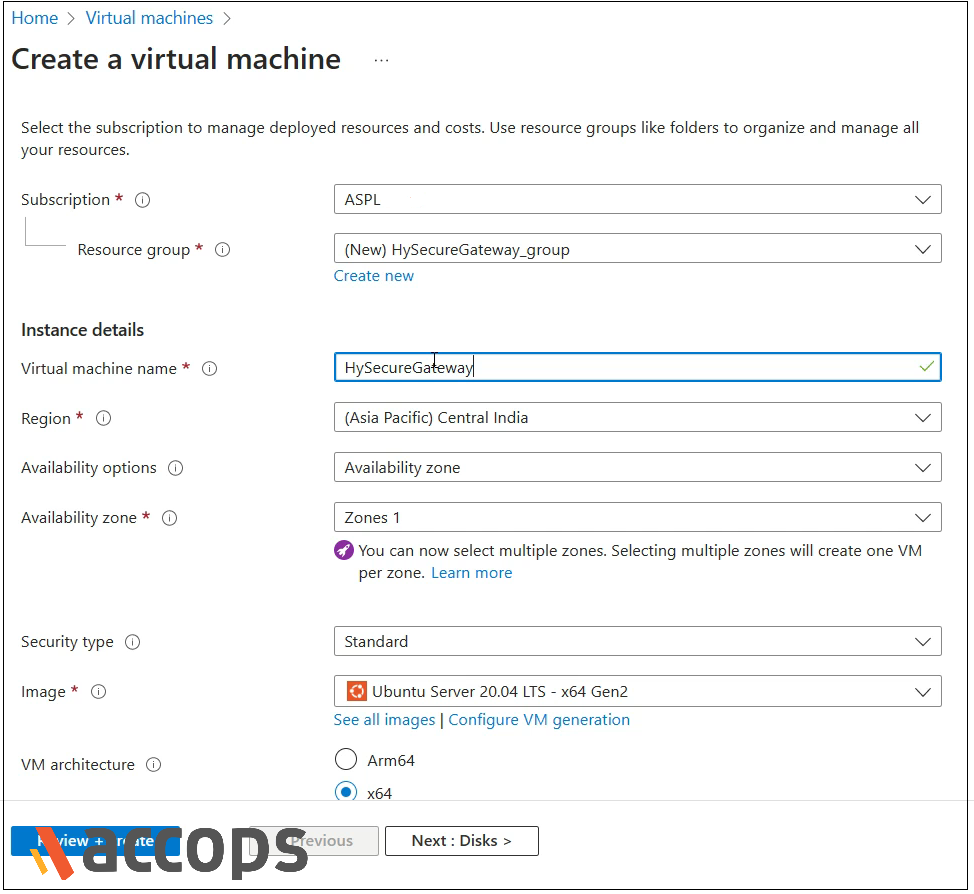
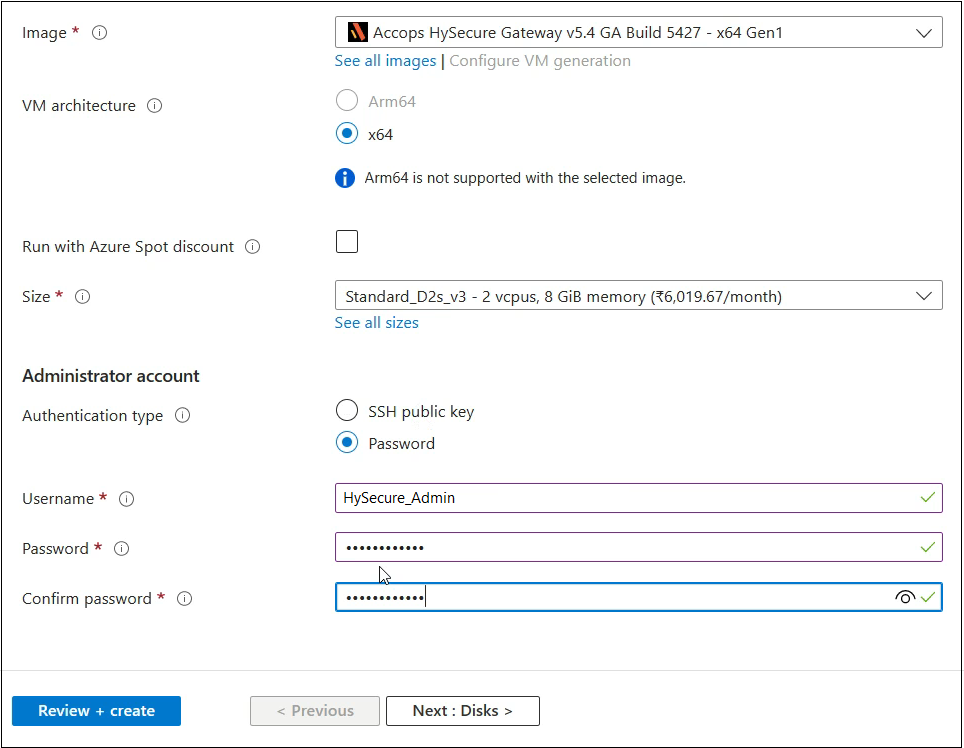
Enter an appropriate name for the instance.
-
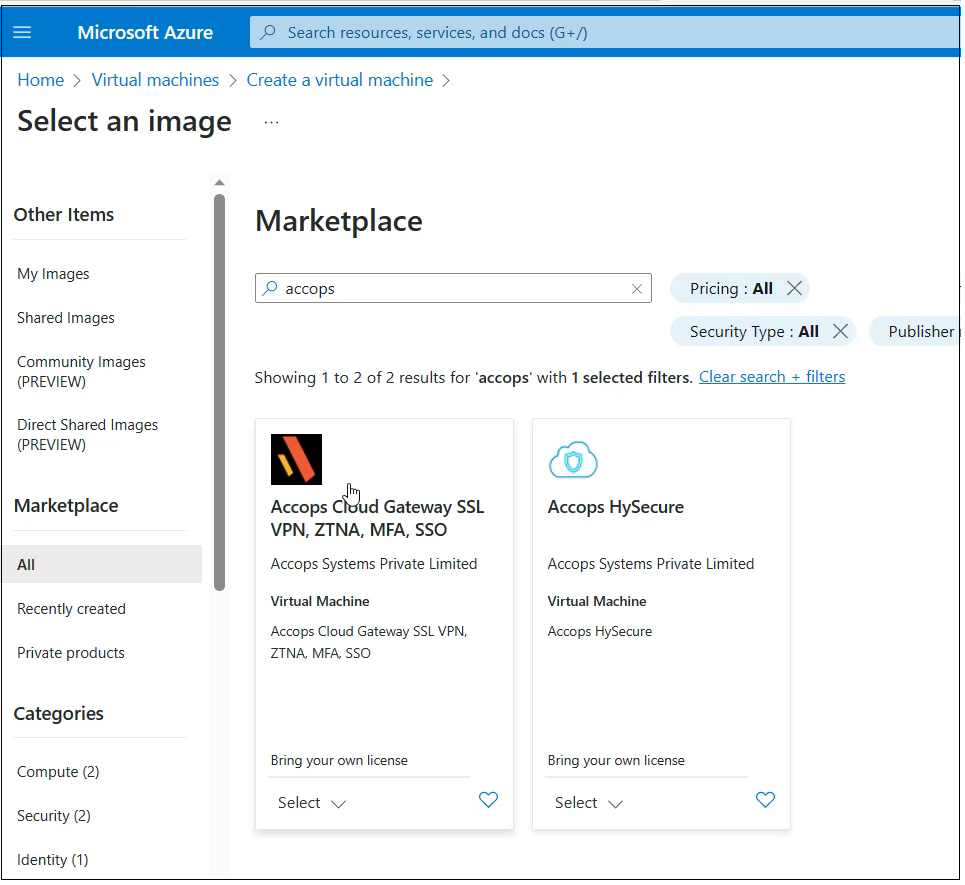
Search for the latest image of HySecure - Accops Cloud Gateway, SSL VPN, ZTNA, MFA SSO.
-
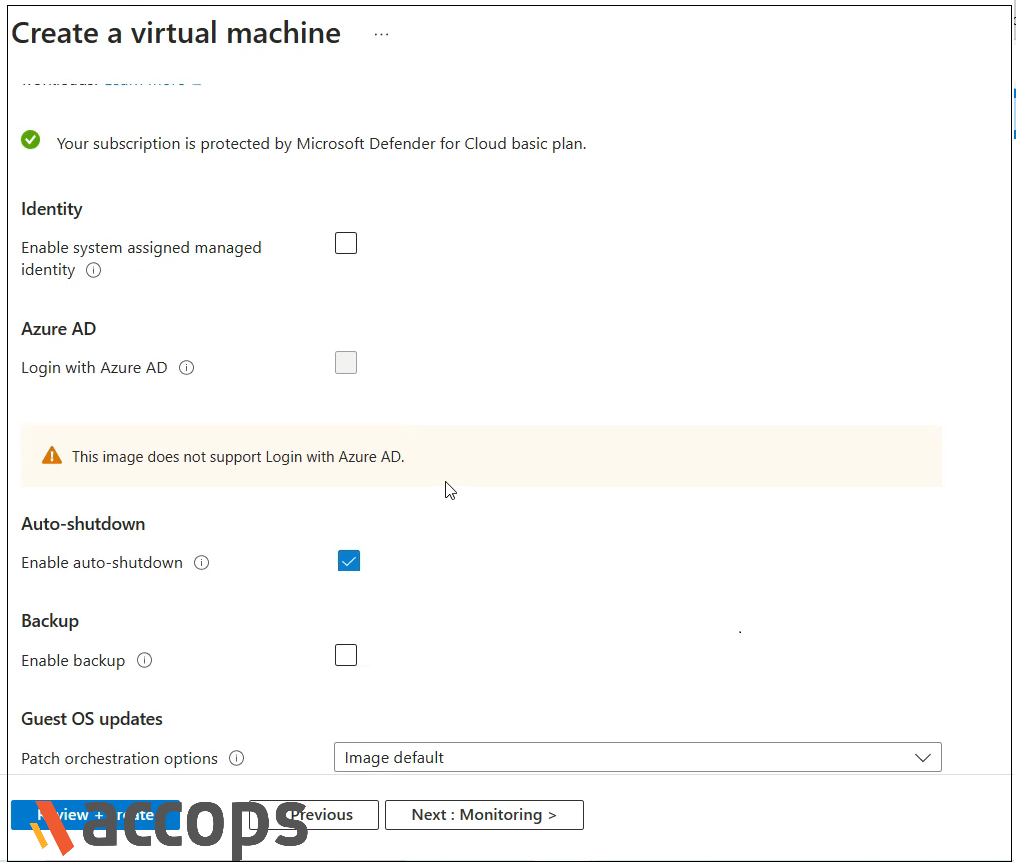
Navigate and configure the desired authentication type. Choose between an SSH public key and a password. Here, for demonstration, we have chosen Username and Password. Remember to uncheck the Auto shutdown option.
-
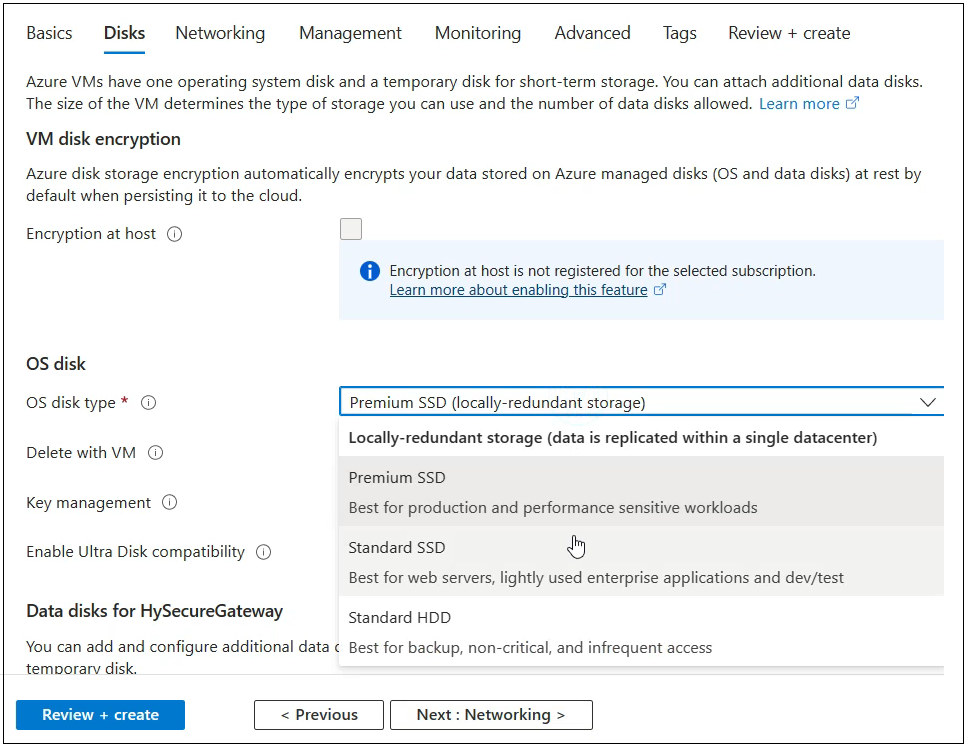
Navigate to the Disks settings and choose either a Premium SSD or a Standard SSD.
-
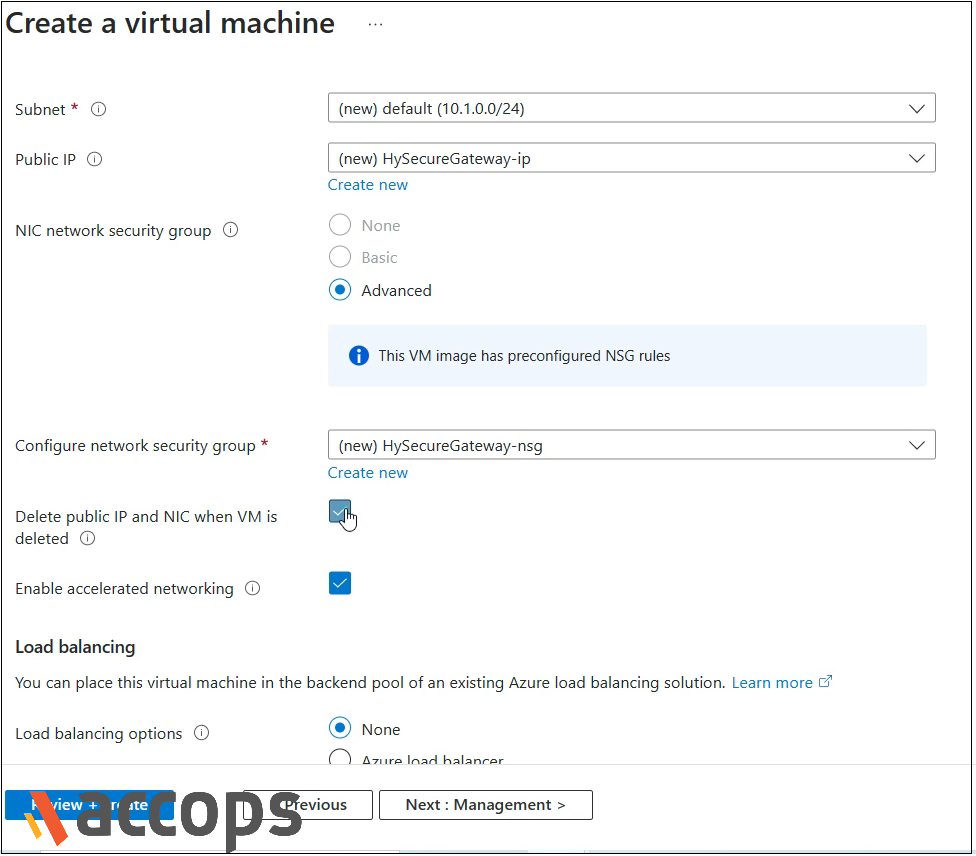
Navigate to the Networking settings. Check then Delete public IP and NIC when VM is deleted option.
-
Navigate to the Management settings.
-
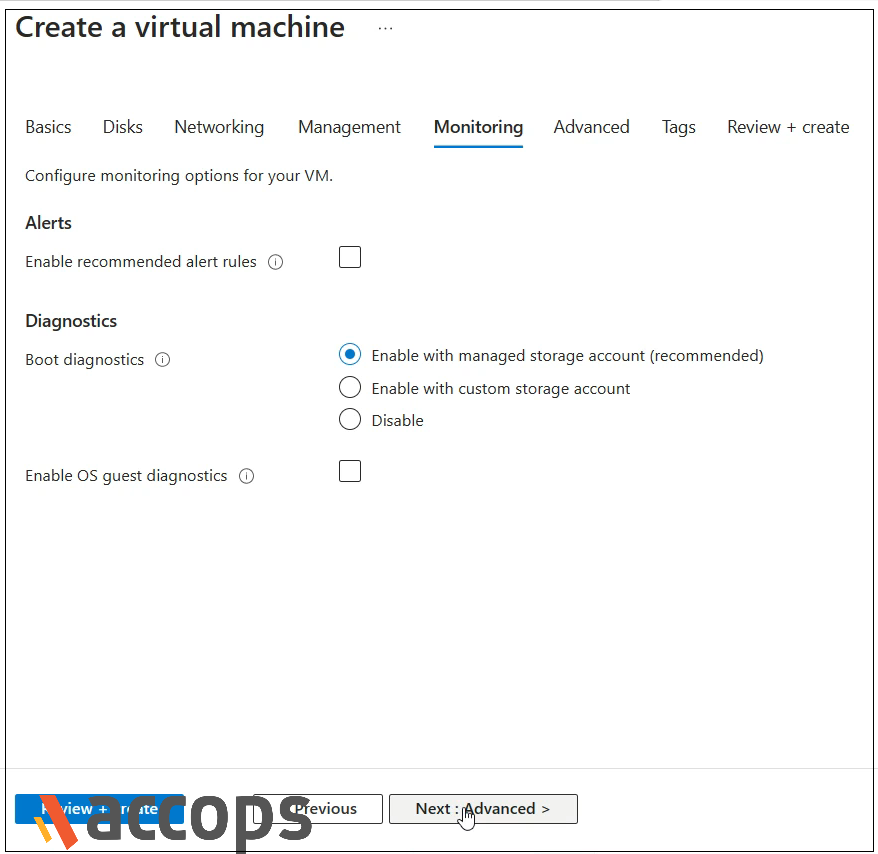
Navigate to the Monitoring settings and make the desired changes.
-
Navigate to the Advanced and Tags settings. Make the desired changes.
-
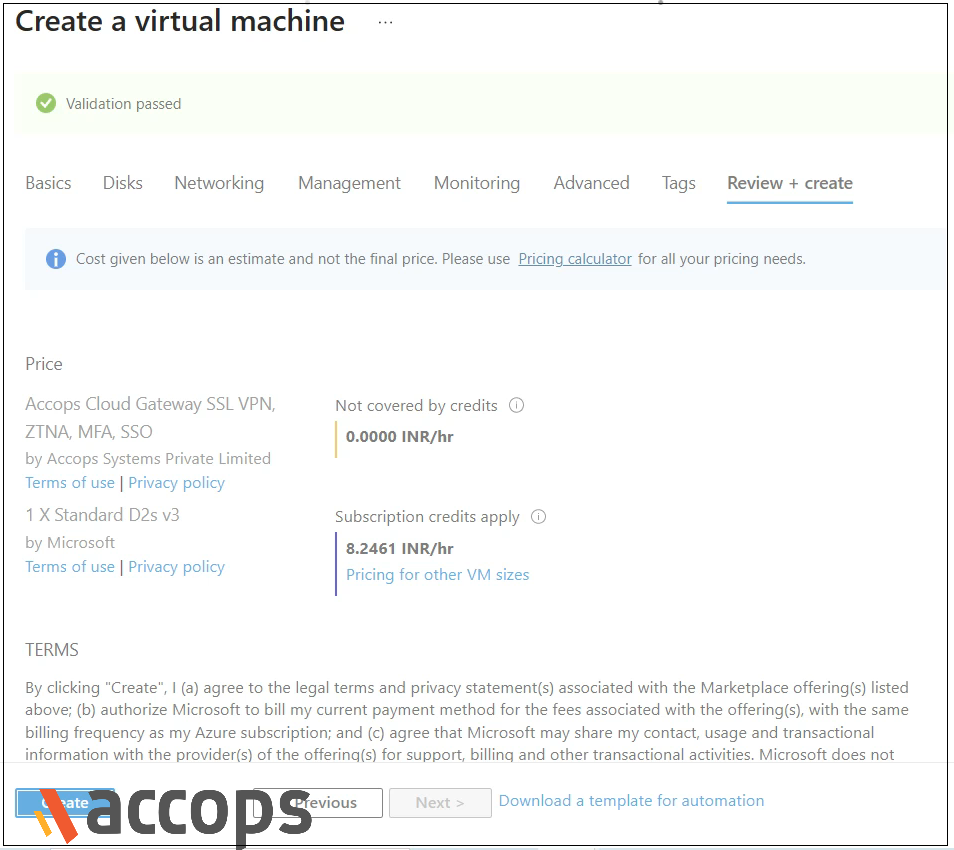
Navigate to the Review + create section. Review the configuration and power up the VM.
-
Once the VM is powered on, copy the public IP Address provided by Azure and paste it into the browser. Precede the IP Address with https://, and press Enter to access the freshly installed HySecure Gateway.
This completes the HySecure installation on Azure.
For the next step, refer to the Pre-Boot process here.