Additional Configuration: Clients
How to add a custom logo on HyWorks Client
HyWorks clients can be configured to use a custom logo per the organization's requirements. To change the default logo, follow the below-given steps:
-
Log in to the HyWorks Management Console with super administrator privileges.
-
Navigate to Workspace > Organization.
-
Select the organization and click Edit.
-
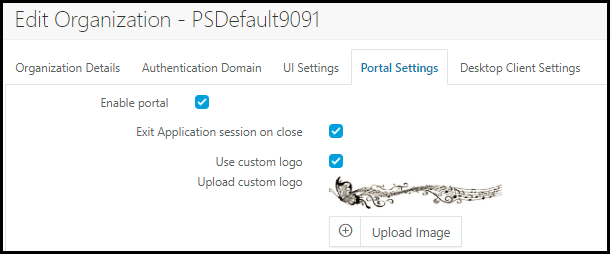
In the Edit Organization wizard, go to the Portal Settings tab.
-
Select the checkbox Use Custom Logo to enable the option to Upload Custom Logo.
-
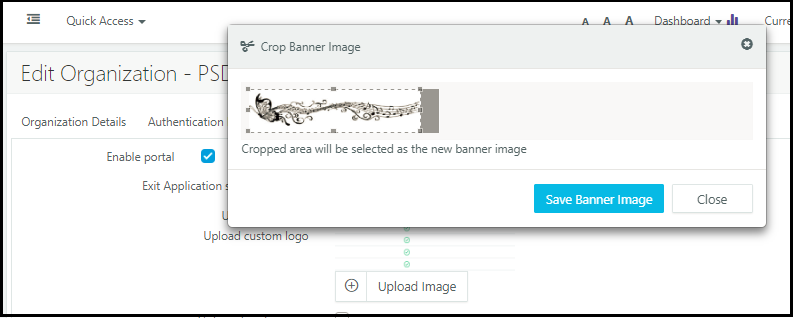
Click Upload Image and browse to select the image (Recommended Size: 200x49).
-
Select the appropriate area of the image and click Save Banner Image.
-
Finish the Edit Organization wizard to save the settings.
-
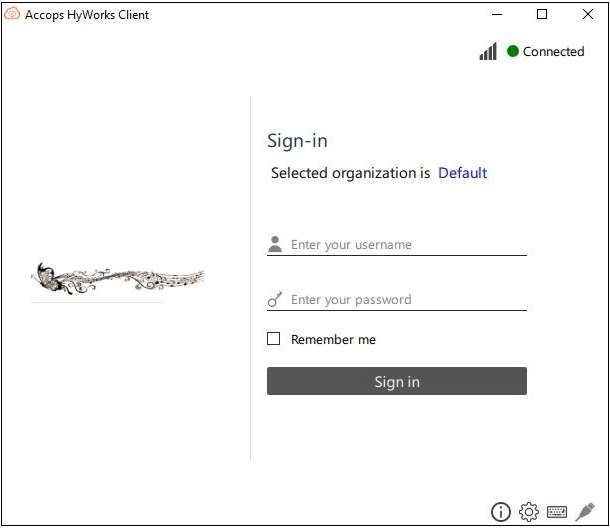
Exit the client if it is already running and re-launch.
-
The new logo will be used on the next login.