Hyper-V Connector
About Hyper-V Connector
Hyper-V connector is installed on Microsoft Hyper-V or SCVMM servers to enable them to be used as dedicated session providers in HyWorks deployments.
Note
- Copy the HyWorks setup locally on the target server. Running the HyWorks setup from the UNC path is not supported and will fail.
- Running the HyWorks setup may also fail during the file extraction process, if the logged in user has a roaming profile. Hence it is recommended to log in with local administrator user credentials.
The features supported by different Microsoft Hyper-V/SCVMM servers that are configured as dedicated session providers for HyWorks are listed here > Accops HyWorks Hyper-V Connector > Feature Support Matrix.
Server Support
Hyper-V Connector is a standalone installer that can be installed on the following types of servers:
-
Windows Hyper-V/SCVMM Server
-
Microsoft Hyper-V 2012 R2, 2016, 2019, 2022
- Microsoft SCVMM - 2016, 2019, 2022
Installation on the Hyper-V Servers
-
Access the Hyper-V Server with user credentials that have administrator privileges.
-
Download and copy the HyWorks Hyper-V Connector setup on the Windows Servers running the Hyper-V/SCVMM Service.
-
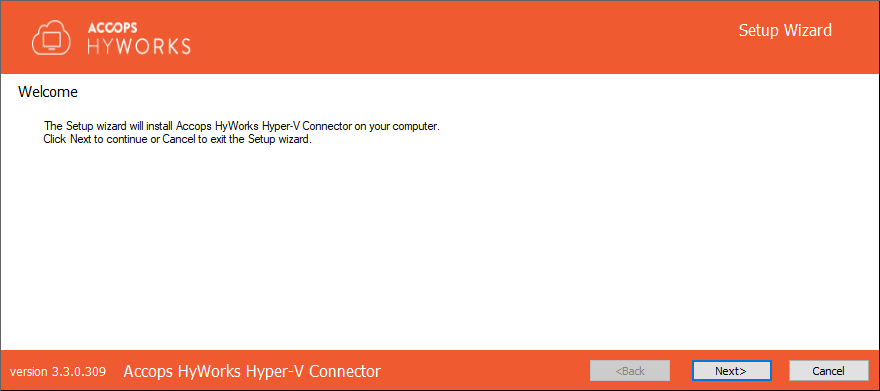
Double-click the Installer to invoke the Installation wizard.
-
Click Next.
-
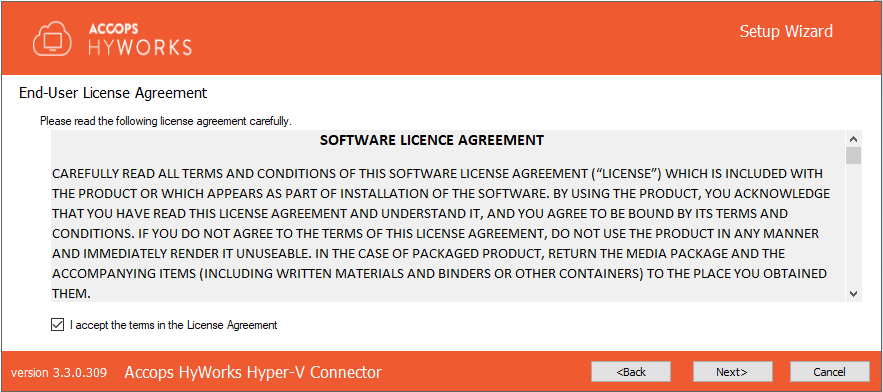
Accept the License Agreement by clicking I Agree and click Next.
-
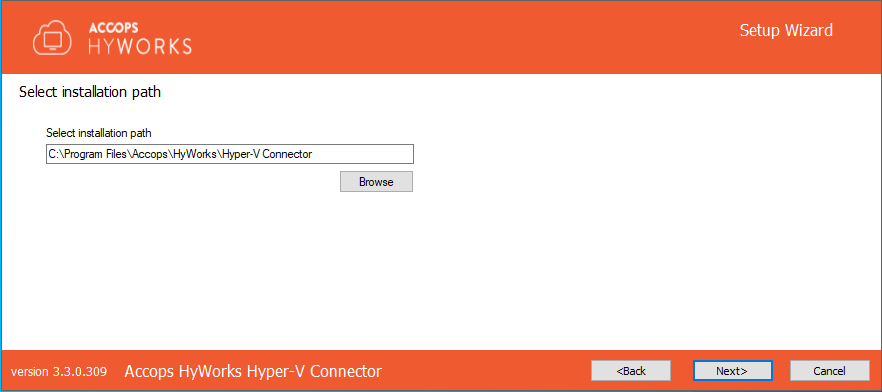
Choose the Installation Directory. Change the directory, if required, and click Next.
-
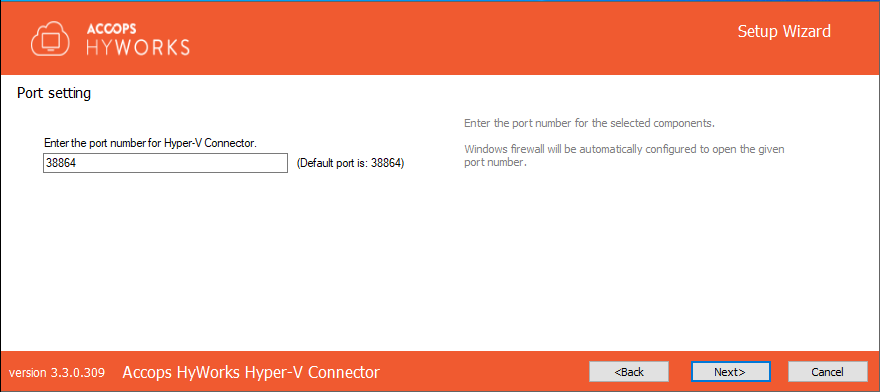
Change port number 38864 for the Hyper-V Connector service if required and click Next.
-
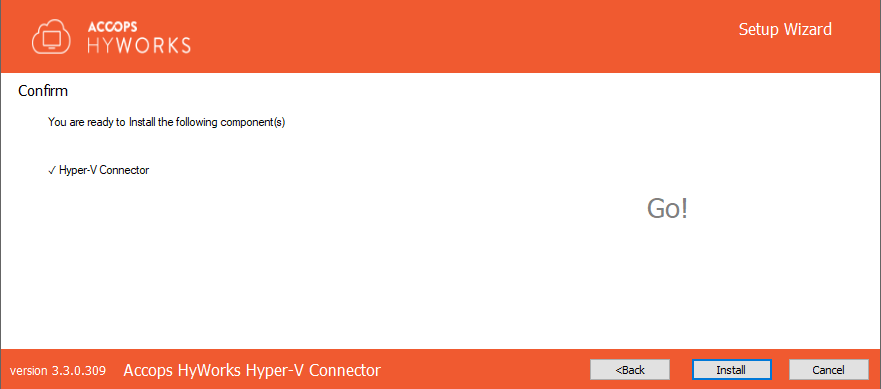
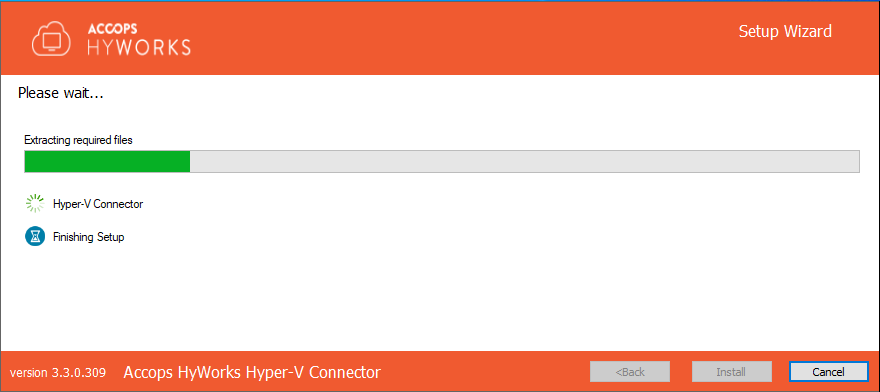
Click Install to start the installation process.
-
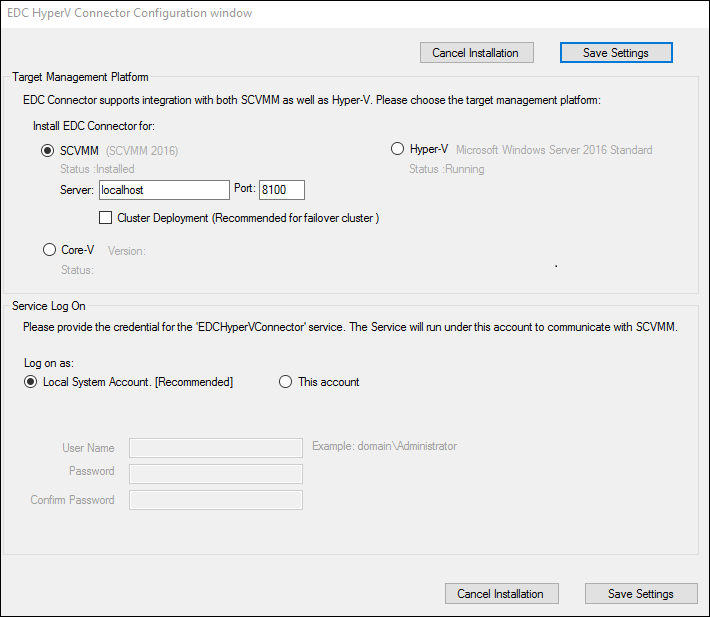
In the Hyper-V configuration window, select an appropriate service type that requires the connector to be installed.
Note
The configuration window will detect the installed service and will display options accordingly.
-
Select the Hyper-V option.
-
In the Service Log On section, select Logon as:
-
Local System Account (Recommended): This will install and run the Hyper-V connector service with the local system account.
-
This Account: Click this option to specify the Service Logon Credentials. Ensure the specified account has the Logon as a service rights on the system. The credentials should be provided in the domain-name\username or hostname\username format.
-
-
Click Save Settings.

-
-
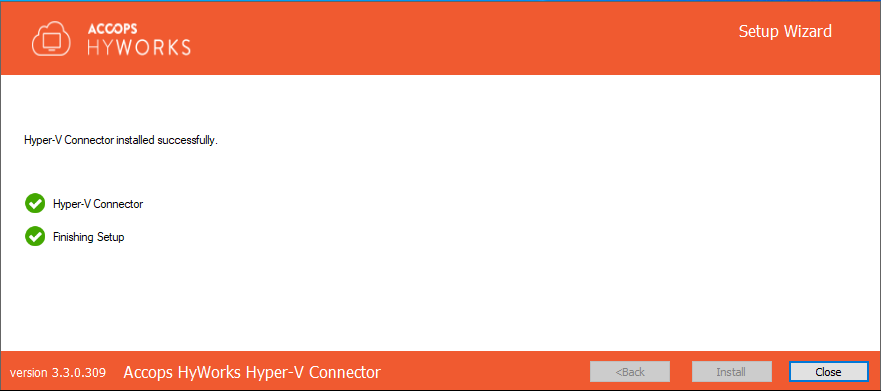
Once the installation is complete, click Close to close the installation wizard.
The server is now ready to be configured as the dedicated session provider in the HyWorks Controller.
Installation on the SCVMM Servers
Standalone SCVMM Server Deployment
For installation of the Hyper-V Connector on the SCVMM server, the installation process is the same as described in the Hyper-V section, except for step 10.a where the module to be selected must be the SCVMM server.
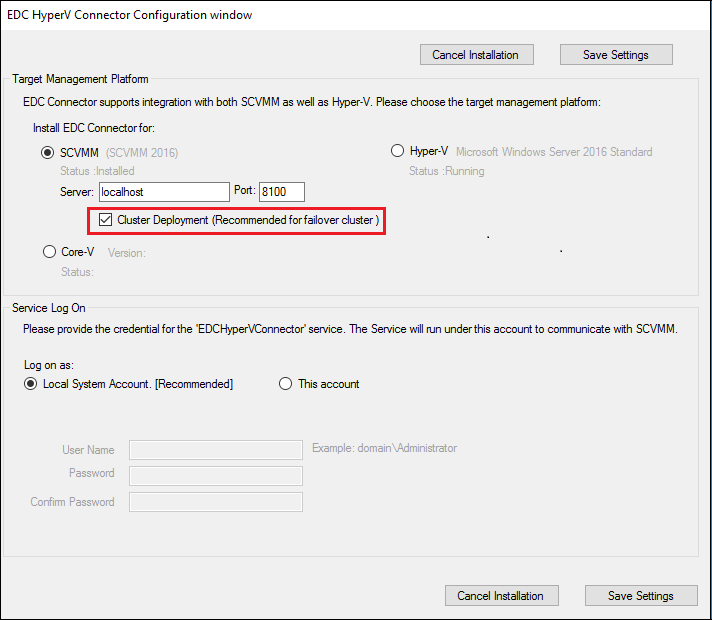
Clustered SCVMM Server Deployment
For a SCVMM Cluster environment, installation and configuration should be done under the supervision of the Accops team. For installation in the SCVMM cluster environment, the installation process will remain the same except that the Cluster Deployment option must be selected.
Installation Logs
HyWorks installation logs can be used for troubleshooting and verification purposes. Installation logs are generated and can be found at the following location:
<Hyper-V Installation Directory>\Hyper-V Connector\Logs,
e.g. C:\Program Files\Accops\HyWorks\Hyper-V Connector\Logsfail