Enhanced USB Redirection
SEP (Enhanced USB Redirection Driver) suite or components are used when an Enhanced USB redirection driver is used in HyWorks.
SEP is recommended for a shared desktop environment as it supports the isolation of the USB devices and does not share them in all the running sessions.
Note
-
The SEP license server controls USB redirection through the enhanced driver. Therefore, all DVMs should have the SEPAPP (SEP Server Module) configured with the appropriate SEP license server.
-
The license server should have appropriate policies configured for USB redirection.
-
Enhanced USB redirection requires extra licensing costs.
SEP Versions and Installation Requirement
-
Client Side (Hy2000/3000/4000): v3.0 (Integrated with HyDesk)
-
Client Side (Windows/Hy3020): Default v3.03
- For 64bit Client OS: v4.07 (uninstall default SEP Client v3.03)
-
Server Side: 4.07 (need to be installed and configured separately)
Operating System Support
-
Server side: WIN7, XP, Server 2008 R2 (32-bit, 64-bit), Server 2003 (32-bit, 64-bit);
-
Client side: WIN7, WES7, Linux, ARM;
-
License & Policy servers: WIN7, WES7, XP, XPE, Server 2008 R2, Server 20012 R2,
SEP Component Installation
-
SEP License Server: License and Policy Management.
-
SEP Server: Also referred to as SEPApp, needs to be installed on the target DVM.
-
SEP Client: A compatible SEP Client must be installed on the HyDesk devices or the client machine.
-
HyDesk Hy2000, Hy3000, and Hy4000 include the SEP Client by default and do not require additional installation.
-
HyDesk Hy3020: If the Server side module is v4.07, the SEP Client v4.07 should be used, and any existing default SEP Client should be removed.
-
Windows Client: For 64-bit OS, the SEP Client version 4.07 should be used.
-
SEP License Policy Server
-
Download the latest version of the SEP License Server on the server to be configured as the SEP License Policy server.
-
The server must always be available; otherwise, the USB redirection will be affected.
-
The server's IP address must be static so that the SEPApp on DVMs can always connect to it.
-
The Windows 3rd Party firewall should be disabled to support the communication of the License Server.
-
-
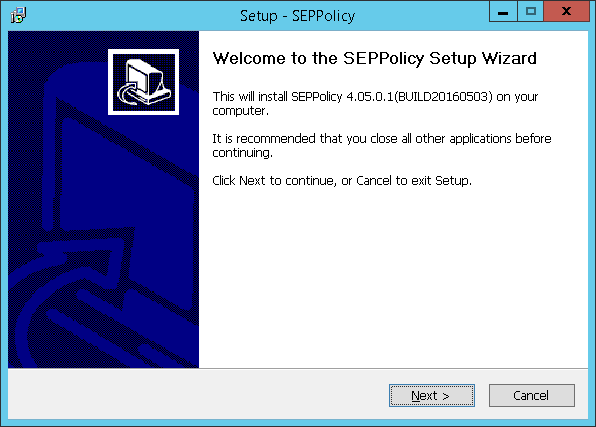
Connect to the server that is to be configured as the SEP License and Policy Server with user credentials that have local administrator privileges. Double-click the SEPPolicy setup to invoke the Installation wizard. Click Next.
-
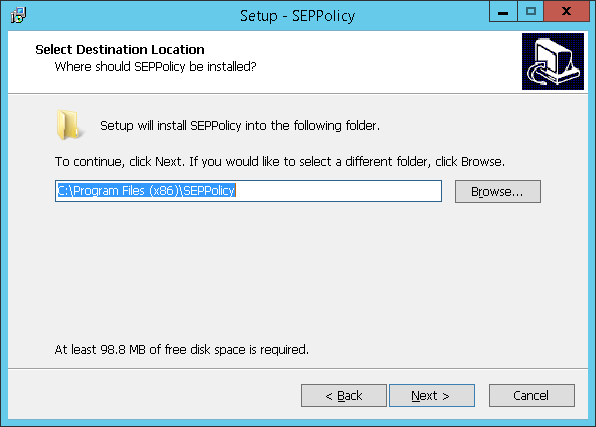
Select the Installation folder. Change the default Installation Directory, if required, and click Next.
-
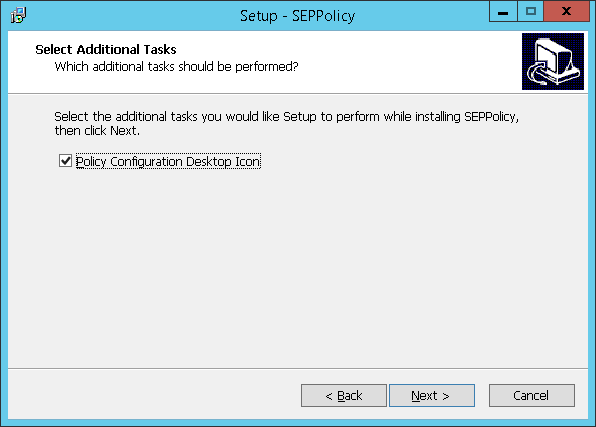
Enable the creation of desktop shortcuts and click Next.
-
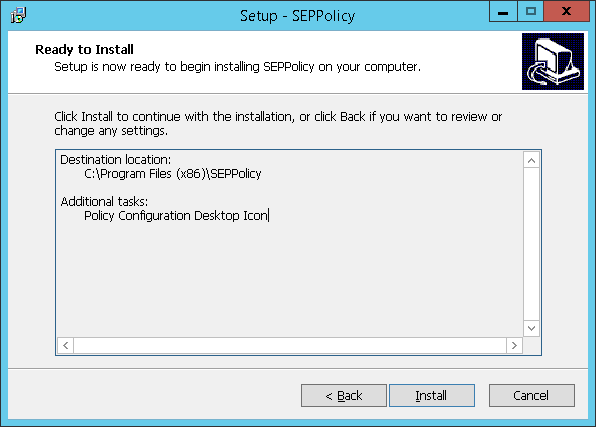
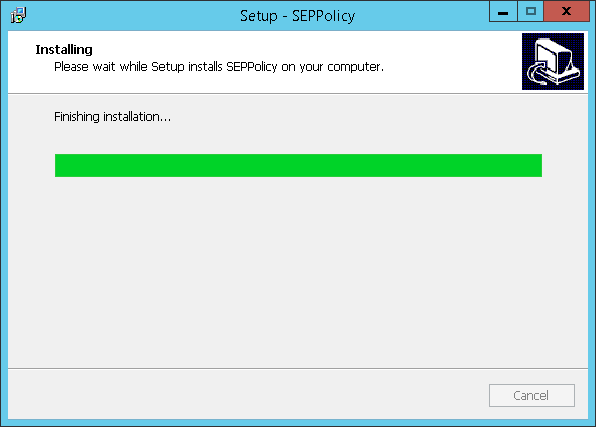
Click Install to continue the installation process.
-
Click Finish once the installation process is complete and exit the Installation wizard.
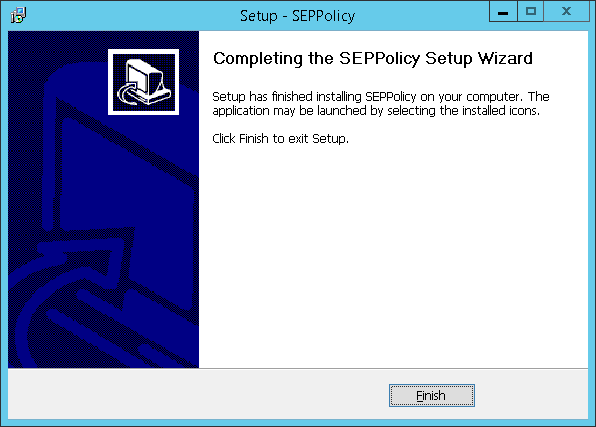
The SEP License/Policy server is ready and can be configured as the SEP Server on DVMs or RDS servers.
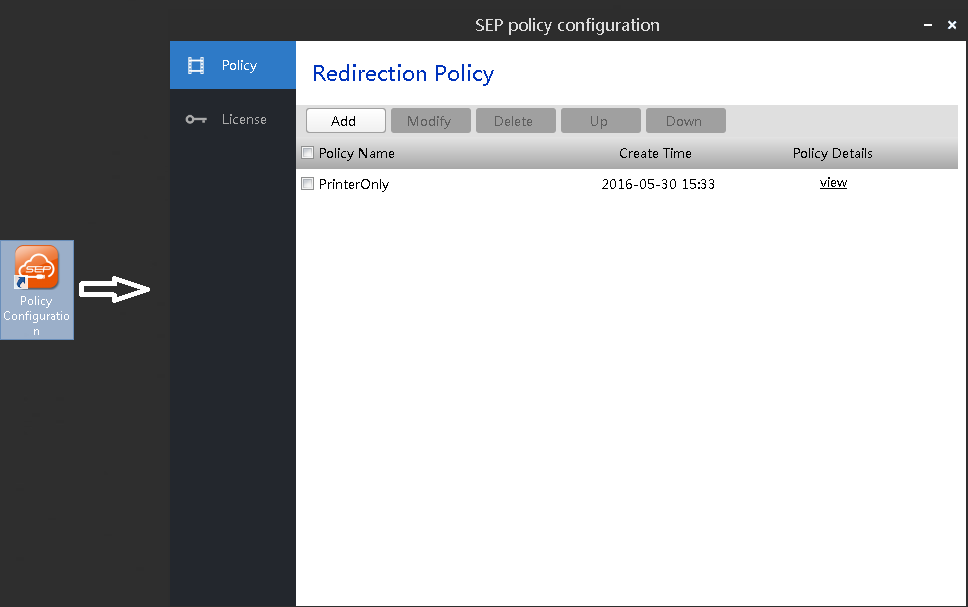
SEP Policy Configuration
Double-click the Policy Configuration shortcut displayed on the desktop to launch the SEP policy Configuration. Use this application to:
1.  Manage the **License** on the SEP Policy server.

2.  Manage the **USB Redirection Policies** (To allow smooth redirection by default, no policies are configured).
SEPAPP or SEP Server Installation
-
Log in to the DVM or shared hosted desktop with user credentials with local administrator privileges and download the latest version of the SEP Server (e.g., v4.07).
-
Double-click SEPServer Installer to open the setup wizard.
-
Click Next.

-
Accept the License Agreement by clicking on the I accept the agreement option and click Next to continue with installation.

-
Select the installation location. Change the default folder - C:\Program Files (x86)\SEPServer; if required. Click Next.

-
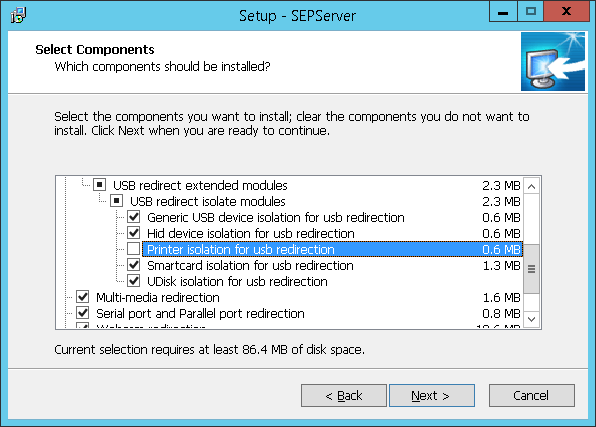
Select the Components that need to be installed and click Next.
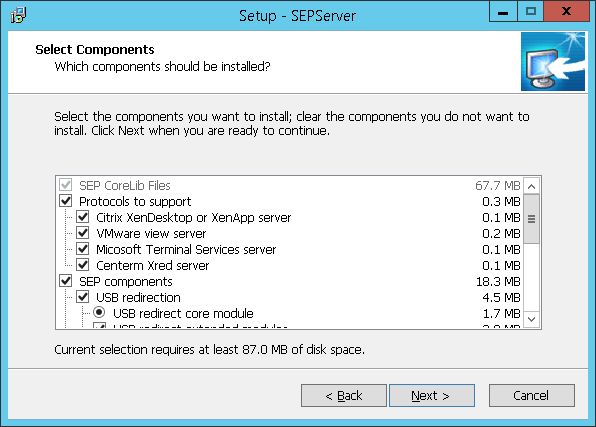
However, SEP supports isolating USB devices among sessions if the printer is required to be among the devices in the session. Uncheck the Printer isolation for usb redirection option during the installation process.
-
Configure the Start Menu Folder and click Next to continue with installation.

-
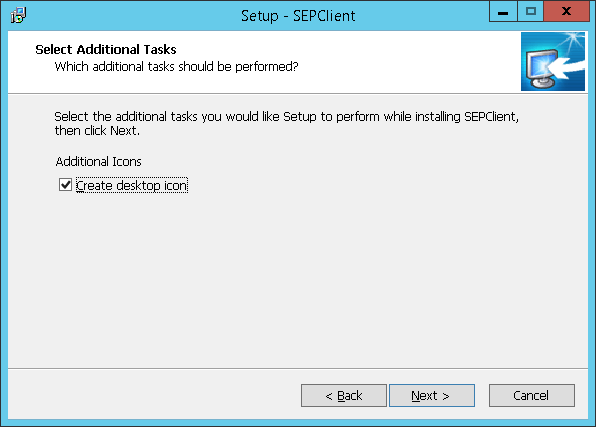
Keep the default selection on the Additional Tasks screen. Click Next.

-
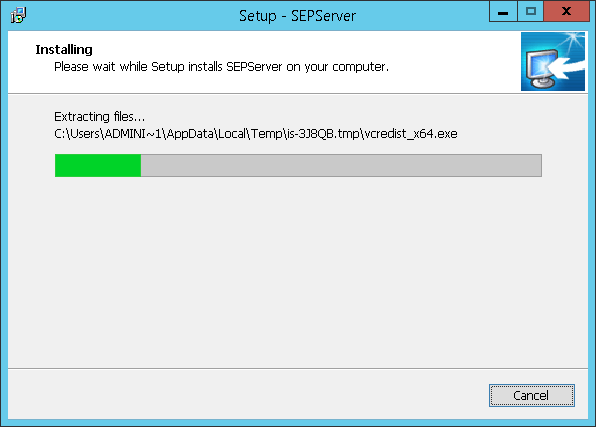
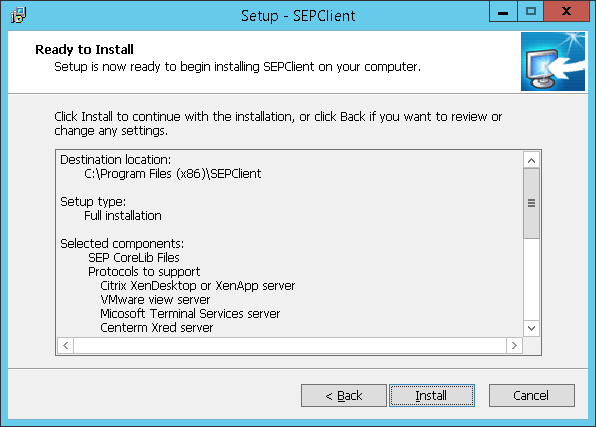
Click Install to proceed with the installation process and wait for the process to complete

-
Once complete, select the Yes, restart the computer now option and click Finish to exit the wizard.

SEPApp Or SEP Server Configuration
The following configurations must be done on the SEPApp to complete the setup:
License server configuration
Once installed successfully, the License server must be configured in the SEPApp:
-
The RDS Server/DVM will need to be rebooted to allow the installation of the SEP Server. A desktop shortcut, SEPApp, will be created on the desktop. Double-click on the shortcut to invoke.
-
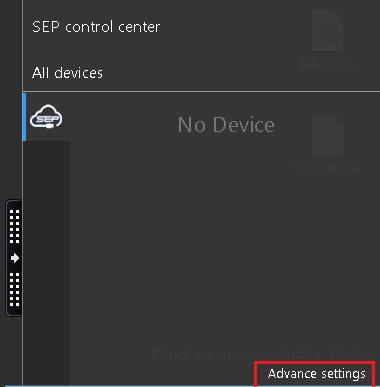
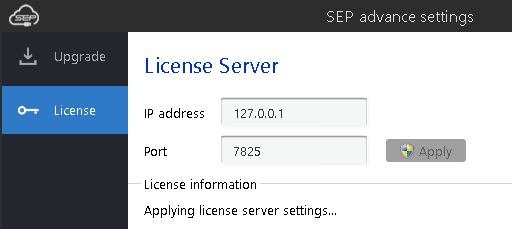
The SEP Control Center app will be expanded. Click Advance Settings.
-
Go to the License to provide the required License Server details and click Apply.
-
Once the configuration is successful, a message will be displayed asking the user to log out of the current session to allow the settings to take effect.
Disable New USB device pop-ups for all users
The SEP prompts the user for every available or newly connected USB device. This includes the connected USB Keyboard and Mouse, for which redirection does not work.
To avoid these prompts, follow the steps given below:
-
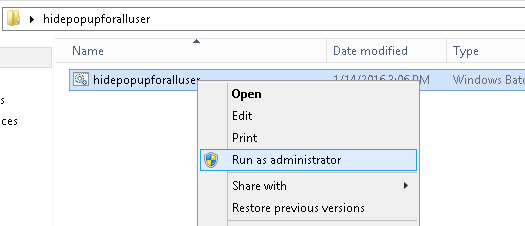
Log in as the Administrator on the target DVM or RDS Server on which the SEP server is installed.
-
Download the file hidepopupforalluser.zip and extract the content.
-
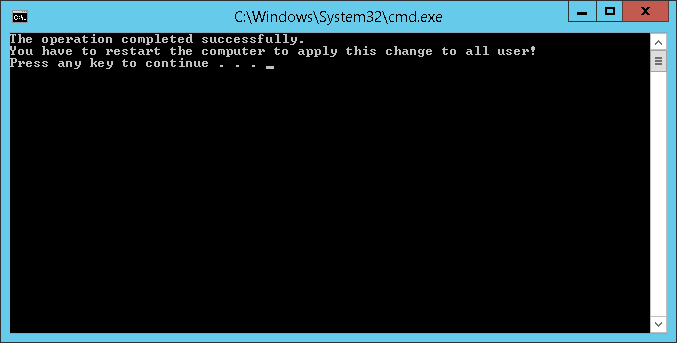
Right-click on the file hidepopupforalluser.bat and select Run as administrator.
-
Once the operation is complete, press any key to restart the server.
Disable Modules that are not required
-
RDS Server/DVM should reboot and be installed with the SEP Server. The desktop shortcut SEPApp will be created. Double-click on the shortcut to invoke SEPApp.
-
The SEP Control Center app will be expanded; click Advance Settings.
SEP Client Installation
Installing an appropriate client version on the client side is necessary for successful redirection. When working with HyWorks, the following types of clients are available:
-
HyDesk 2000, Hy3000, and Hy4000 devices: These HyDesk devices come integrated with the SEP client and do not require additional installation.
-
HyWorks Client for Ubuntu Desktop: The SEP client integrates with the HyWorks Client for Ubuntu and does not require additional installation.
-
HyDesk Hy3020/HyWorks Client on Windows Desktop: With Windows or the HyDesk Hy3020 client, the SEPClient v4.07 is provided in the HyWorks Client with Enhanced USB Redirection Driver package.
Follow the steps below to install the SEPClient on the Windows Desktop OS:
-
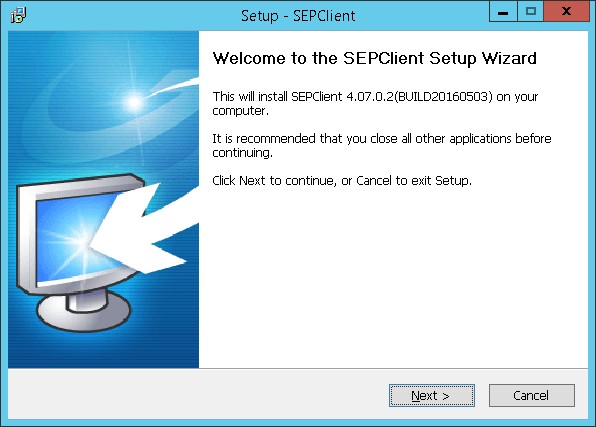
Download the SEPClient v4.07 on the Windows desktop for client use.
-
Double-click the setup to invoke the Installation wizard and click Next.
-
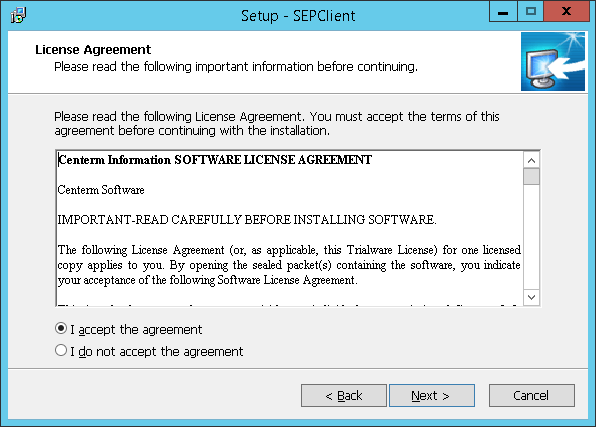
Accept the License Agreement by clicking the I accept the agreement option. Click Next.
-
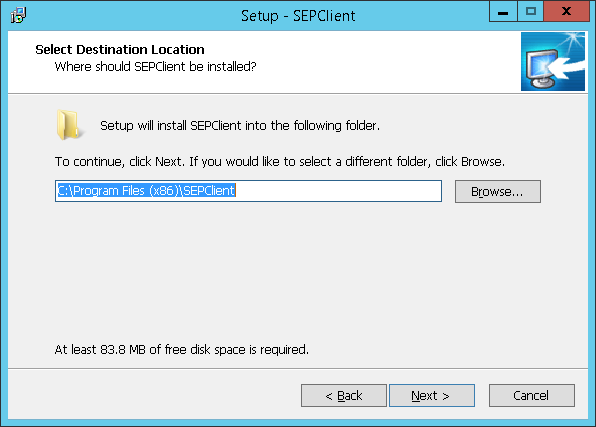
Choose the installation folder and click Next.
-
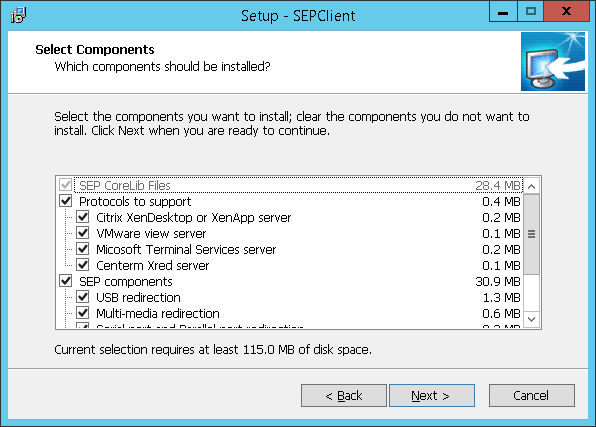
Select the components that need to be installed and click Next.
-
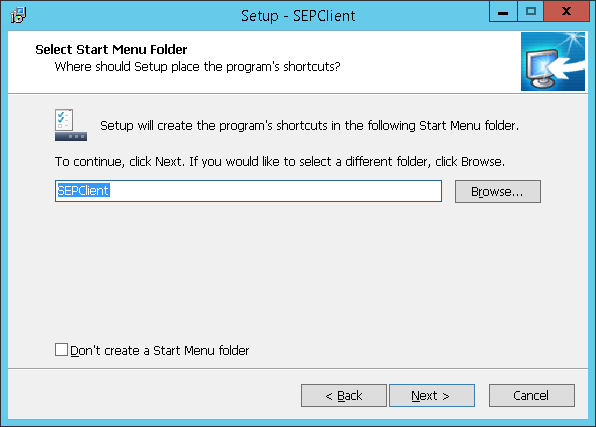
Upon selecting the Start Menu Folder screen, click Next.
-
Select the folder you want to create the shortcut and click Next to proceed with the installation.
-
Click Install to proceed.

-
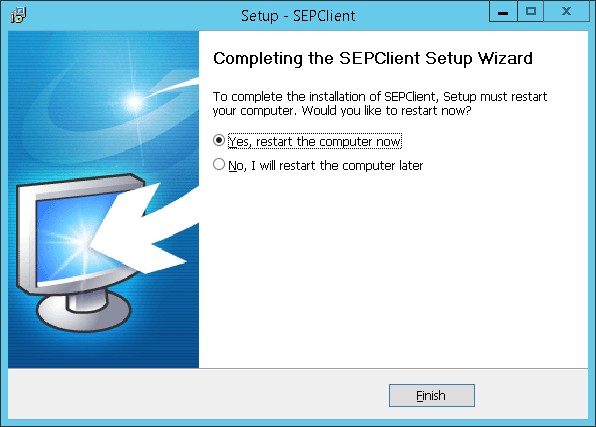
Select Yes, restart the computer now, and click Finish to reboot the desktop/HyDesk Hy3020 device to complete the installation process.
Note
If an older version of the SEPClient is installed on the system, it will need to first be uninstalled completely.
Enable/Disable SEP, SEP Modules, or Specific Devices
Configure redirection of specific devices and enable/disable specific modules from the SEPClient.
SEP Client Configurations on Windows Endpoints
The HyWorks Client on Windows uses the SEP Client as an independent entity. While the SEP is controlled externally by the HyWorks Client, the installation and functionality of the SEP remains independent.
Launch the SEP Client window by clicking on the USB Client option and make any device act as a remote or local device.
Enable/Disable SEP
Disable the SEP Client using the toggle button at the top of the window.
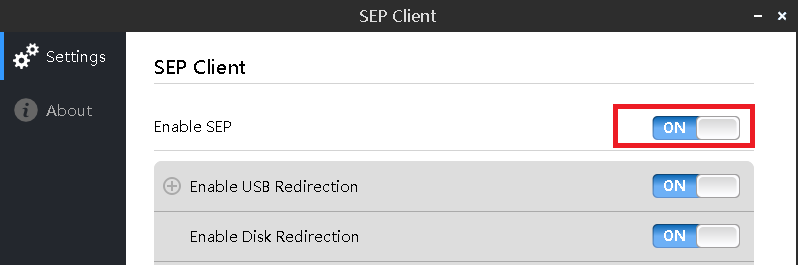
Enable/Disable SEP Modules
Use the respective toggle buttons to enable/disable any SEP modules. For example, to disable USB redirection, use the toggle button displayed against it.
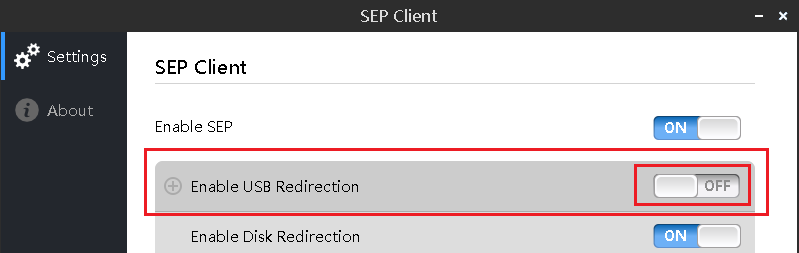
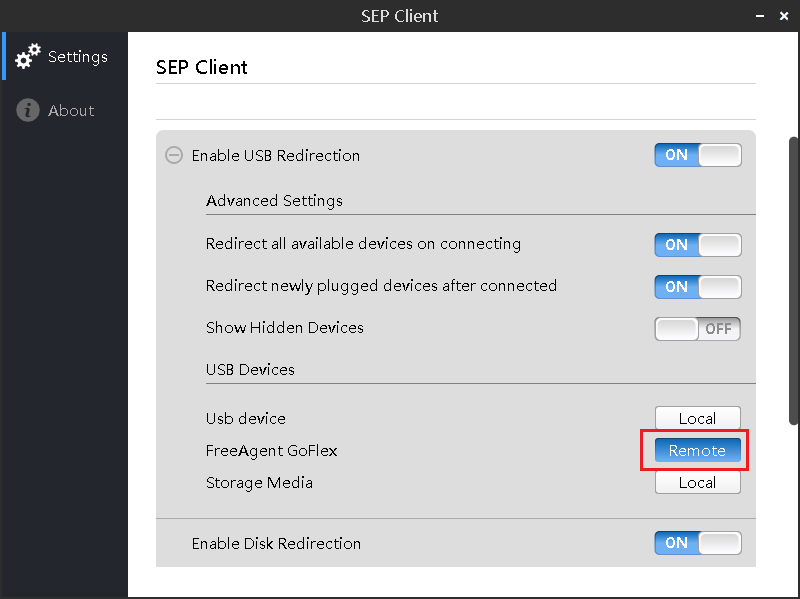
Enable/Disable Device
Once a module is enabled, it can be expanded to view its settings and available devices. For example, if USB Redirection is enabled on the client side and a few USB devices are plugged into the device, expanding the Enable USB Redirection section will display the settings and the option to make any plugged-in USB devices remote or local.
To redirect any specific device to a remote session, click the button to change the status from local to remote.
SEP Client Configurations on Linux Endpoints
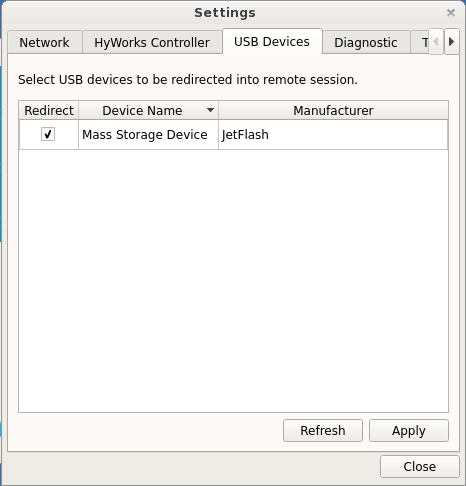
The SEP Client gets installed with the HyWorks Client on Linux desktops or Linux-based HyDesk devices, and it always works as an integrated module of HyWorks.
To view the USB devices, go to the Login screen > Settings window > USB Devices tab and select/deselect them.
Select the Redirect checkbox displayed against the Device name to enable the USB device to redirect in a remote session.
Server Side Configuration
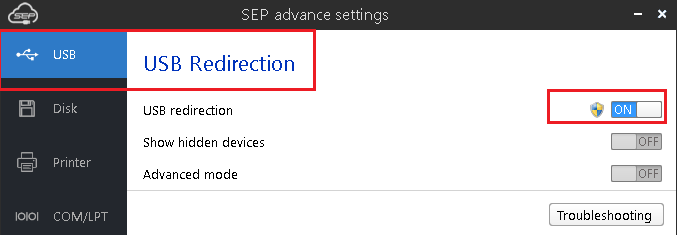
Enable/Disable SEP Modules
The toggle buttons provided against each module can be used to enable or disable modules.
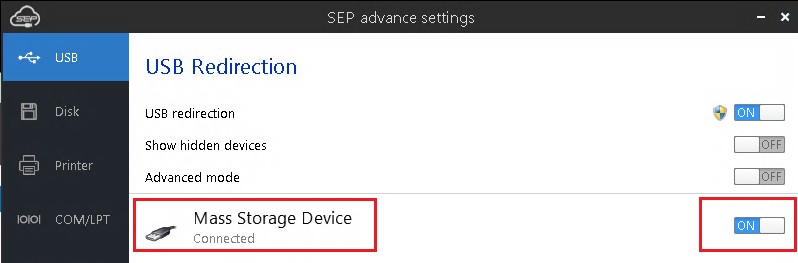
Connect/Disconnect USB Devices
As shown in the image below, the toggle button displayed against each connected USB device can connect or disconnect the USB devices in a remote session.
Troubleshooting
-
USB Hard Disks appear twice:
When the USB Hard disk is redirected using the SEP, it appears twice in the DVMs. The issue can be resolved by following the steps given below:
-
Log in to the Administrator account and open the command prompt to execute the following command:
> mountvol.exe /R > mountvol.exe /N -
By default, the SEP4.7.0 SEP License Policy server runs on port 7829. If the requirement is to configure it on another port, follow the steps listed below:
-
Go to directory C:\Program Files(x86)\Cinfin\CDS\runtime\conf\" file.
-
Update the port number.
-
-
MMR (Multimedia redirection) should be kept disabled on the SEP for better audio and visual performance using HyWorks.
References
-
USB Redirection in HyWorks
-
SEP User Manual