HyWorks DVM Tools Installation
This section provides information on installing the HyWorks DVM Tools on Windows desktop VMs.
Note
- Copy the HyWorks setup to the target server locally. Running the HyWorks setup from the UNC path is not supported and will fail.
- Running the HyWorks setup may fail during file extraction if the logged-in user has a roaming profile. Therefore, it is recommended to log in using local administrator credentials.
Overview
Accops HyWorks DVM Tools is an integrated software package installed on desktop virtual machines residing on hypervisors such as VMware ESXi, Microsoft Hyper-V, or Nutanix AHV. HyWorks DVM Tools provides end-users with trouble-free access to the desktop.
The DVM Tools package comprises the following components:
-
HyWorks Desktop Agent
-
HyWorks USB Cleaner (USB Disconnection/Remover Utility)
-
HyWorks USB Redirection Module [Built-In USB Redirection Driver (Server-side) module]
-
Accops Session Server Extensions
-
HyPrint: (Separated out in 3.6 versions). Requires Ghost script installation and configuration.
-
Accops Session Recording
-
AUEM (Accops User Experience Manager)
-
Virtual Camera: Available only on Windows 11 (Single-session desktops). On all other platforms, this option will be disabled.
-
Advance Drive Redirection: Requires internet to download and install dependencies (OpenSSH Client and Server). More details can be found here.
Refer to the Accops HyWorks DVM Tools section for details.
Download Links for Latest Packages
Check and download the latest HyWorks DVM Tools from the Accops Support portal or website.
The download link is also accessible from the HyWorks Controller Management Console > Help page.
Prerequisites
HyWorks DVM Tools for Windows requires .NET 4.7.2. Refer to the Software Requirements section for details.
Silent mode Installation steps (optional)
Use the following command to install the HyWorks DVM Tools for Windows silently:
HyWorksDVMTools.exe /S /desktopagent=1 /hyprint=1 /hyprintpdfprinter=1 /usbcleaner=1 /usbredirection=1 /EnableShdMode=0
For v3.6-SP2 or later
HyWorksDVMTools.exe /S /desktopagent=1 /hyprint=1 /hyprintpdfprinter=1 /usbcleaner=1 /usbredirection=1 /driveredirectionsmb=1 /VirtualCamera=1 /EnableShdMode=0
Note
- The
/hyprintparameter will install the Session server extension. - The
/hyprintpdfprinterparameter will install the HyPrint PDF printer. - Installing the PDF printer requires HyPrint to be installed.
- To skip installing any module, pass the flag as 0 instead of 1.
- By default, the EnableShdMode is disabled. This flag helps support the SHD Push feature.
Installation steps
-
Log in to the dedicated desktop using user credentials with local administrator privileges.
-
Download HyWorksDVMTools.exe. Verify the MD5 sum of the downloaded file.
-
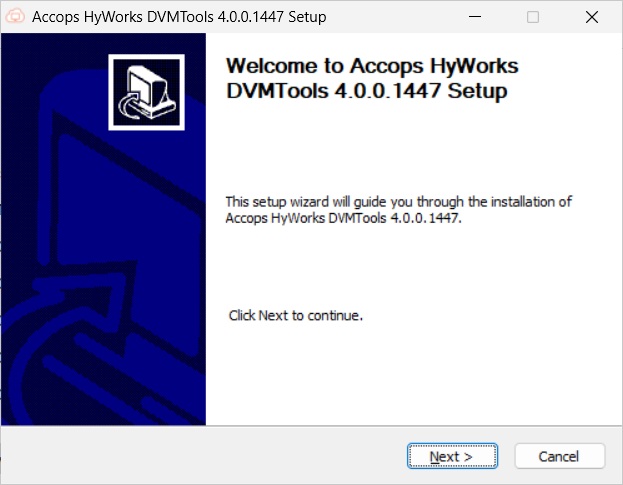
Double-click and launch the Installer. Click Next to proceed.
-
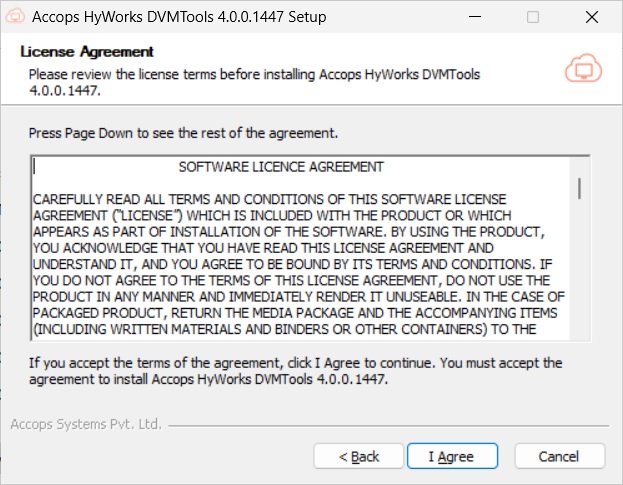
Accept the License Agreement by clicking I Agree.
-
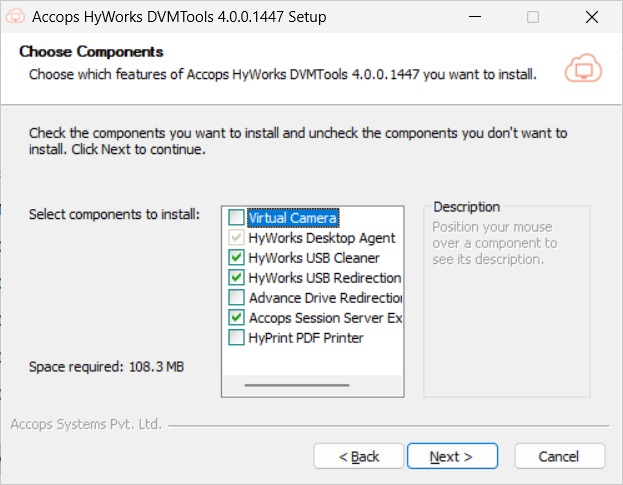
Select the modules to install, then click Next. Available modules are:
-
HyWorks Desktop Agent: (Auto-selected in latest versions).
-
HyWorks USB Redirection Driver (Built-in USB Redirection Driver): If USB redirection with the Built-in USB Redirection Driver is required, select this option.
-
HyWorks USB Cleaner: Module to remove attached USB devices on session disconnections. Use this in combination with the HyWorks USB Redirection Driver.
-
Accops Session Server Extensions: Session extensions for HyPrint, Light-speed Printers, Smart File Transfer, Clipboard, Request Redirection, etc. For features to work, compatible client versions should be available.
-
HyPrint PDF Printer: HyPrint PDF printer for PDF-based printing.
- In the latest versions, this option is separate and, when selected, prompts for an explicit dependency on Ghostscript. See more details here.
-
Virtual Camera: Another new feature for camera redirection. Initially, this is supported only on Windows 11+ single-session desktops and requires a compatible Linux Workspace client.
-
Advance Drive Redirection: For better performance than native drive redirection. Upon selecting this option, a prompt will appear to confirm internet availability for installing the required components. Details can be found here.
-
Options in DVM Tools:
-
-
-
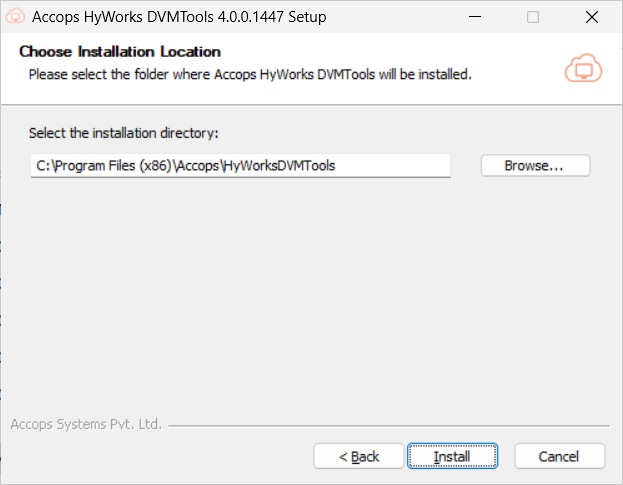
Select the destination folder and click Install to begin the installation process.
-
Once the installation is complete, click Finish. If you're upgrading, you'll be prompted to restart the desktop VM. The installation completes once the machine restarts.
Installation Logs
HyWorks installation logs can be used for troubleshooting and verification purposes. Installation logs are generated at the following location:
<DVM Tools Installation Directory>\HyWorks Desktop Agent\Logs,
e.g. C:\Program Files (x86)\Accops\HyWorks Desktop Agent\Logs
Post Installation Configurations
Install Ghostscript for HyPrint PDF Printer
Ghostscript is used for PDF-based printing in HyWorks. The latest versions of HyWorks DVM Tools and HyWorks Session Host Server are not packaged with Ghostscript and therefore do not install Ghostscript by default.
Recent setups provide the option to select components during installation. HyPrint is not selected by default. If HyPrint is chosen, the administrator will be prompted to manually install and set up the dependencies.
Attempting to print using the HyPrint PDF Printer on a system without Ghostscript will fail with the error:
"Generating PDF failed!"
This document outlines the steps to install and configure Ghostscript.
Applicable for versions: v3.6 or later.
-
Download the latest version of Ghostscript Setup (64-bit) from its release page:
https://github.com/ArtifexSoftware/ghostpdl-downloads/releases- Last verified version: v10.03.1
-
Run the setup on the server where Session Host or DVM Tools are already installed.
-
If an older version of Ghostscript (e.g., 9.06) is present, the installer will prompt you to remove it. Confirm the action.
-
Allow the installation to complete.
-
-
Configure Ghostscript path:
-
After installation, open Registry Editor.
-
Navigate to:
HKEY_LOCAL_MACHINE\SOFTWARE\Accops\HyPrint -
Locate and update the following registry keys with the full path of the Ghostscript executable:
-
GhostScript_32_Path
(e.g.,C:\Program Files\gs\gs10.03.1\bin\gswin64.exe) -
GhostScript_64_Path
(e.g.,C:\Program Files\gs\gs10.03.1\bin\gswin64.exe)
-
-
Save the registry changes and close the Registry Editor.
-
-
Log out if the user is already logged in.
-
HyPrint should now function from the next user connection.