Installation
Installing Workspace Client on macOS
To install Workspace Client on macOS, follow the steps listed below:
-
Log in to the system with local administrator privileges.
-
Download the installer file of Workspace Client for macOS on the system (Refer latest releases on the Accops official website or support portal) and copy the Accops Workspace.dmg file to the Mac system.
-
Double-click the Workspace installer.dmg to mount. (e.g. Accops Workspace -7111011.dmg).
a. Wait for the macOS to open the dmg.
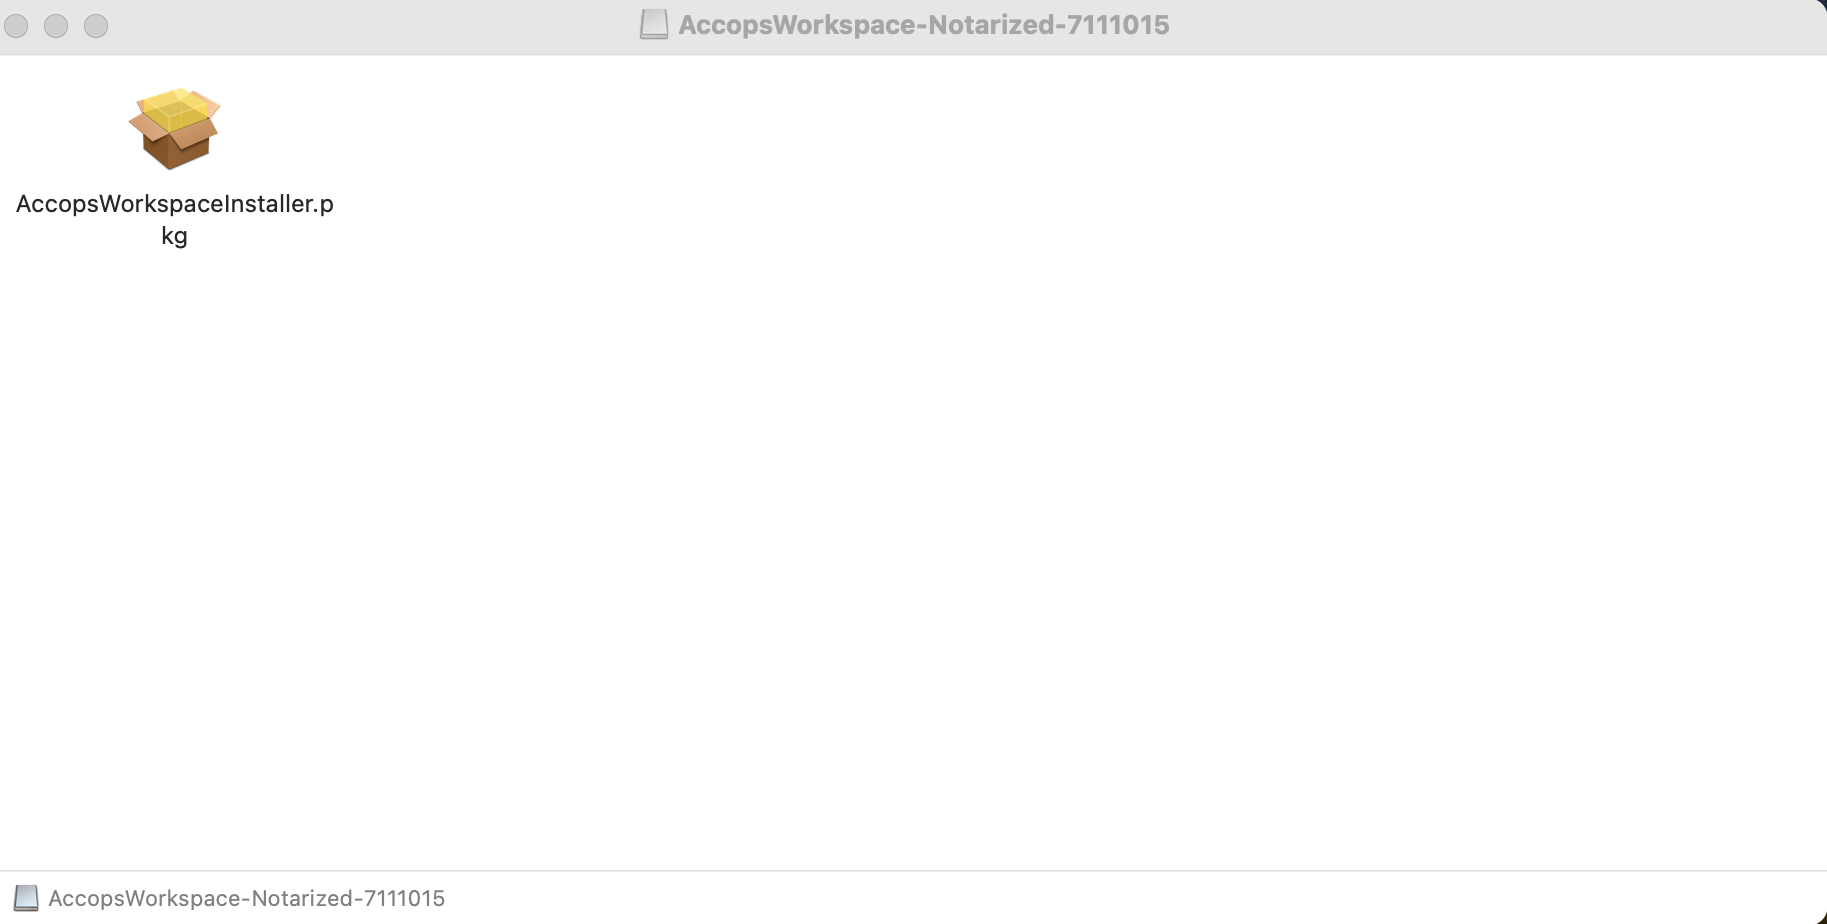
b. A window showing the contents of the dmg file, i.e., AccopsWorkspaceinstaller.pkg will appear.
-
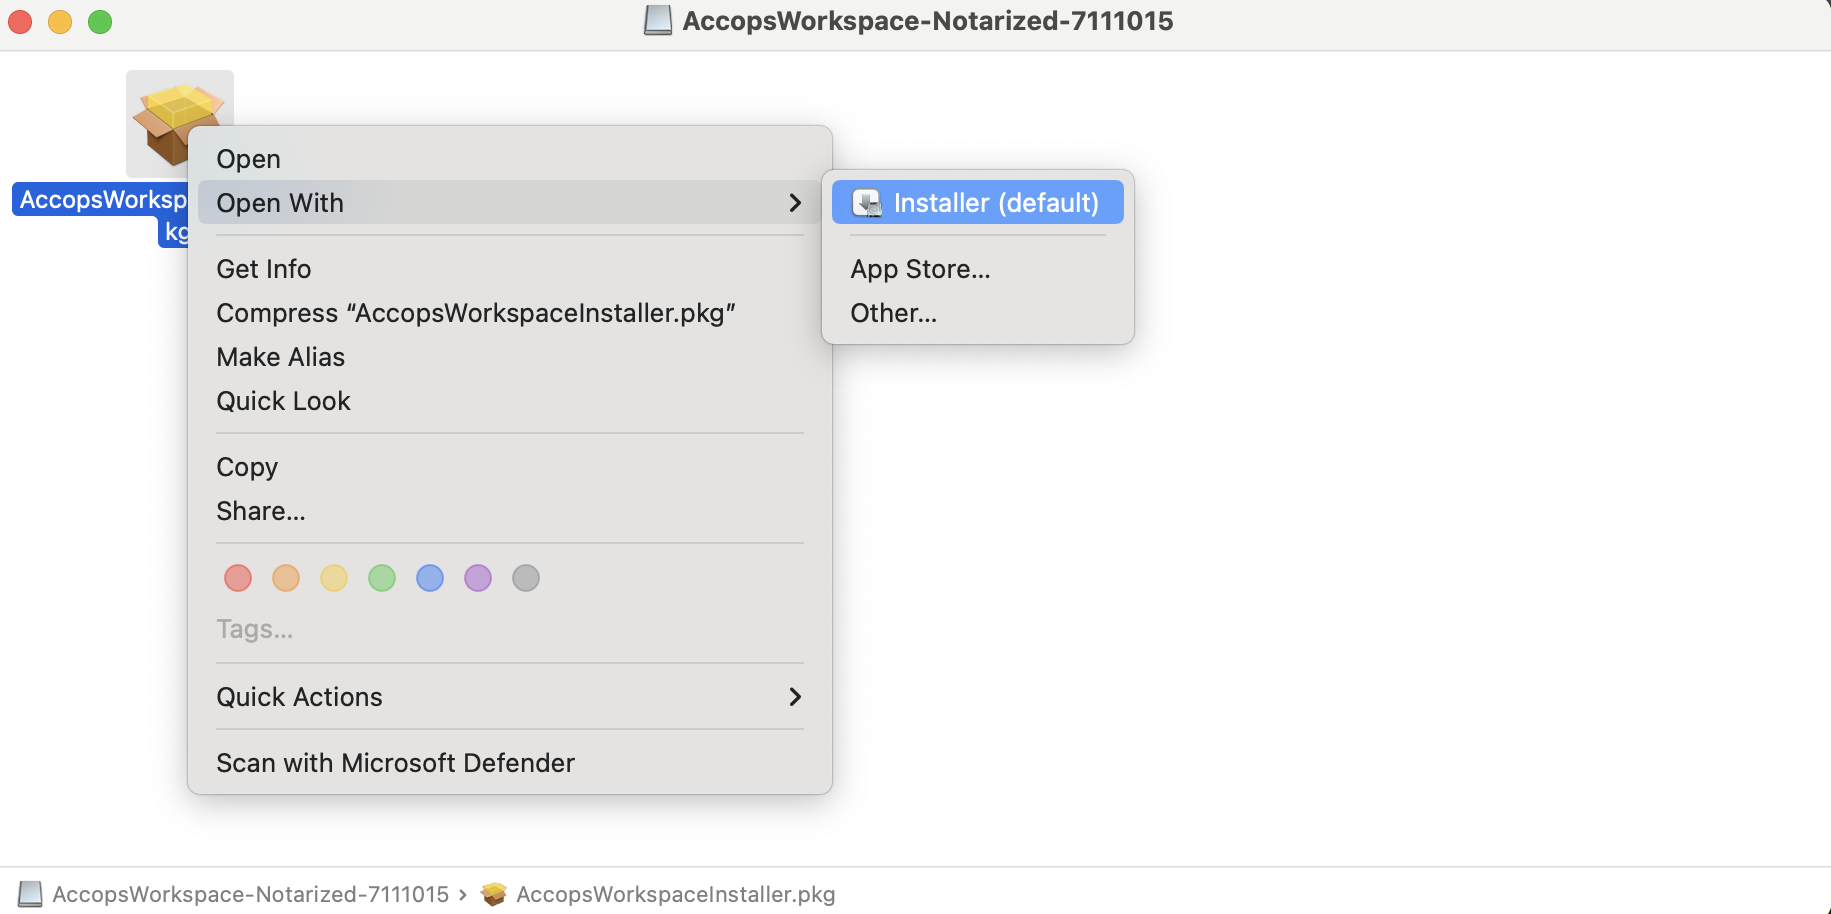
Right-click on AccopsWorkspaceinstaller.pkg and select the option Open With > Installer.
In case of Mac 15 and above, if the user does not get an open option, please go to Settings > Privacy & Security > Allow applications from > and select Open Anyway to proceed with installation.
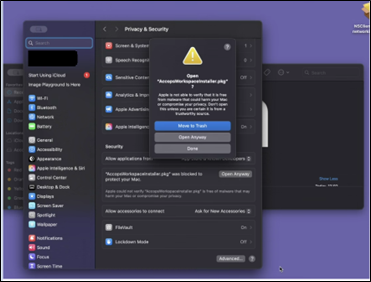
If any warning appears, click Open on the dialogue to continue the installation.
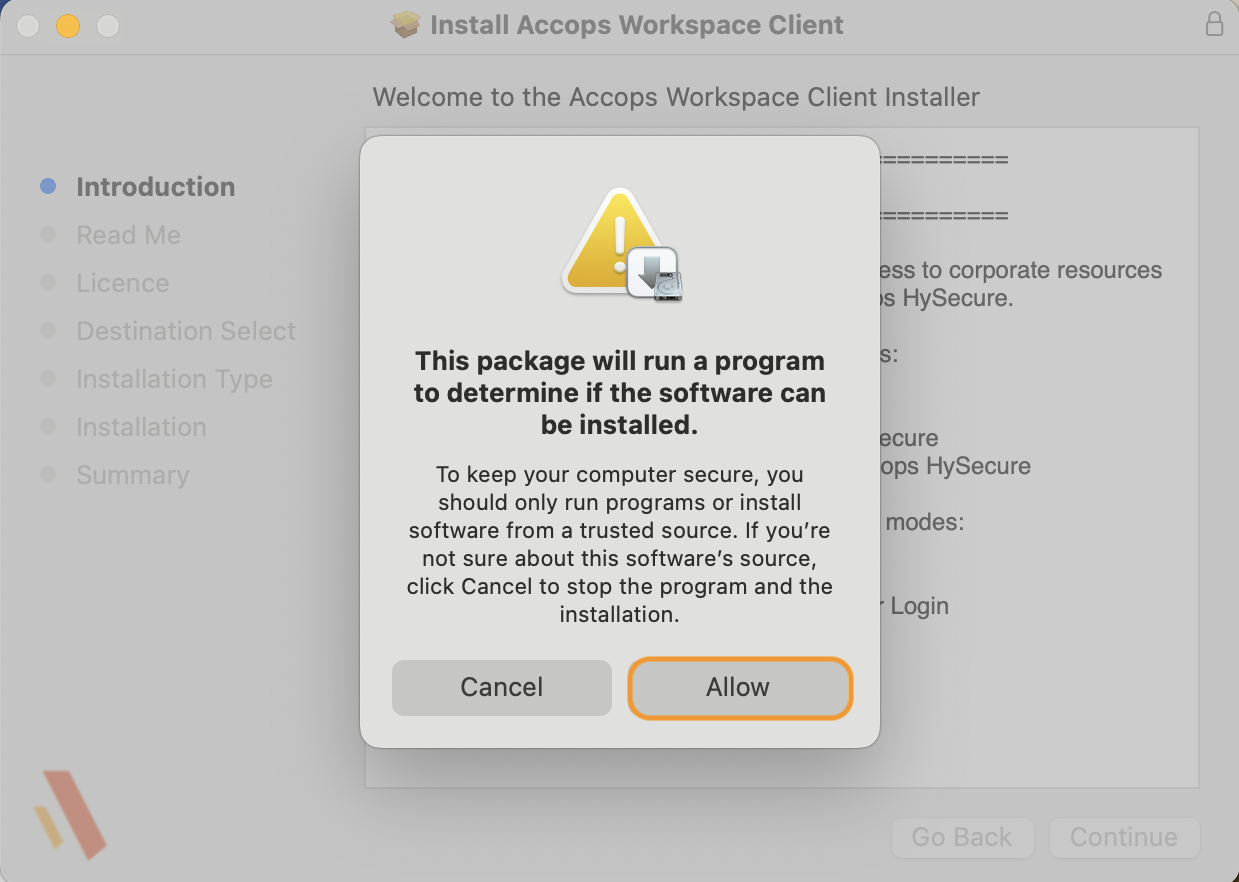
If a message pops up displaying This package will run a program to determine if the software can be installed, then click Allow to continue the installation.
-
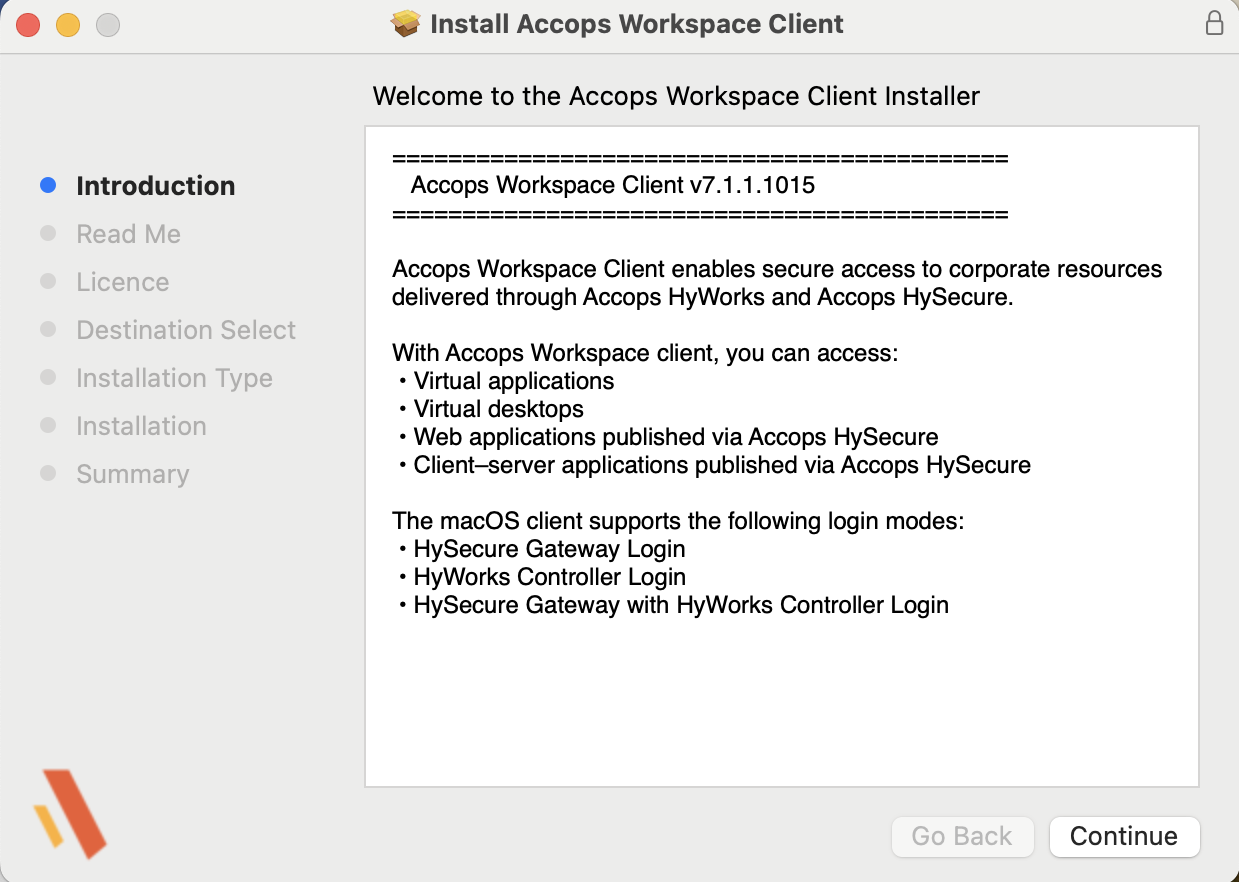
The Introduction window will be displayed, displaying the Workspace Client information. Click Continue.
-
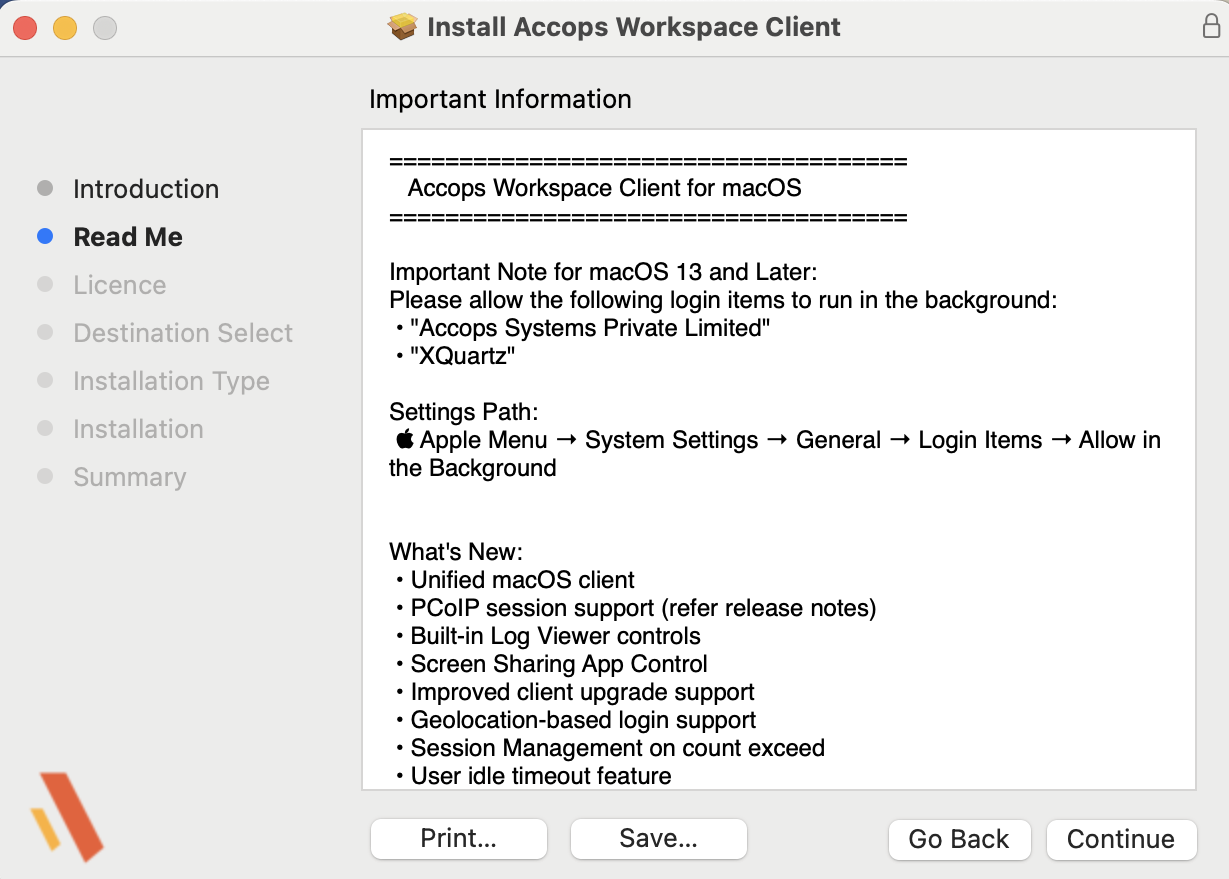
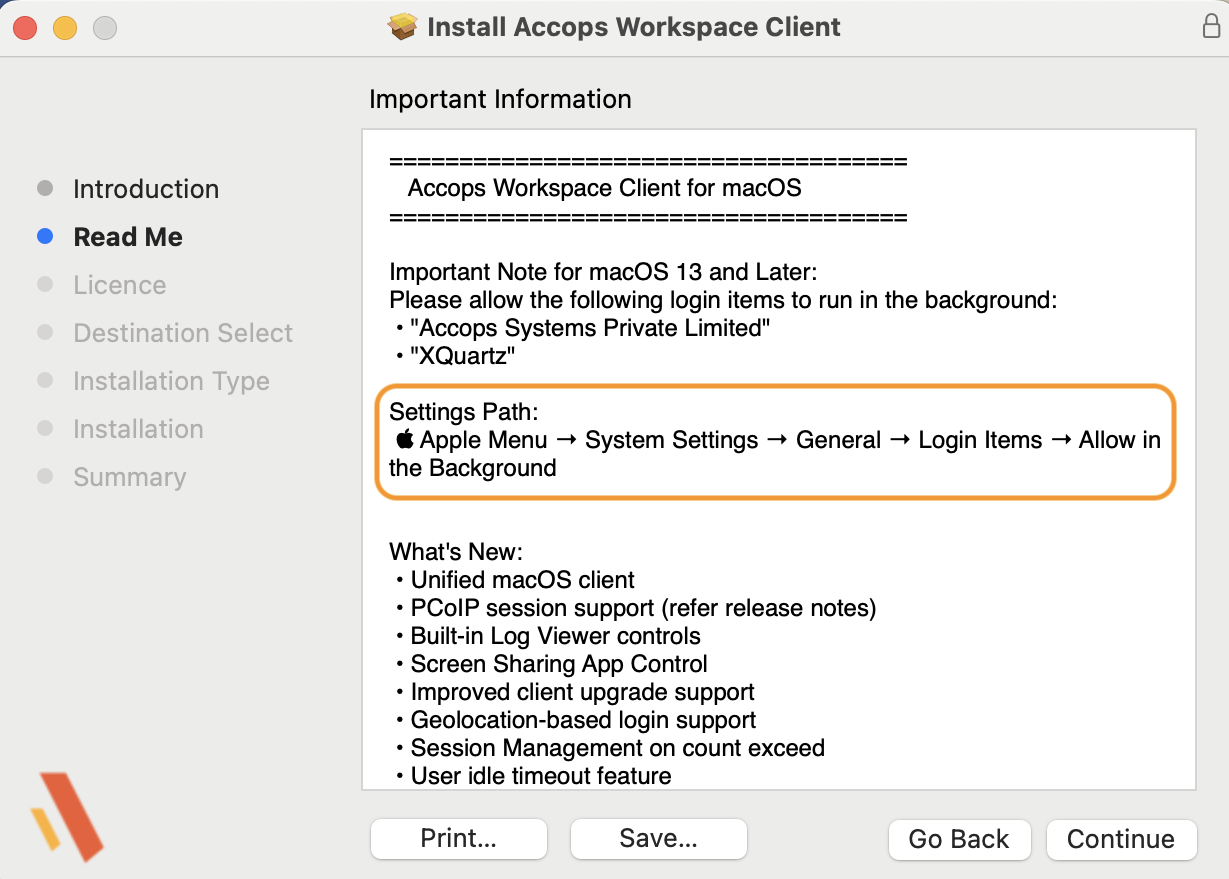
The Read Me window will display the details of installation, uninstallation, and log location. Click Continue to proceed.
-
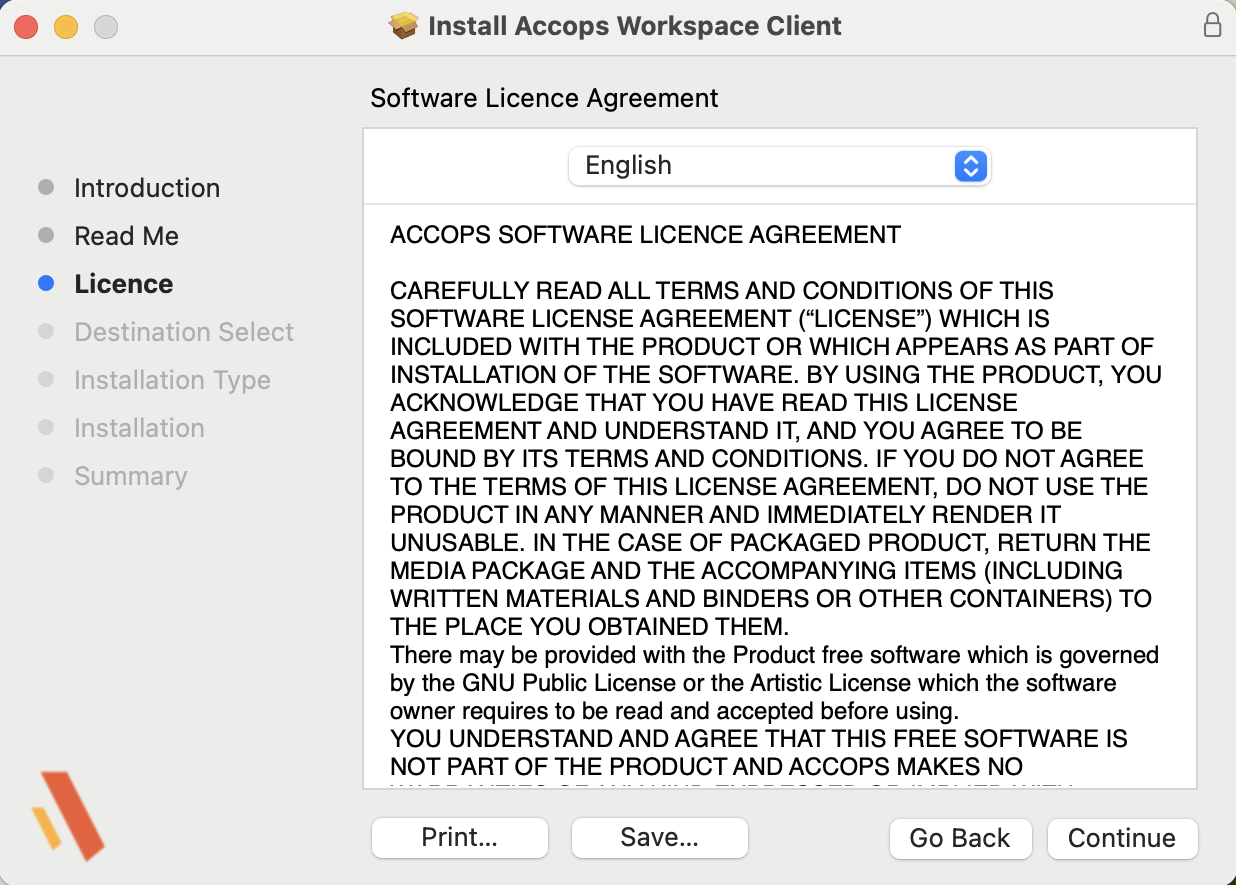
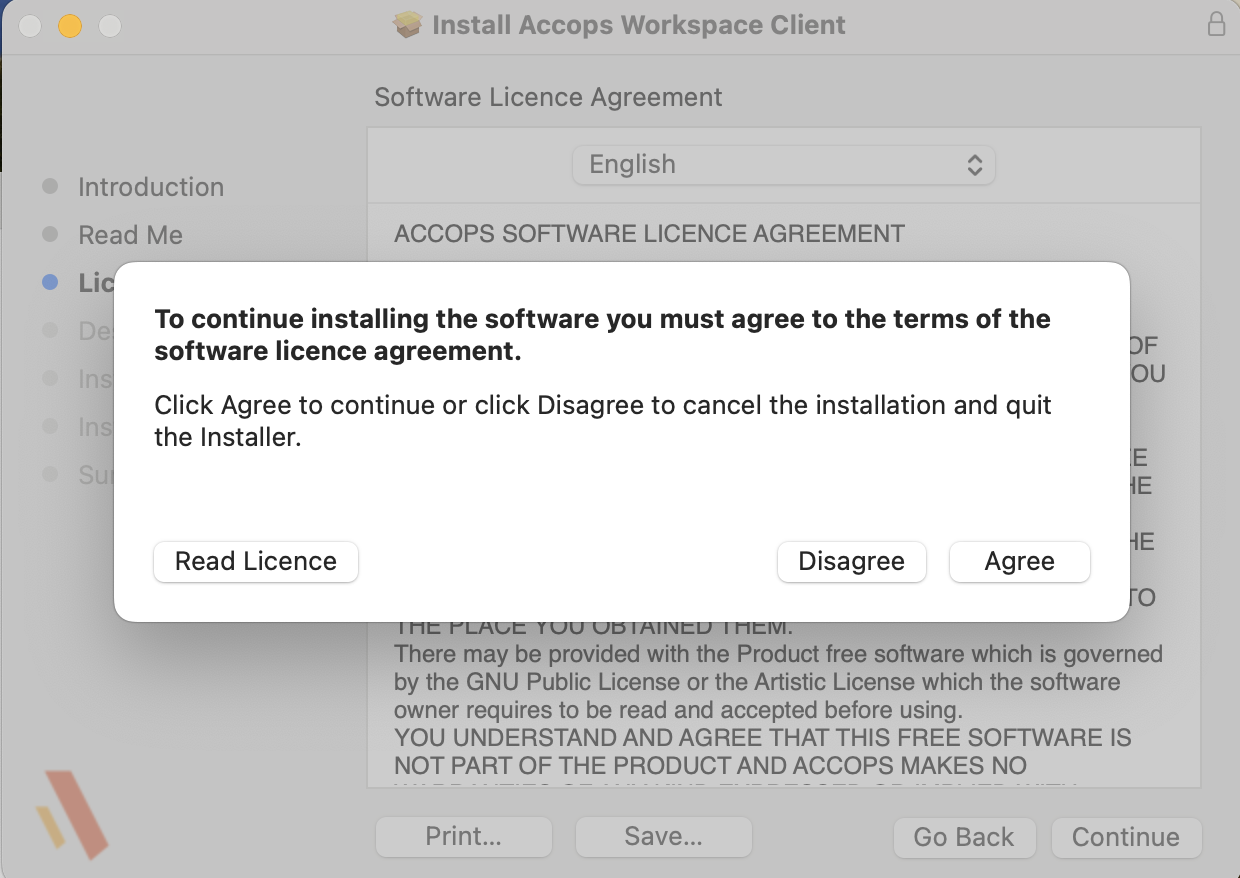
Click Continue to proceed with the licence agreement. A pop-up will appear. Click Agree to continue.
-
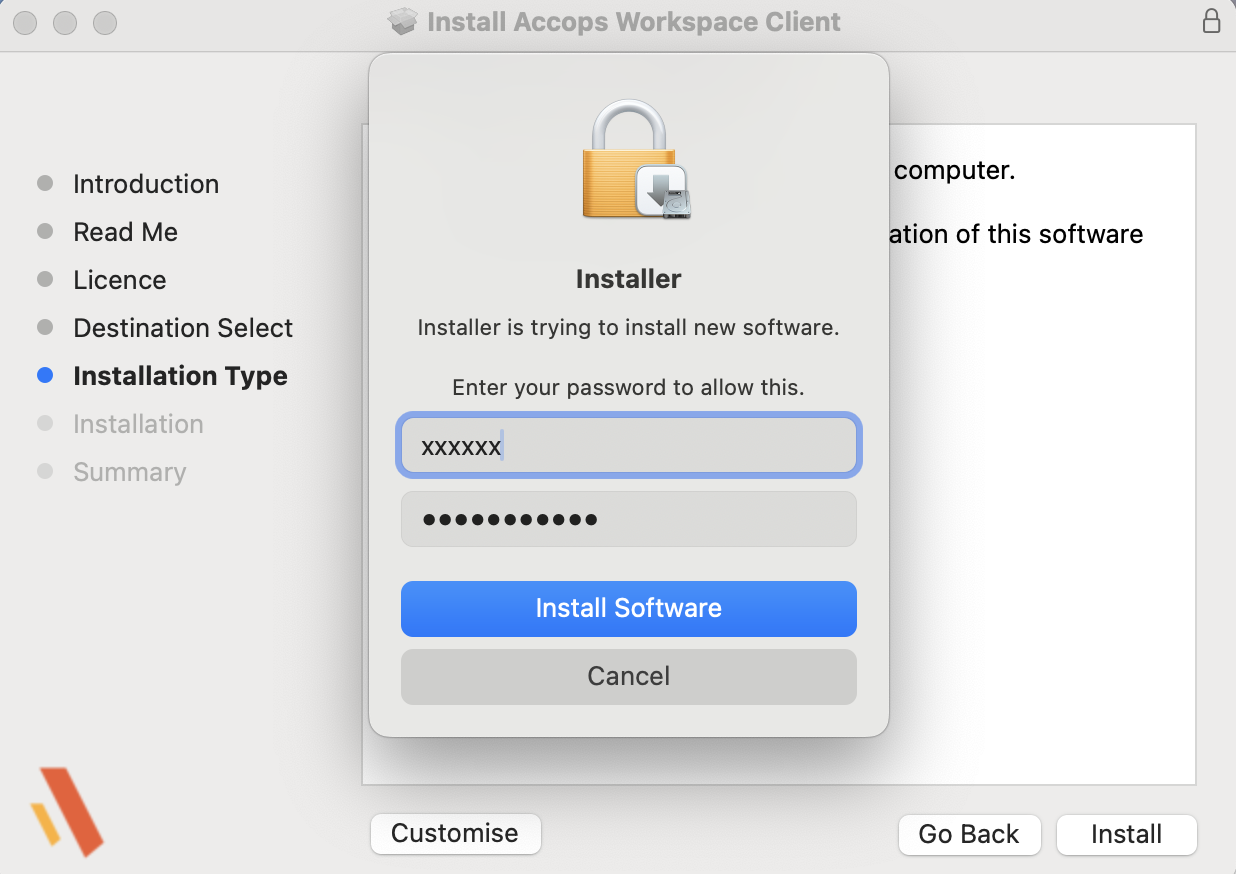
On the Installation Type screen, click Install and enter local administrators’ credentials. Now, click Install Software. Installation will get started.
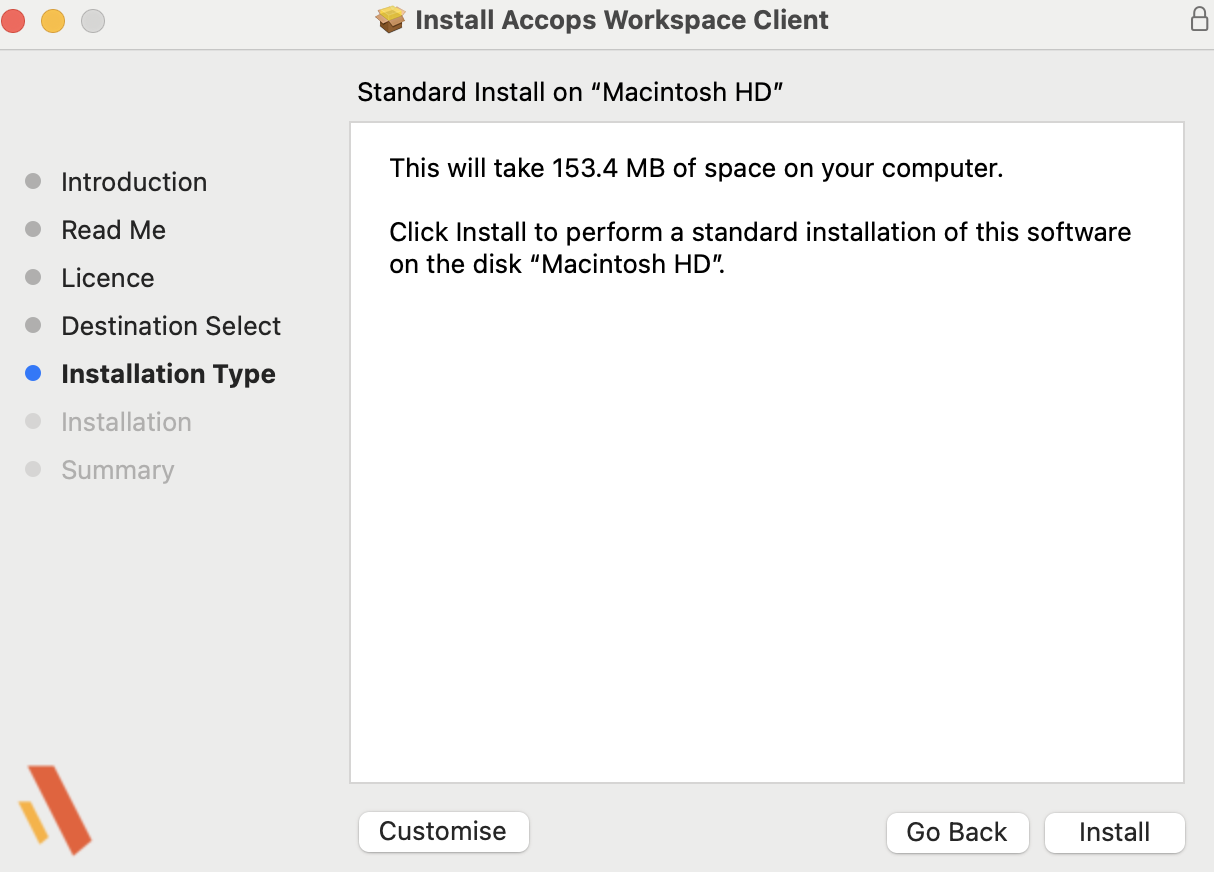
Enter the admin credentials to proceed with installation.
-
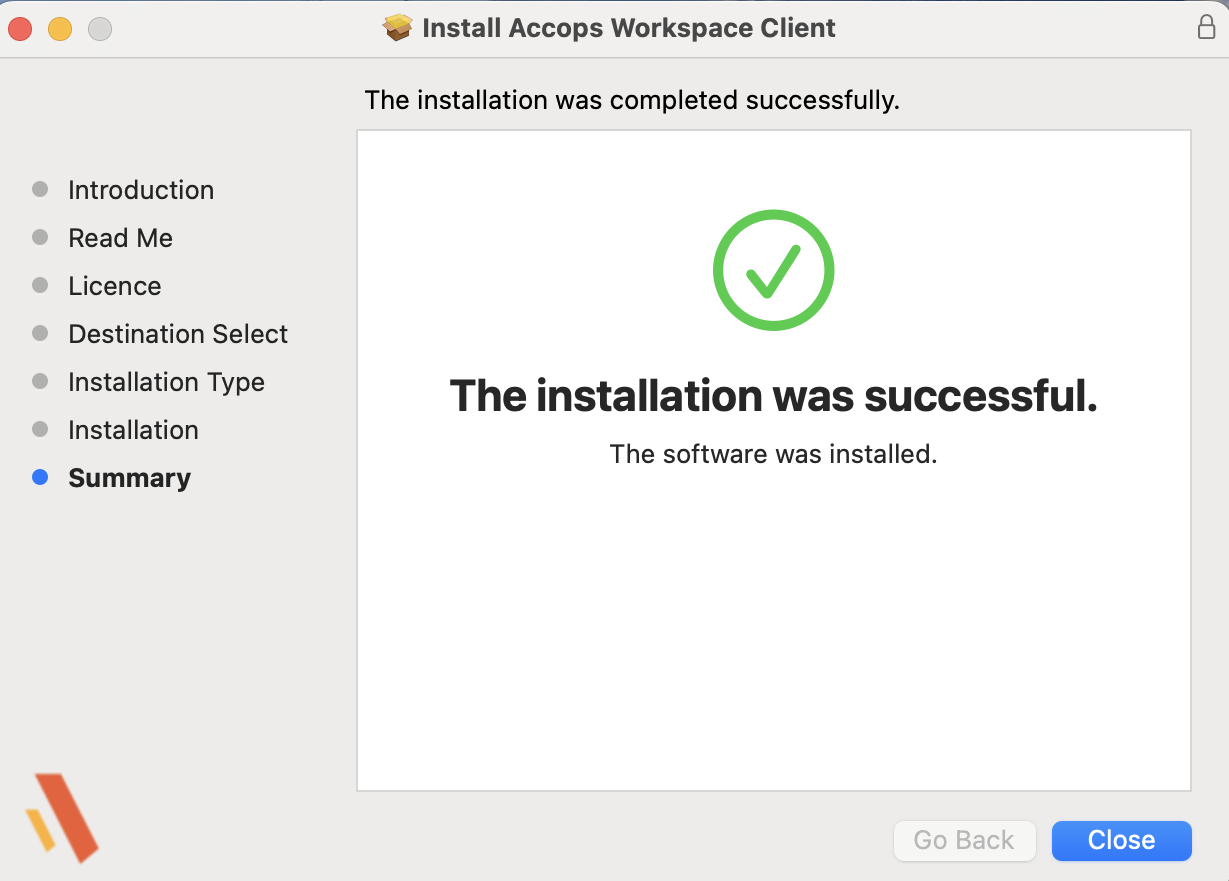
On the Summary screen, the installation completes. Click Logout to log out after the first installation. Click Close when uninstalling the previous version and installing the latest one.
Pre-Requisite after Installation
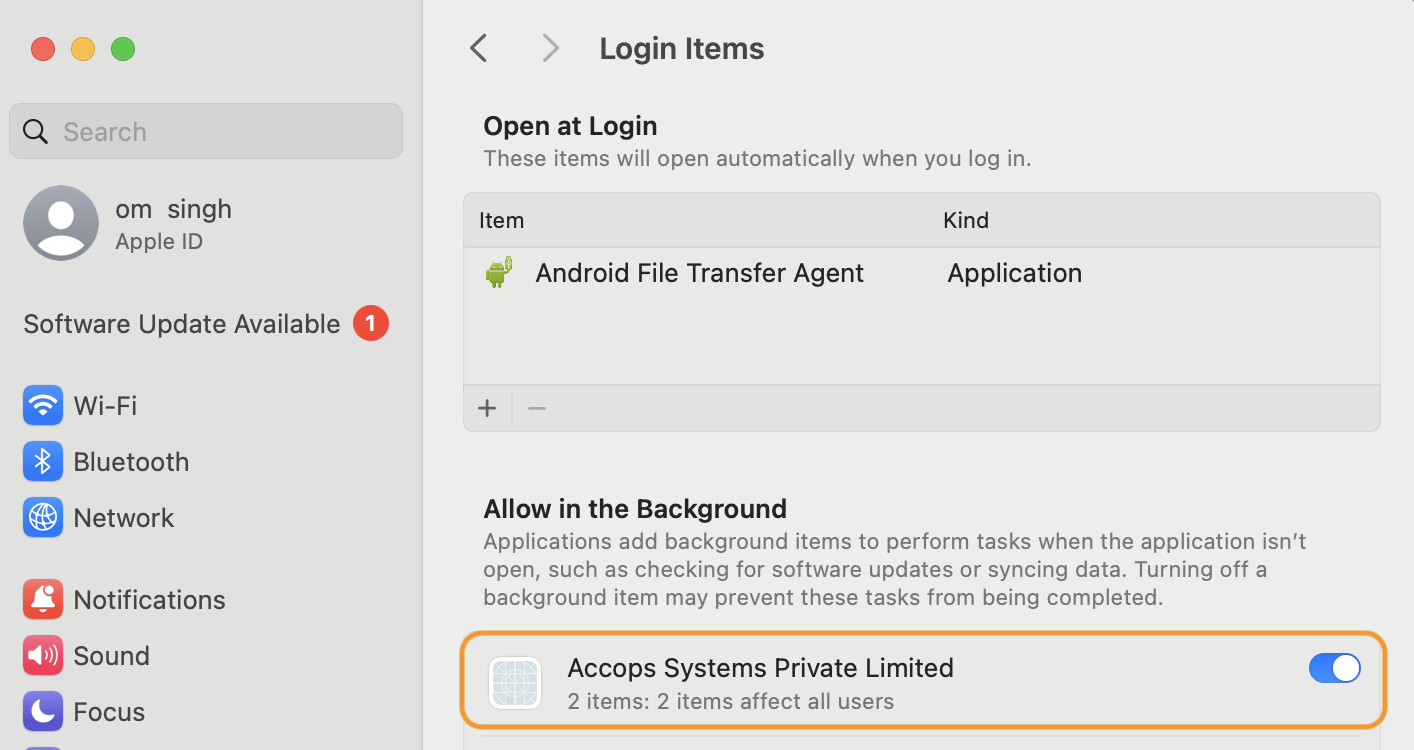
Allow the following login items to run in the background:
a. Accops Systems Private Limited
b. XQuartz
Setting Location:
- Go to the Apple Icon > System settings > General > Login Items > Allow in background.
- Allow in the background for Accops Systems Private Limited.
-
It is also mentioned in the installer, and see the login items page.
Installing Windows App on macOS
To install a Windows App on mac OS, follow the steps below:
- Log in to the system with local administrator privileges to ensure installation permissions.
-
Access the App Store to download and install the Windows App.
- Open the App Store on your macOS device.
- Search for “Windows App” directly in the search bar.
- Alternatively, launch the Workspace Client, navigate to Settings > Protocol, and click on Download to locate the Windows App.
- Get the Windows App installed on your system.

-
Locate Windows App: From the search results, find the Windows App.

-
Install or Update the App:
- Click GET to download and install the Windows App.
- If Microsoft Remote Desktop is already installed, update it to the latest version to ensure compatibility.
Note
Sign in with your Apple ID to download from the App Store.
Pre-Requisite to enable Automated Sign-On with Protocol Windows App
To enable Automated Sign-On (ASO) with the Windows App Protocol using Accops Workspace, the following prerequisites are required for macOS systems:
Pre-Requisites
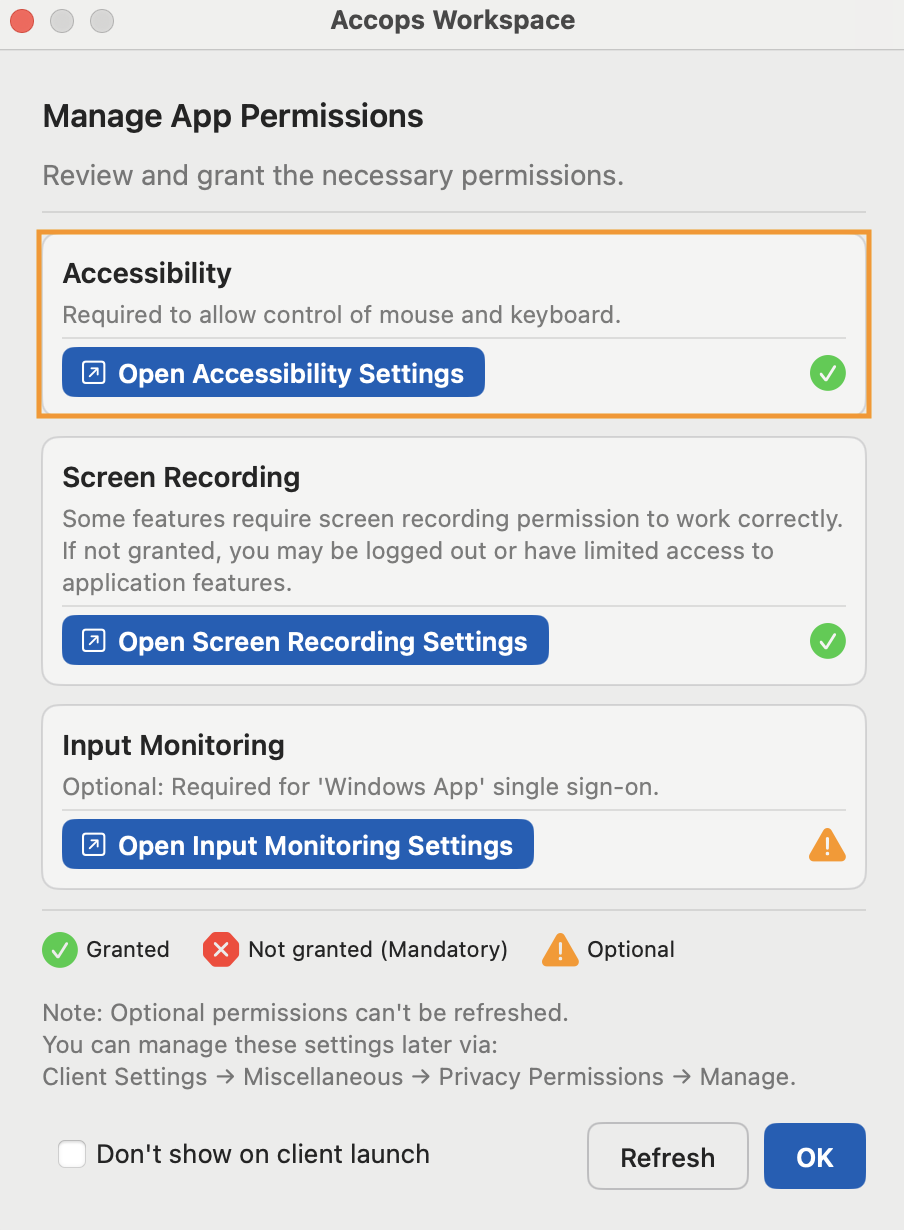
- The Accops Workspace Application must be allowed in both Accessibility and Input Monitoring settings on the user's machine.
Steps to Add Accops Workspace in Accessibility and Input Monitoring:
-
Go to Client Settings > Miscellaneous > Privacy Permissions > Click on Manage.
- Open Accessibility Settings.
-
Add Accops Workspace to Accessibility:
-
Look for the Accops Workspace Application in the list.
-
If it is already added, remove it first by clicking the minus (-) button, then re-add it using the plus (+) button.
-
If not, click the + button and add the Accops Workspace Application from the Applications folder.
-
-
Ensure the checkbox next to it is checked to enable the setting.
-
An admin password will be required to confirm changes.
-
-
Add Accops Workspace to Input Monitoring:
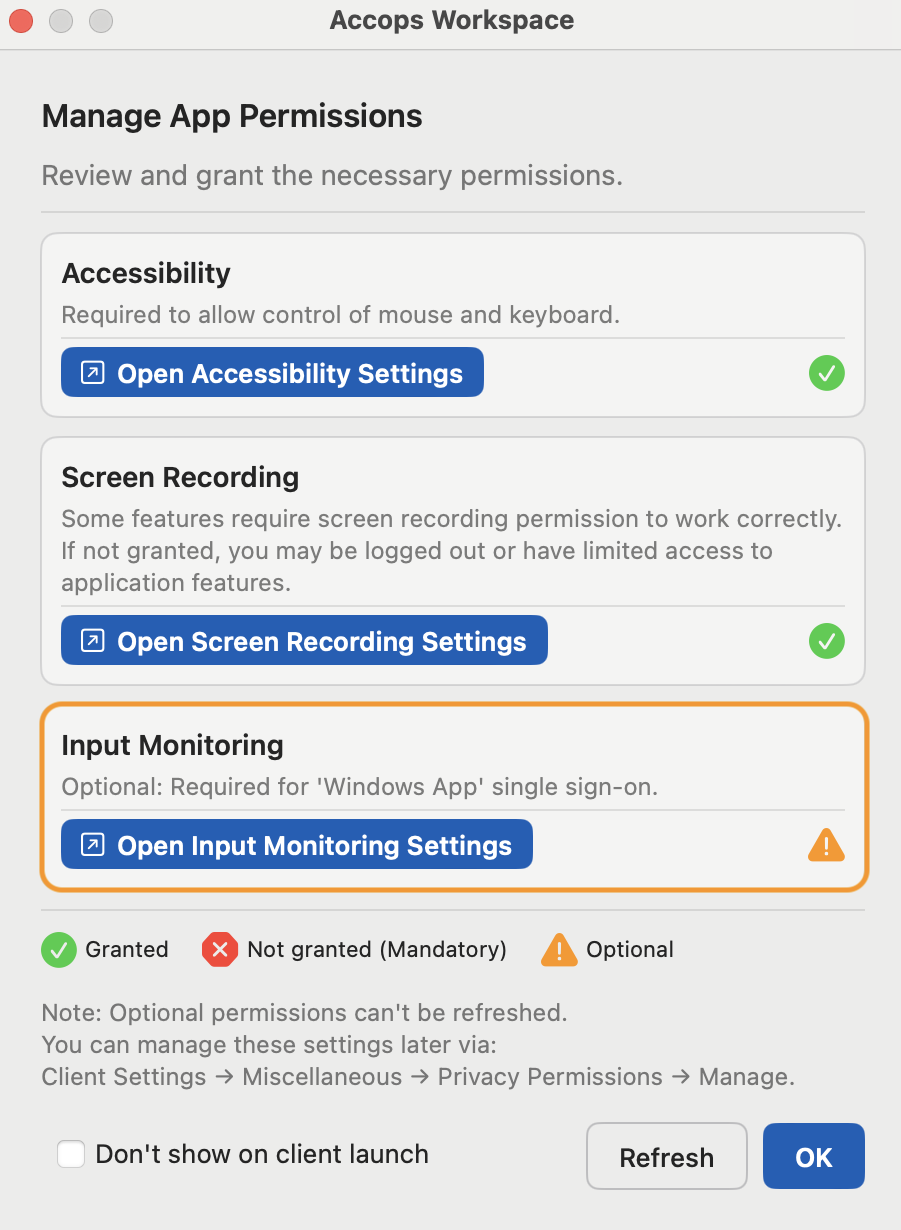
-
Look for the Accops Workspace Application in the list.
- If it is already added, remove it first by clicking the minus (-) button, then re-add it using the plus (+) button.
- If not, click the + button and add the Accops Workspace Application from the Applications folder.
-
Ensure the checkbox next to it is checked to allow Input Monitoring for the application.
-
After completing these steps, Automated Sign-On with Windows App Protocol using Accops Workspace should be enabled properly.
Note
If Automated Sign-On does not work, then the user has to manually enter the login credentials to launch the Applications.