Role-Based Access in ARS
Creating New Tenant
Tenant allows you to organize your dashboards, visualizations, and other saved objects into meaningful categories. Each tenant is independent, so objects that exist in one space don't clutter other tenants.
We can create a replica of one default dashboard, and by adding filters, we can view the dashboard's visualizations as per our requirement. e.g., we have HySecure nodes A, B, C, D for different locations, then we can have 4 different tenants to view data of a single node. We can just apply a filter to the dashboard for a particular location.
Steps to Create a New Tenant
-
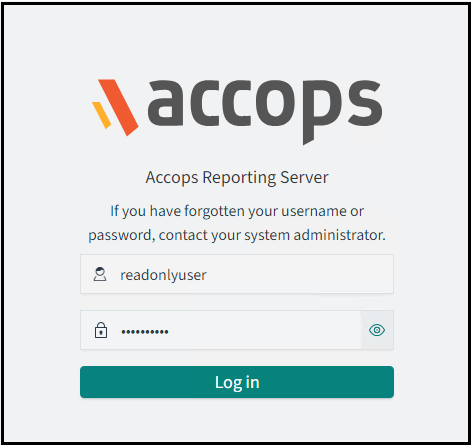
Access the ARS UI using https://ARS_IP:5601 and log in using any of the superuser admin with the Global tenant.
-
Navigate to the Security tab on the left side. Select Tenants to create new Tenants.

-
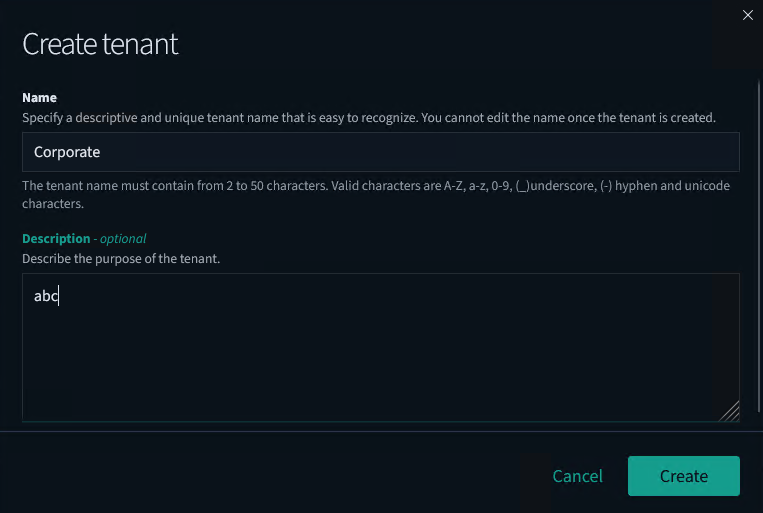
Enter a Name and Description (this field is optional) for the new Tenant.
-
Import all the indexes as per the Default space.
-
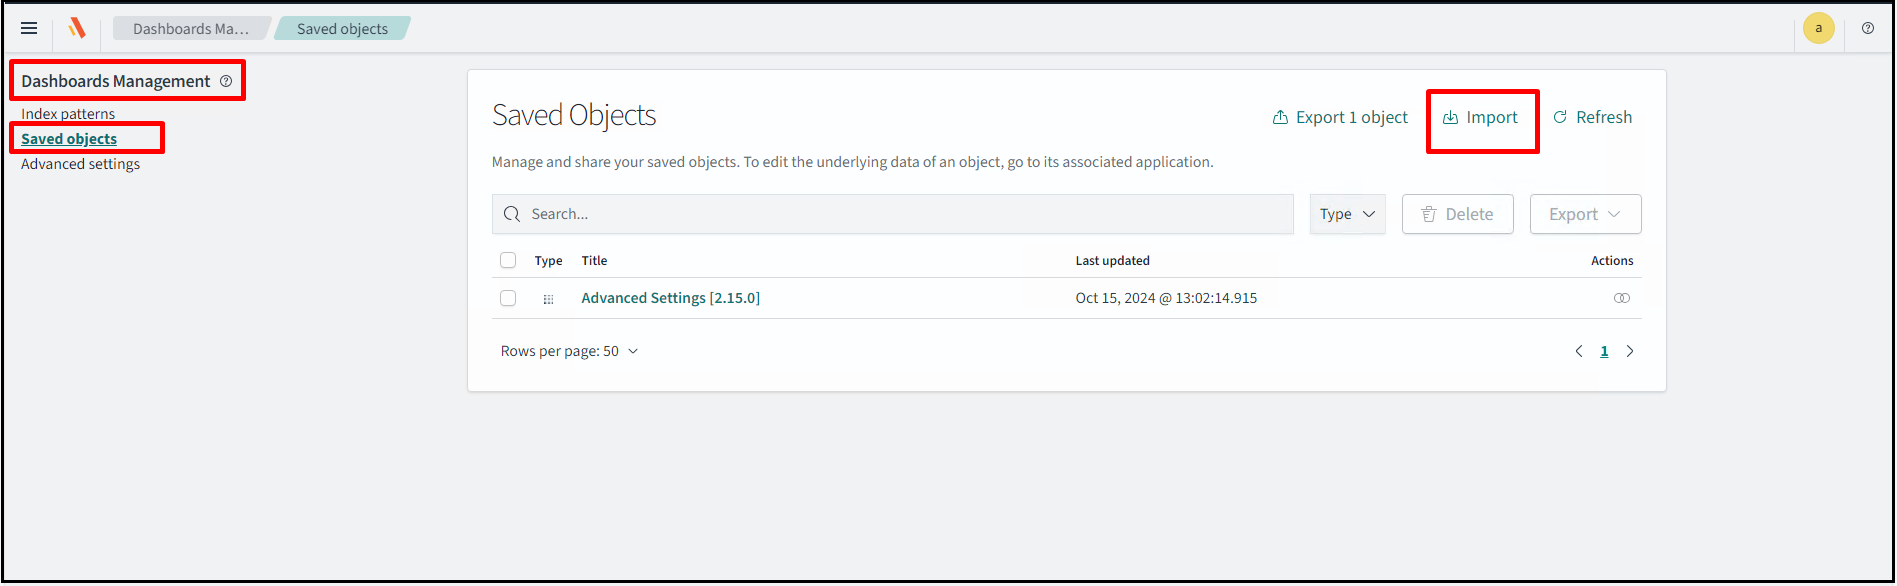
Navigate to Dashboard Management > Saved objects.
-
Select index/visualization/dashboard from Type and click Export to download a JSON file.

-
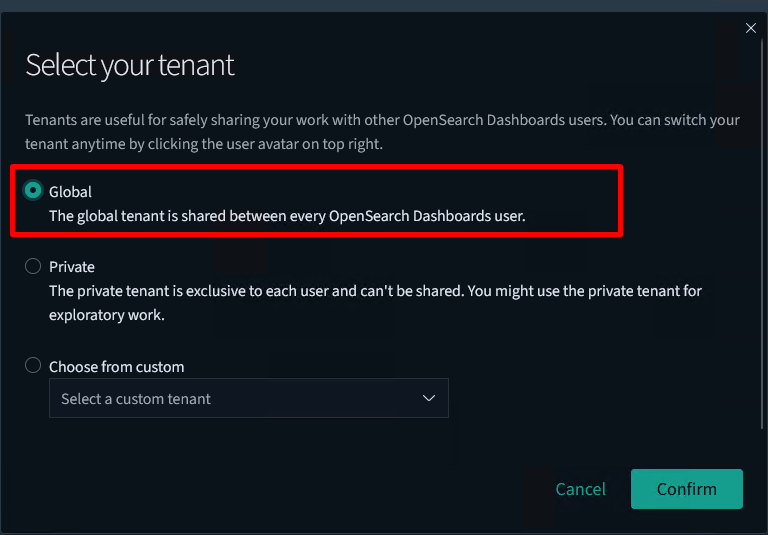
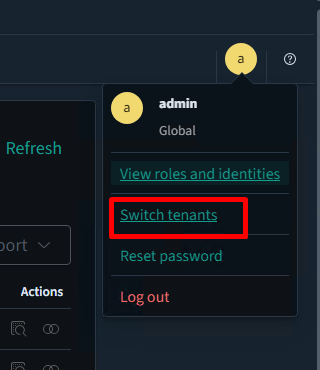
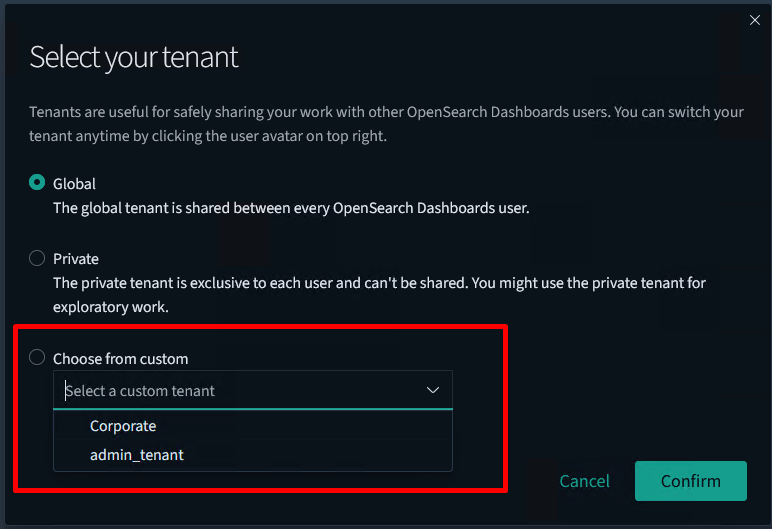
Select the other space that is created where you want to import. To change the tenant, click on the logged-in user profile icon and select Switch tenants.
-
Select the tenant from the Choose from custom section. Click Confirm to continue.
-
Once confirmed, a new tenant space will appear.
-
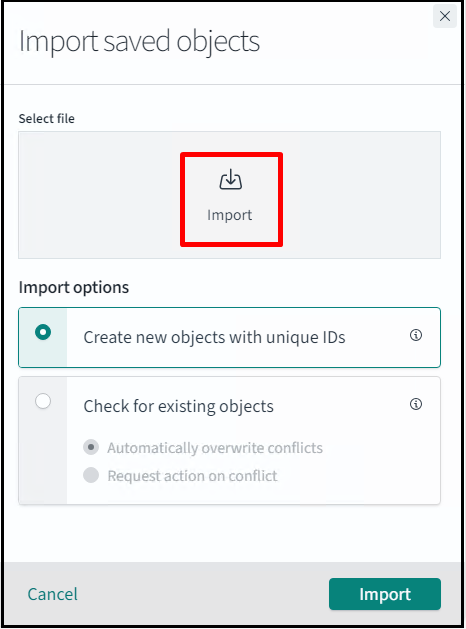
Navigate to Dashboard Management > Saved objects. Click Import and select the Jason file that was exported in the previous step.
Steps to Create New Roles and Users
To create a customized role and assign it to new users to have read-only, write-only only or all access to the user.
Read Only Users
These users only have permission to view in read-only mode.
-
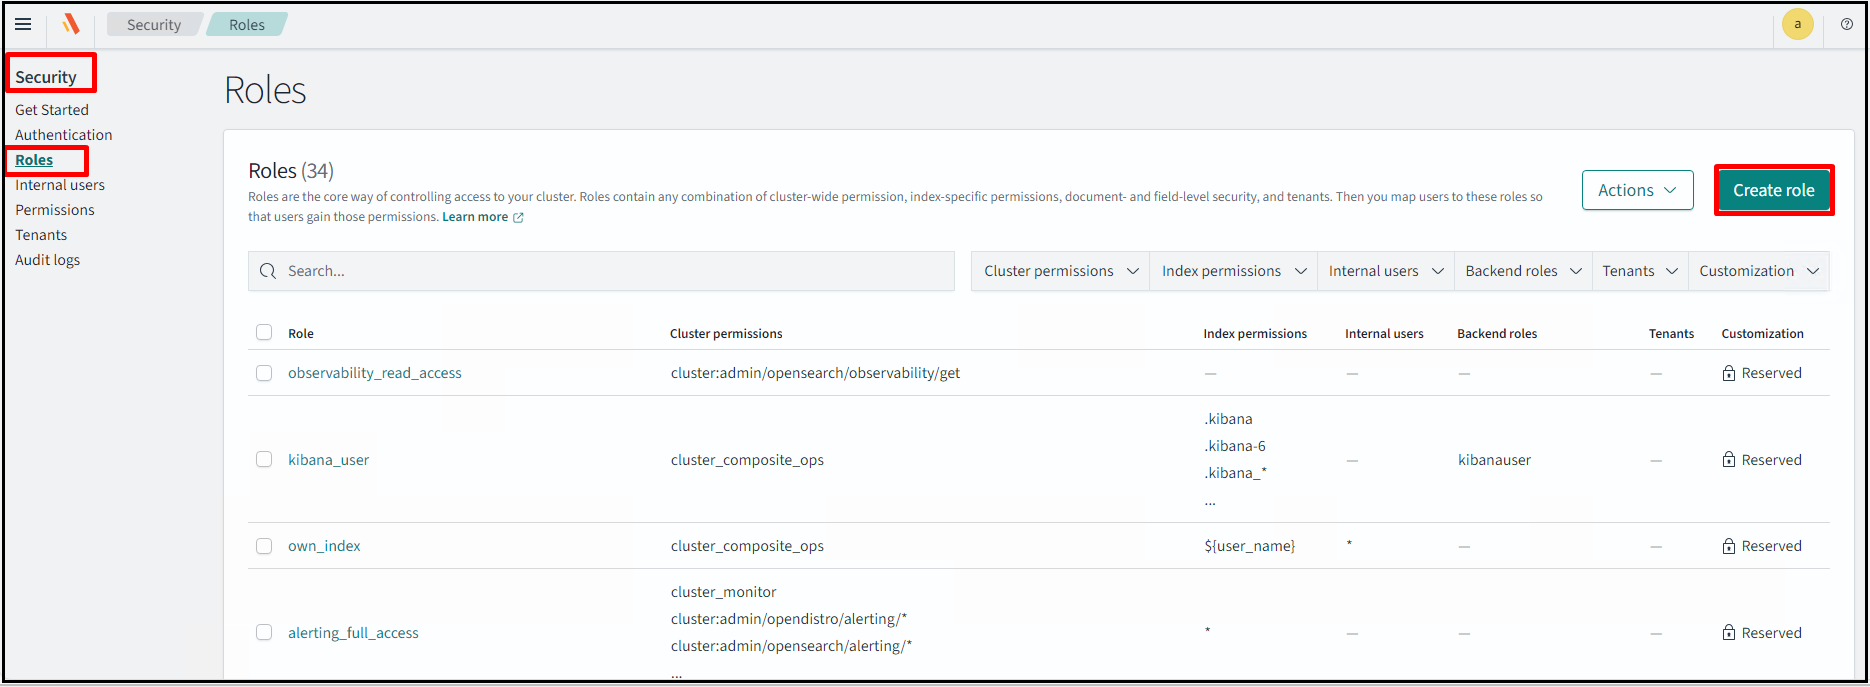
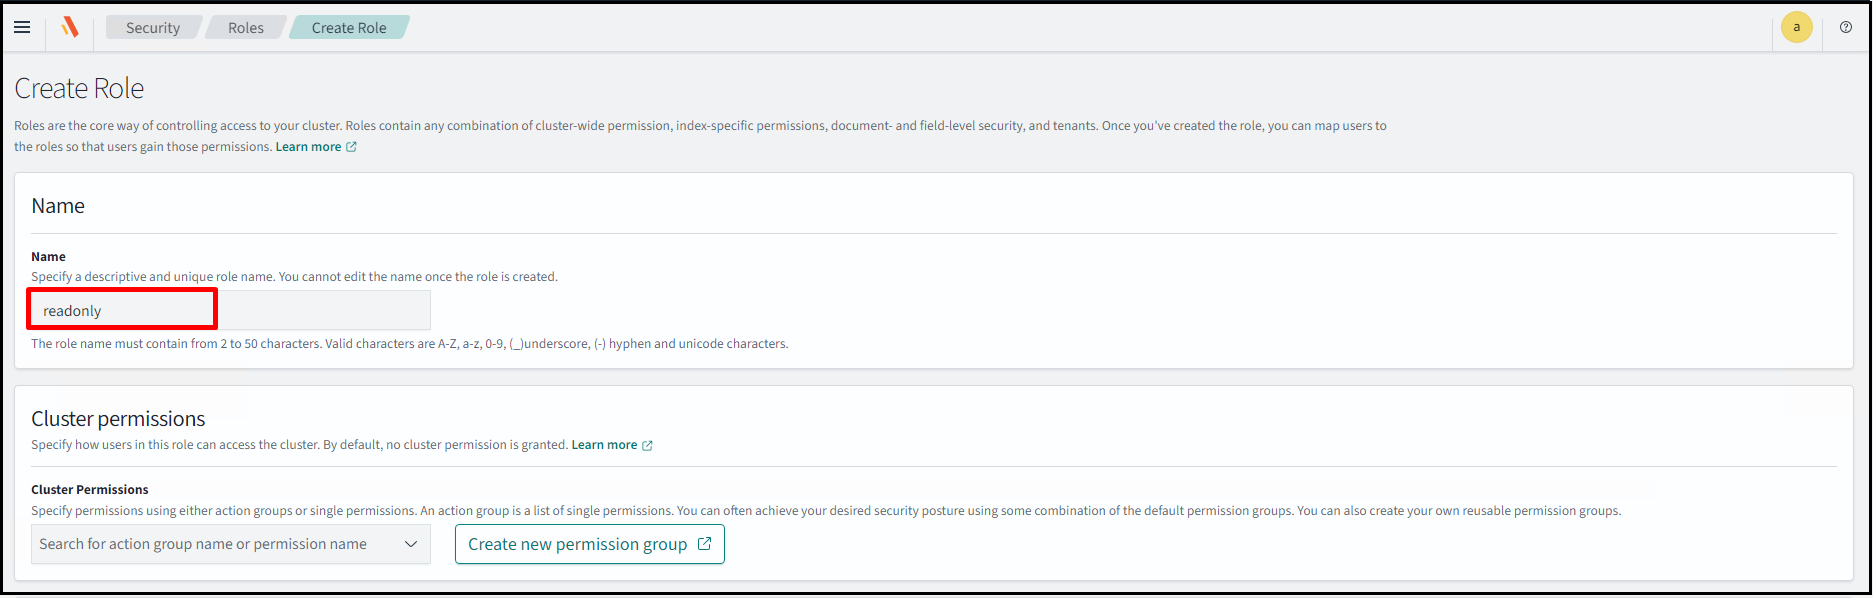
Log in with Superuser and navigate to Security > Roles > Create Role.
-
Assign a Name to the role.
-
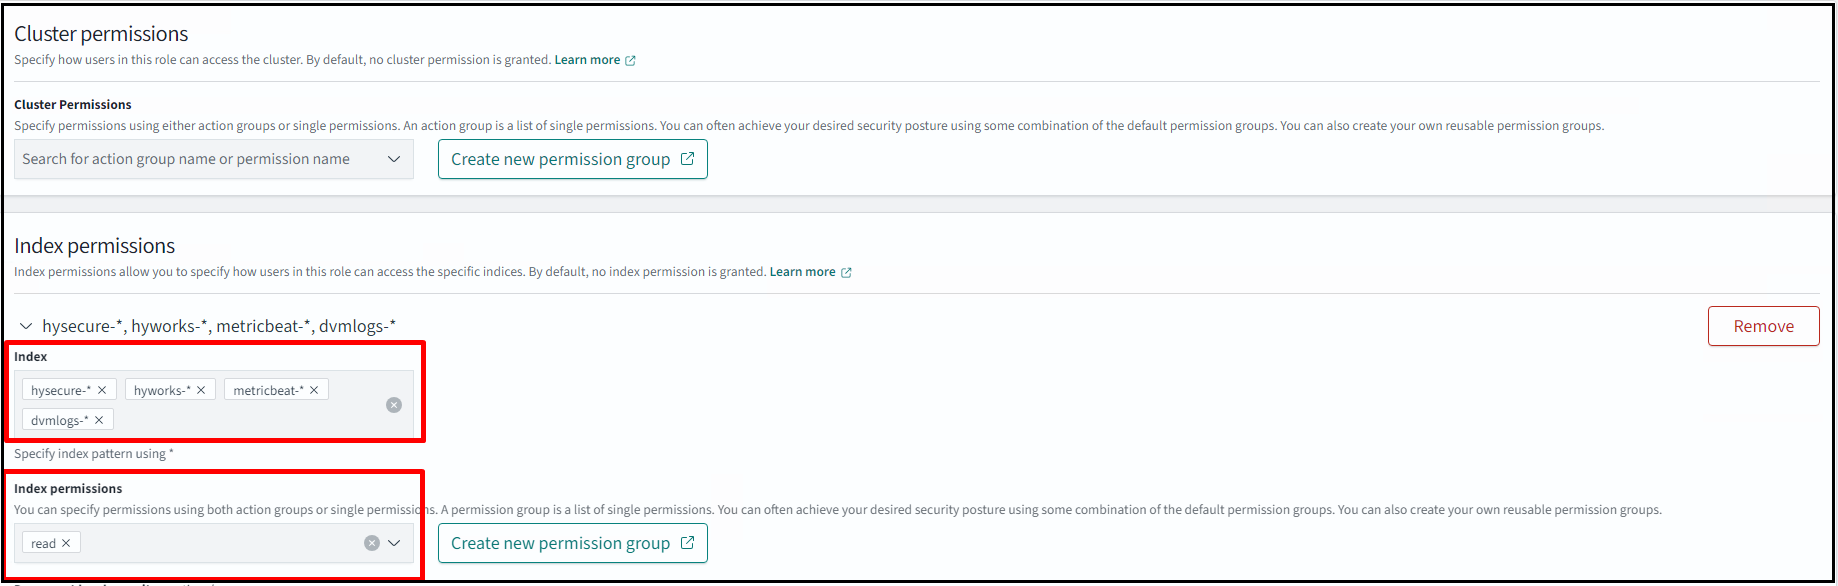
Add an index that you want to show for the user who can only read the data for the specified index. Also, add Index permissions as read.
-
In the Tenant permission section, specify the tenant’s name if you want to grant read permission for a specific tenant. Click Create.
-
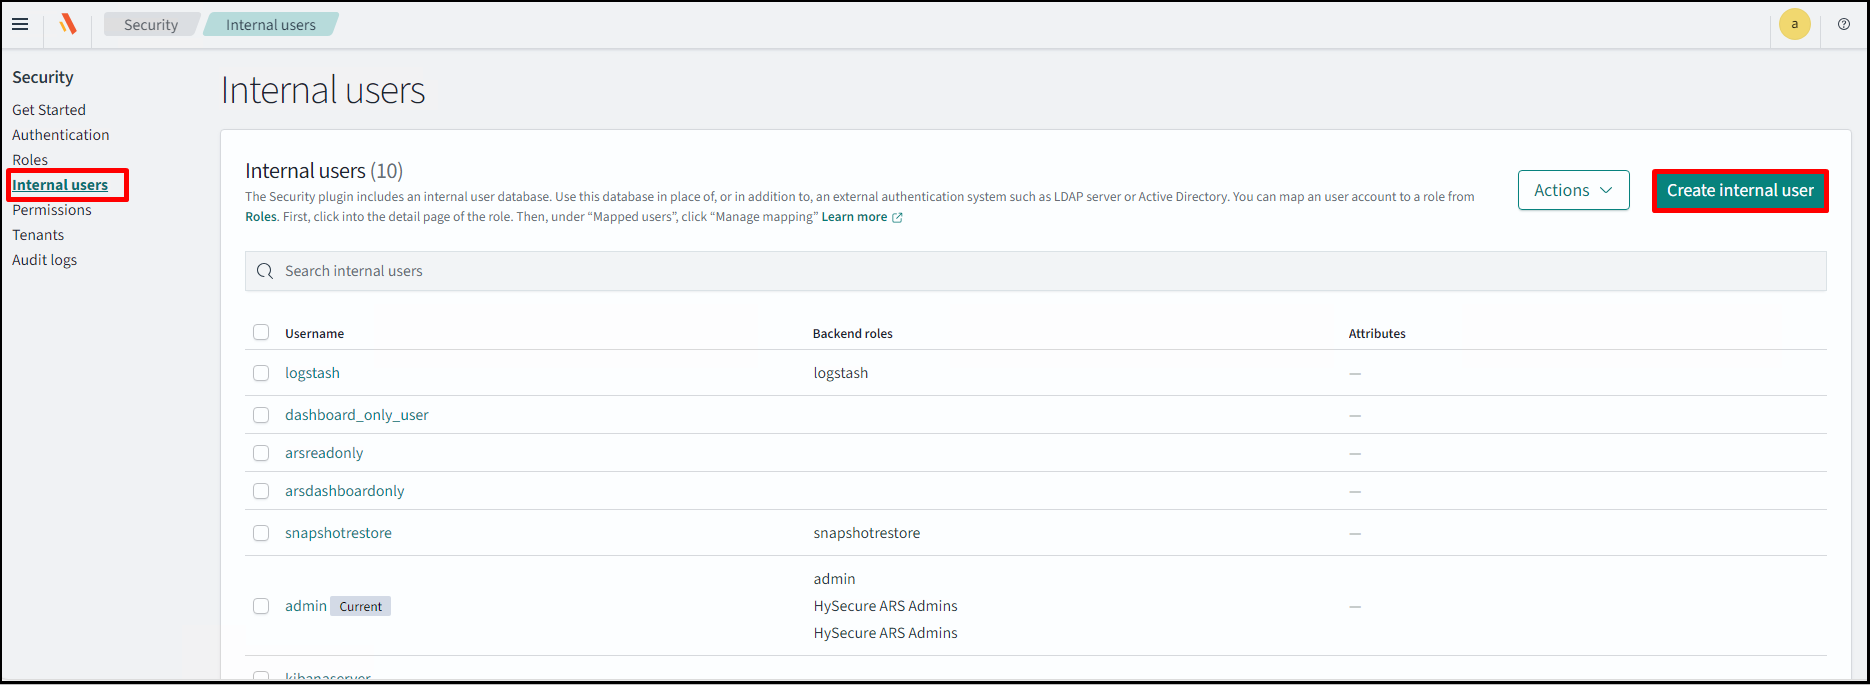
Now, create a read-only internal user. Navigate to Security > Internal users > Create internal user.
-
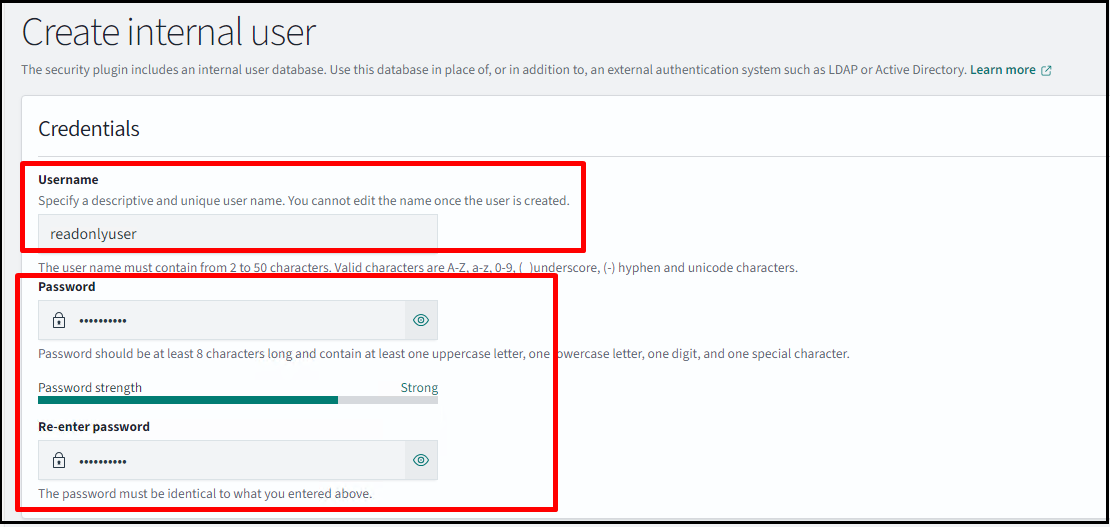
Add a Username and Password for the user who will have read access. Click Create to confirm.
-
Navigate to Security > Roles and search for the users with the read-only role.
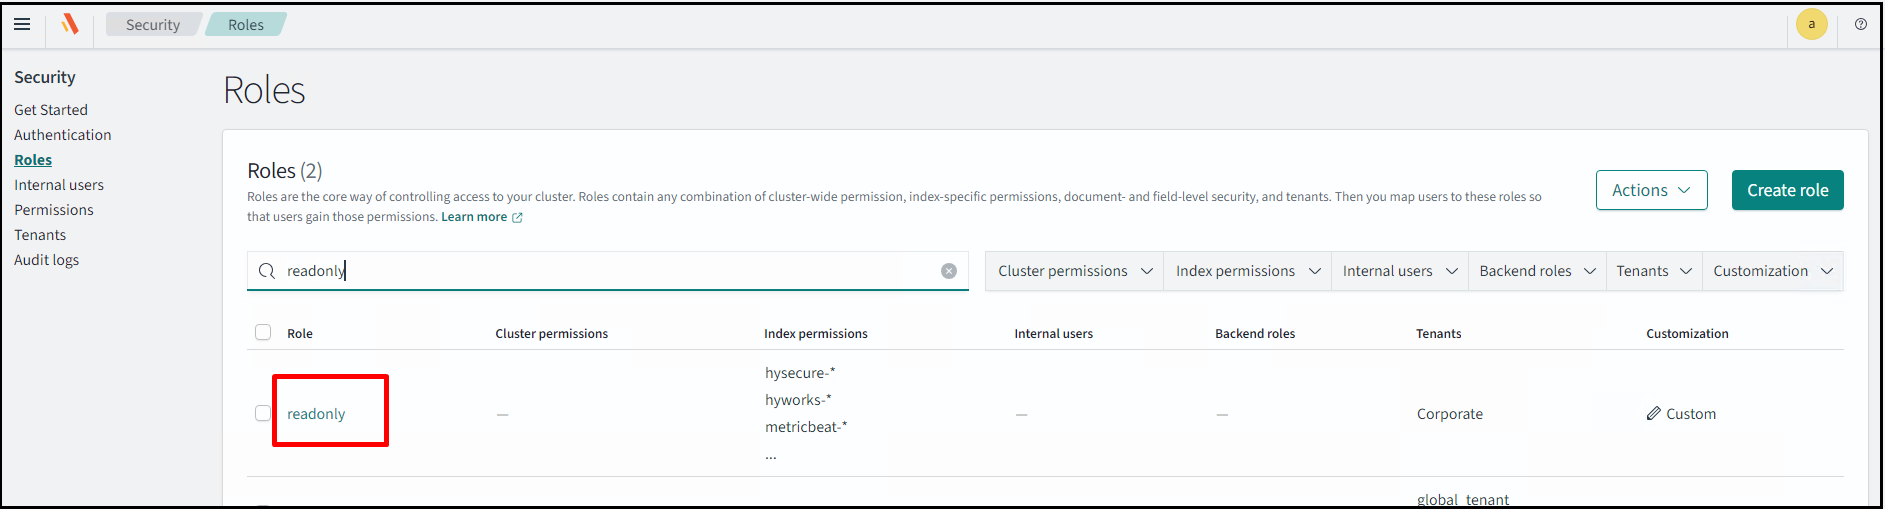
-
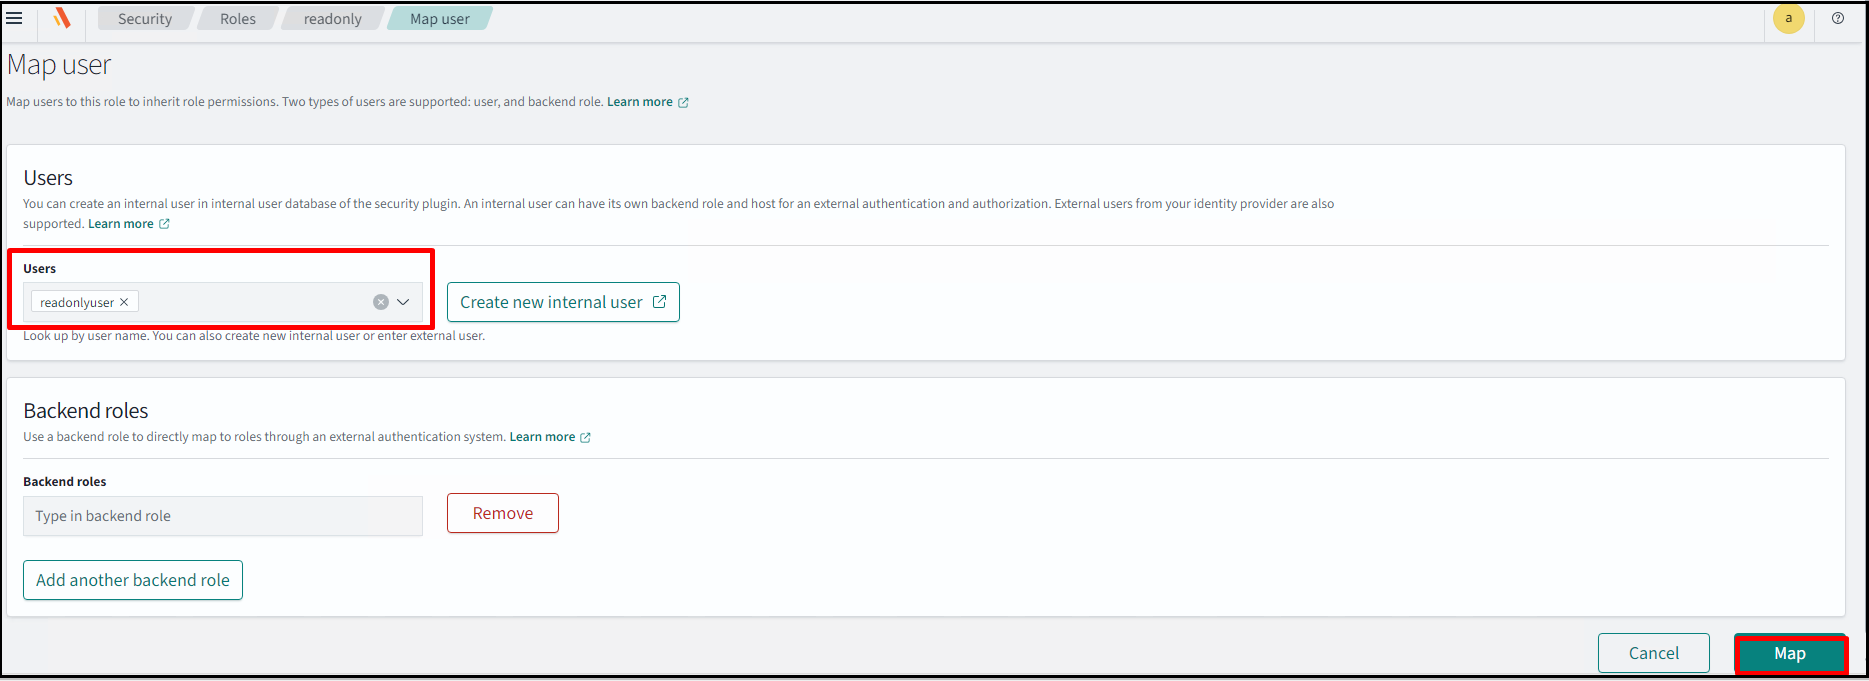
Click on that role and go to Mapped users. Click Map users.

-
Add the user name and click Map.
-
Now log out from the admin user and log in with the user that we have created.