Installation Guide
Steps to Install Accops Reporting Server (ARS)
Installation on vSphere
-
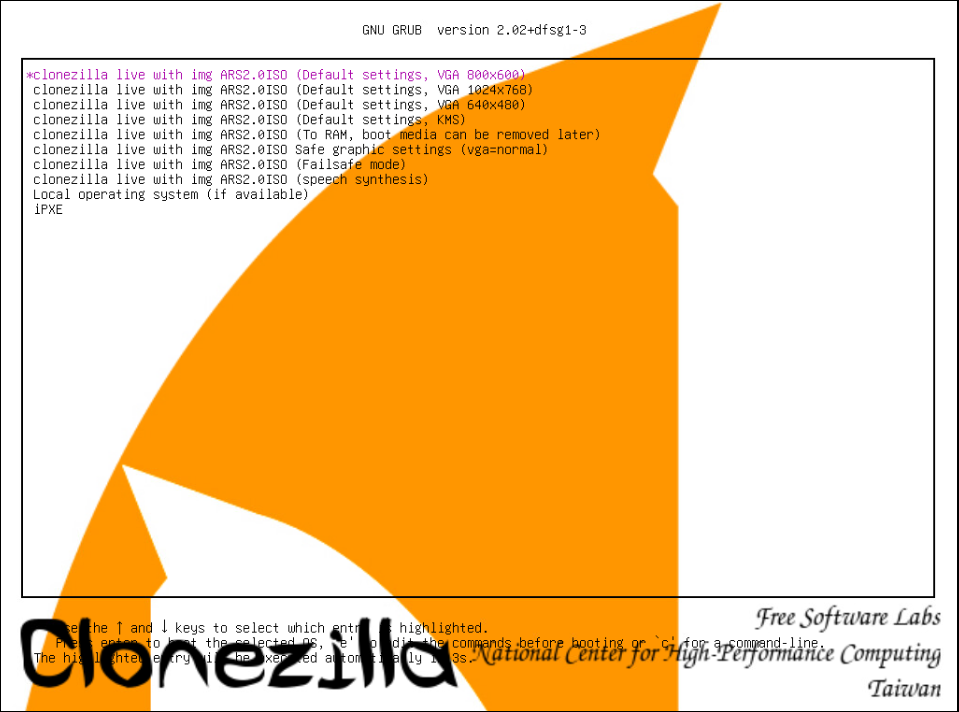
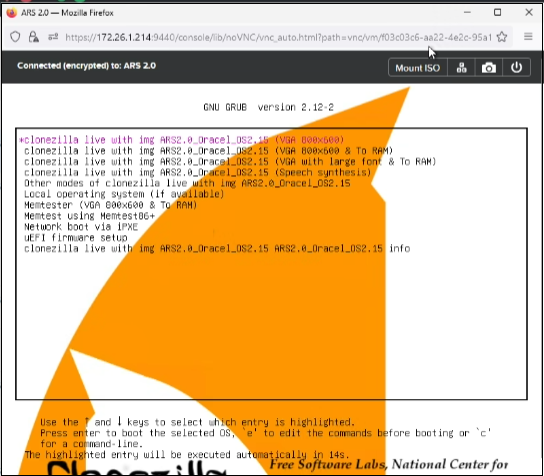
Boot into the VM or Physical server upon setting them to boot from CD.
-
Press Enter. The booting process will start.
-
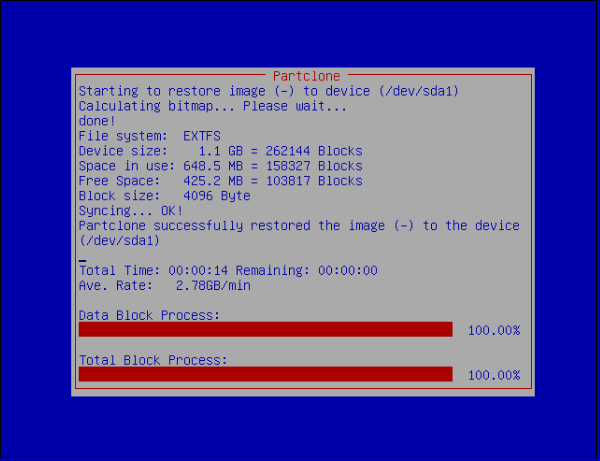
This will start to perform an unattended installation of ARS on the HDD.
Note
This window will pop up multiple times.
-
The server will reboot automatically.
-
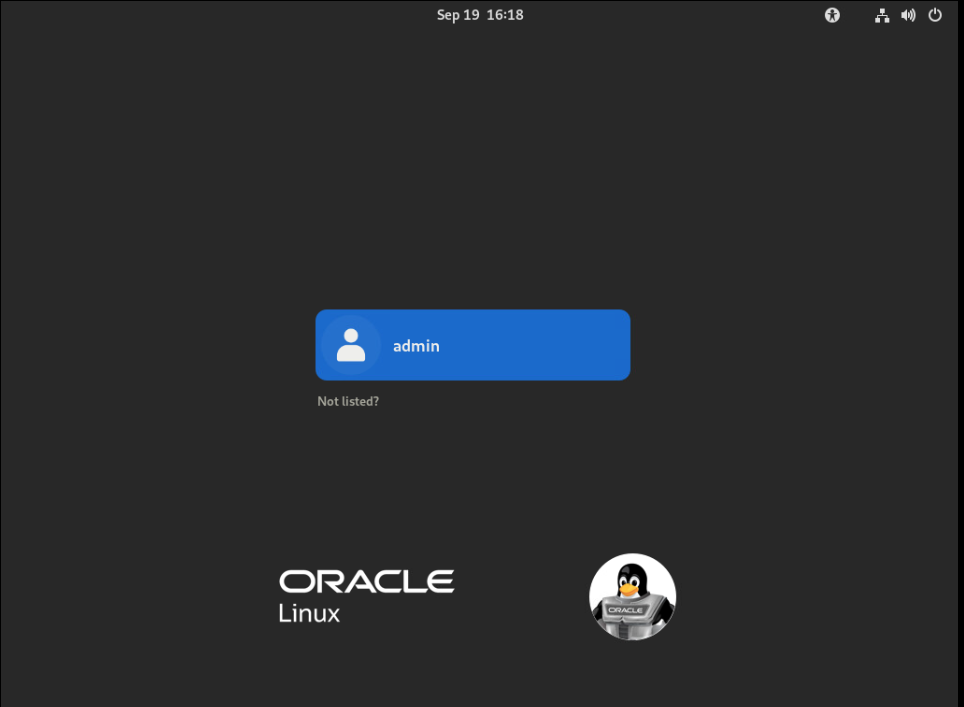
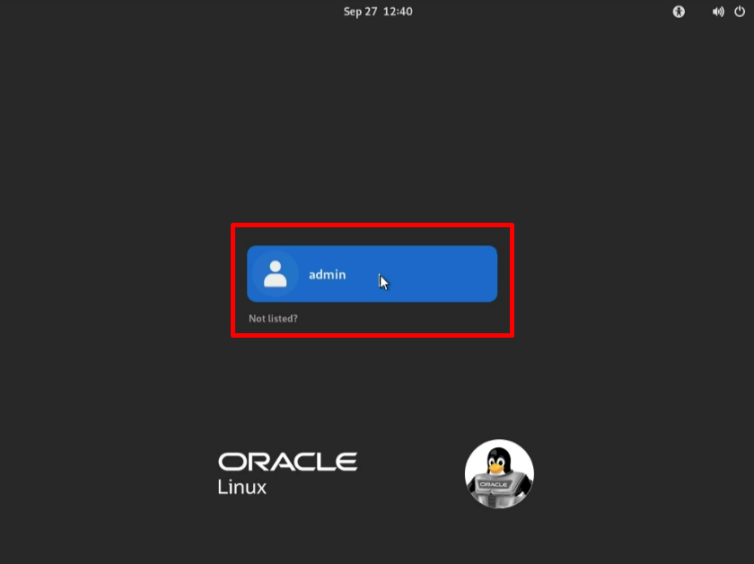
Upon boot, the login screen will appear. Log in as an admin user.
-
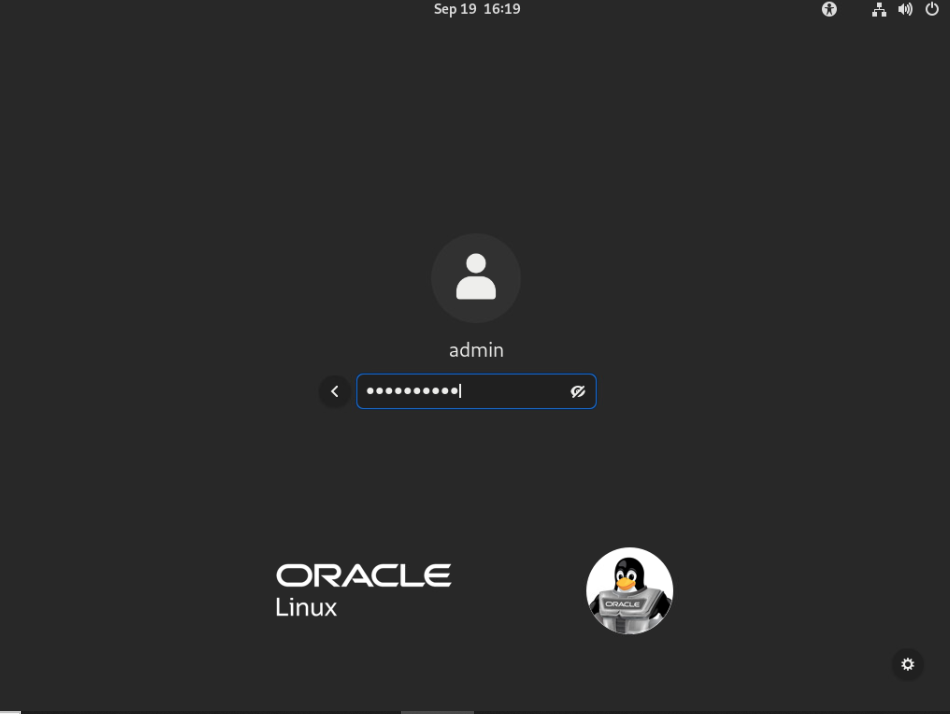
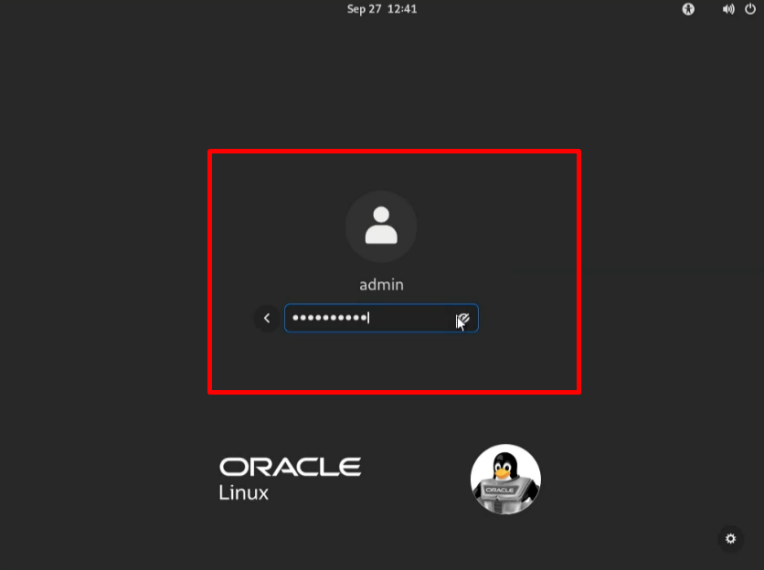
Enter the admin password: accops@123.
Setting up a Static IP Address
-
Once logged in as an admin user, navigate to Settings > Network and add the IP configuration. Apply the changes.
-
Once the configuration is done, get access to the PuTTY session of the ARS using the mentioned IP address.
-
Log in using the given credentials. Username: root and Password: accops@123
!!!note A prompt to change this password will appear immediately after the first login. Please ensure that a strong password is set. General guidelines to set a new password are as follows:
- Must be at least 8 characters long.
- Must contain alphanumeric characters.
- Must contain at least one special character.
- Must not be a dictionary word.
- Must not be 'accops@123'
-
Enter the new password for the root user as per the guidelines.

-
Verify that the static IP address has been assigned to the network interface using the ifconfig command prompt.


Installation on Nutanix
-
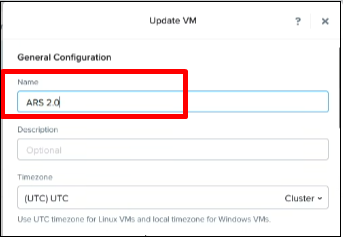
Create a new VM on Nutanix.
-
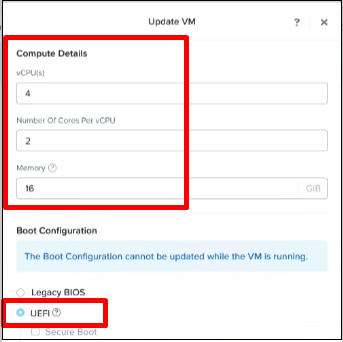
Enter the hardware requirements.
-
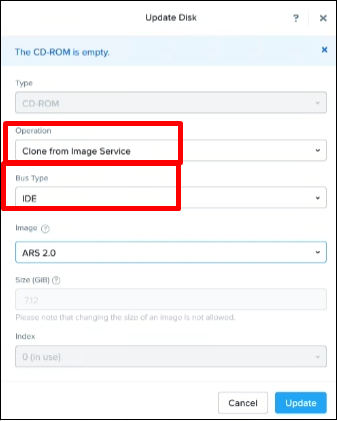
Add a New Disk.


-
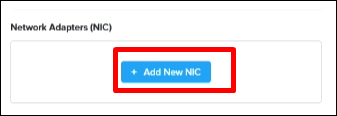
Add a new network adapter (NIC).


-
Press Enter to start the booting process.
-
Log in with the admin user and enter the default password as accops@123.
Setting up a Static IP Address
-
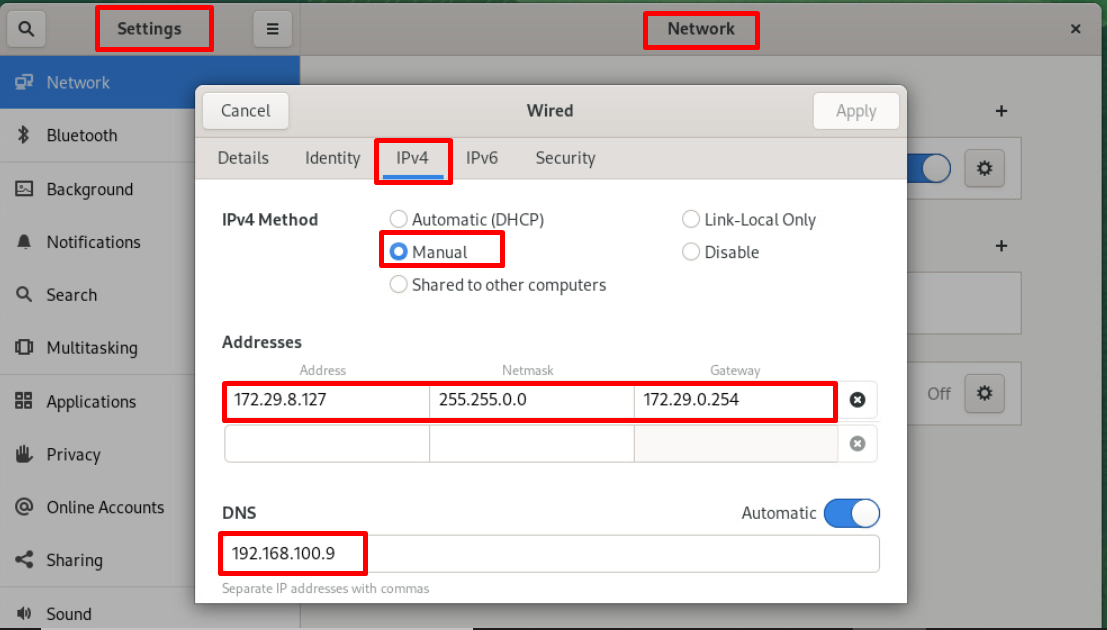
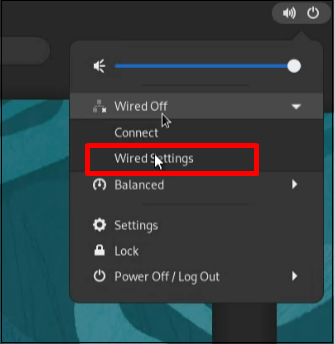
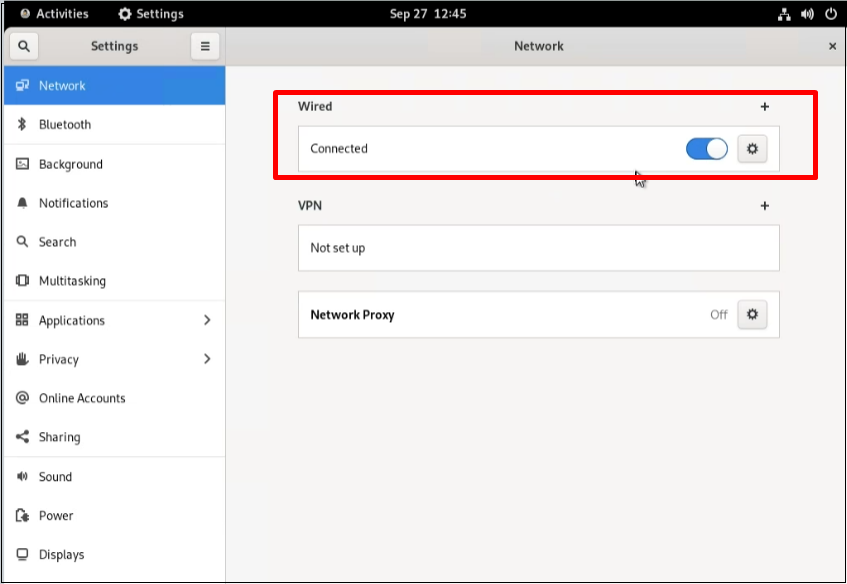
Navigate to the Wired Settings.
-
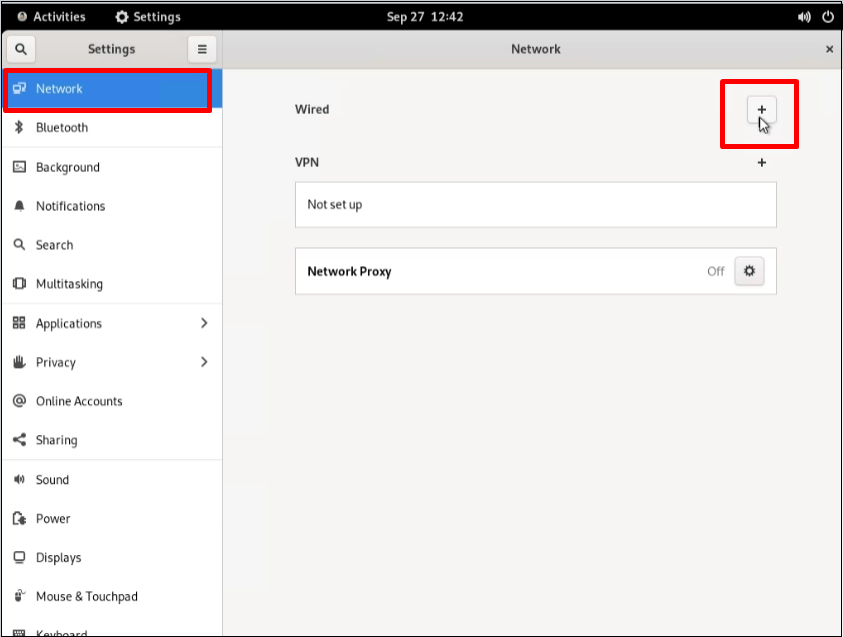
Select the Network menu to add a new network.
-
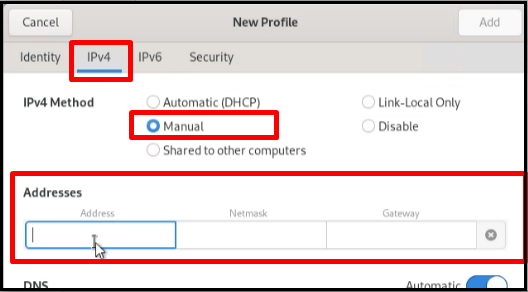
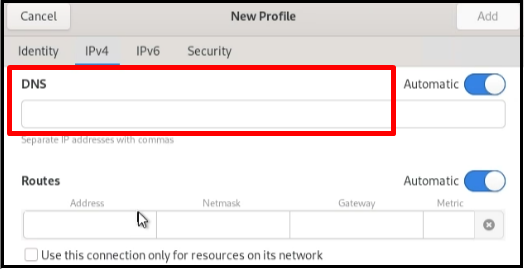
Select the IPv4 Method and enter the IP Address, Netmask, Gateway, and DNS.
-
Check the network status to see if the network is connected.
-
After completing the configuration, access the ARS PuTTY session using the provided IP address.
-
Log in using the given credentials. Username: root and Password: accops@123
-
A prompt to change this password will appear immediately after the first login. Please ensure that a strong password is set.
-
Enter the new password for the root user.

Setting up ARS Components
The core ARS services (OpenSearch, OpenSearch Dashboard, and Logstash module) are configured to automatically start during the boot process.
-
Ensure you are in the /root directory using the pwd command. Then use the ls command to check if the ars_config.sh script is present in the directory.

-
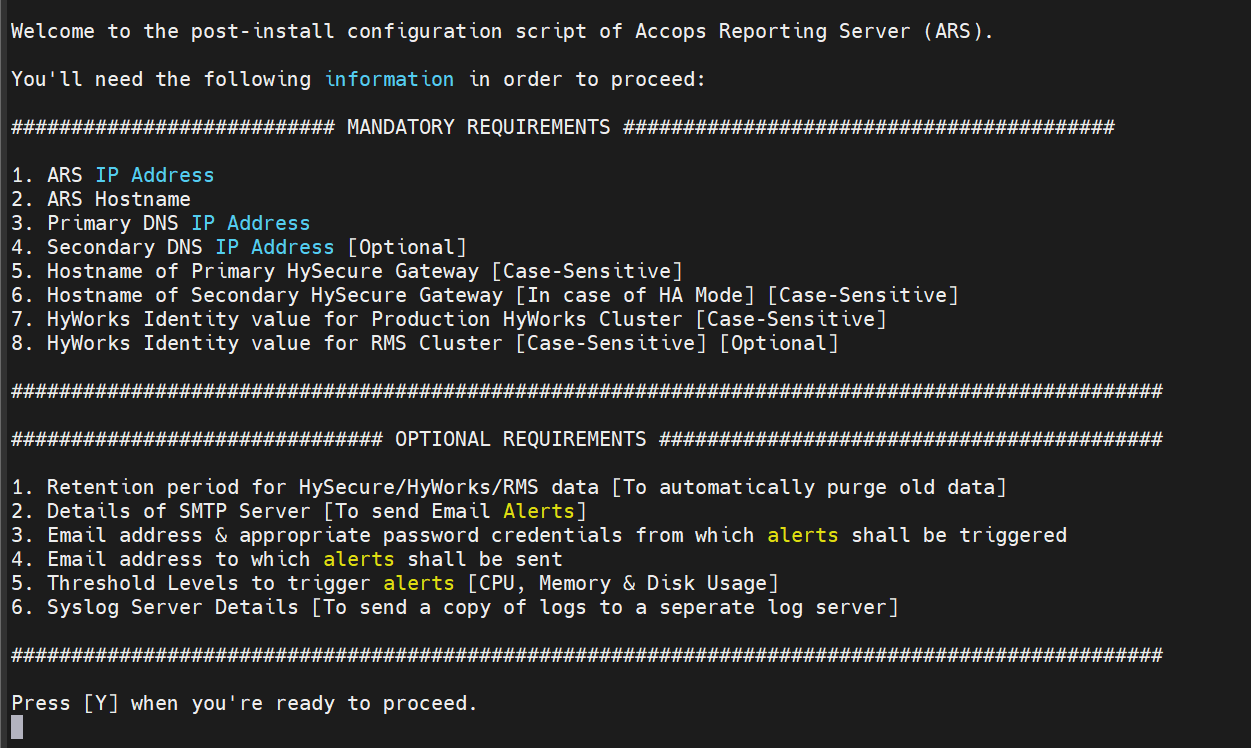
Once verified, type the command sh ars_config.sh and press enter to run the script.

-
Ensure to have the required information, such as ARS IP Address, Hostname, Primary DNS IP Address, etc., to proceed. Once confirmed, press Y to proceed with the configuration.
-
Enter the IP address assigned to the ARS server.

-
Enter the Hostname to be assigned to the ARS server.

-
Enter the IP address of the primary DNS server. In case you do not wish to enter the secondary DNS server's details, press Enter to skip [required for resolving the SMTP email server's URL].

-
Enter the Case-Sensitive hostname of the Primary HySecure Gateway. Press Enter in case of no secondary HySecure Gateway.

-
Enter the Case-Sensitive value of the HyWorks Identity field for the Production HyWorks Environment located at the HyWorks Management Console > Settings > System > Syslog Settings. Press Enter in case of no HyWorks Environment.

-
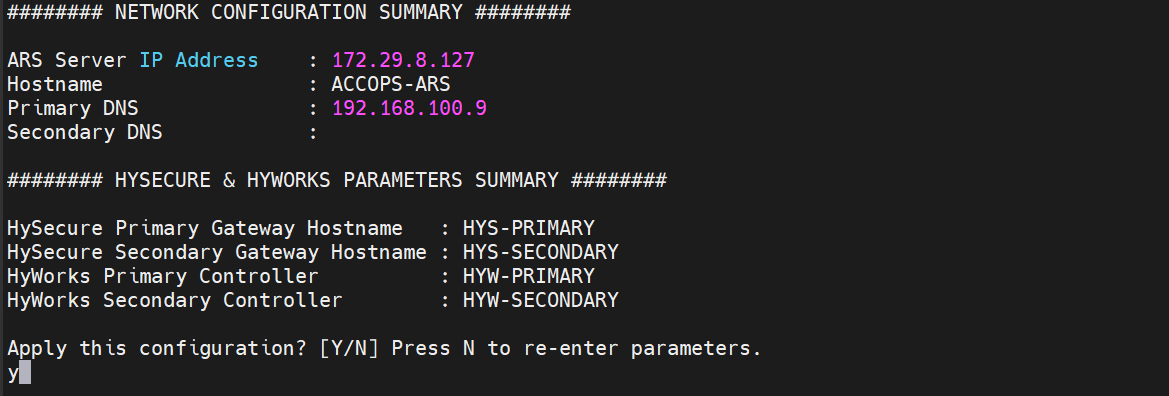
A summary of the information provided will be displayed. Verify the information and press Y to apply the configuration or press N to re-enter the details.
-
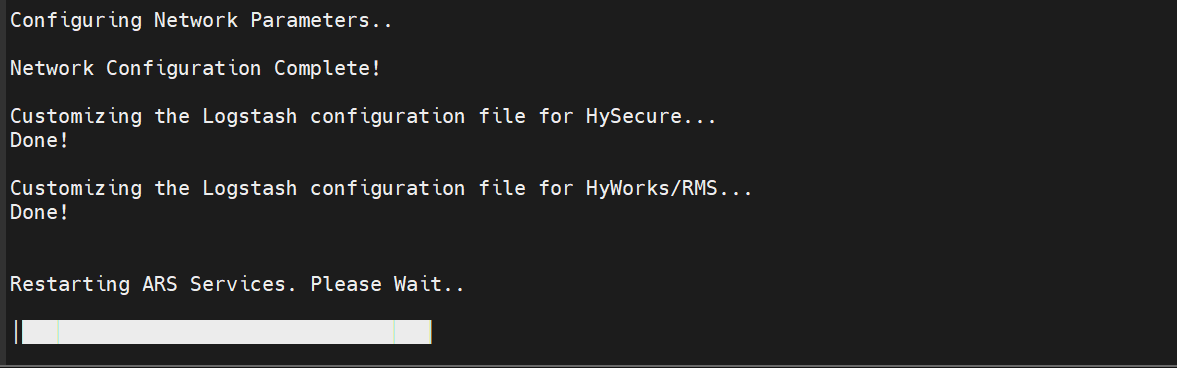
Once confirmed, the script will make the necessary modifications to the files.
-
After completing the setup, configure the Elastic Curator, which automatically runs every midnight (12 AM). It checks for HySecure, HyWorks, HyLogger, HyLogon, dvmlogs, and Total session Time logs older than 30 days and Metricbeat (OS/Memory/Disk Usage), marking them for deletion. This helps maintain sufficient disk space on the ARS server. The retention periods can be adjusted to match the organization's policy. Press Y to modify the existing retention periods, else type N to proceed further and retain these retention periods.

- If you choose to modify, you will be asked for the new retention period (in days) for HySecure, HyWorks, HyLogger, HyLogon, Total session Time, dvmlogs and Impossible Travel Event, and Metricbeat data.
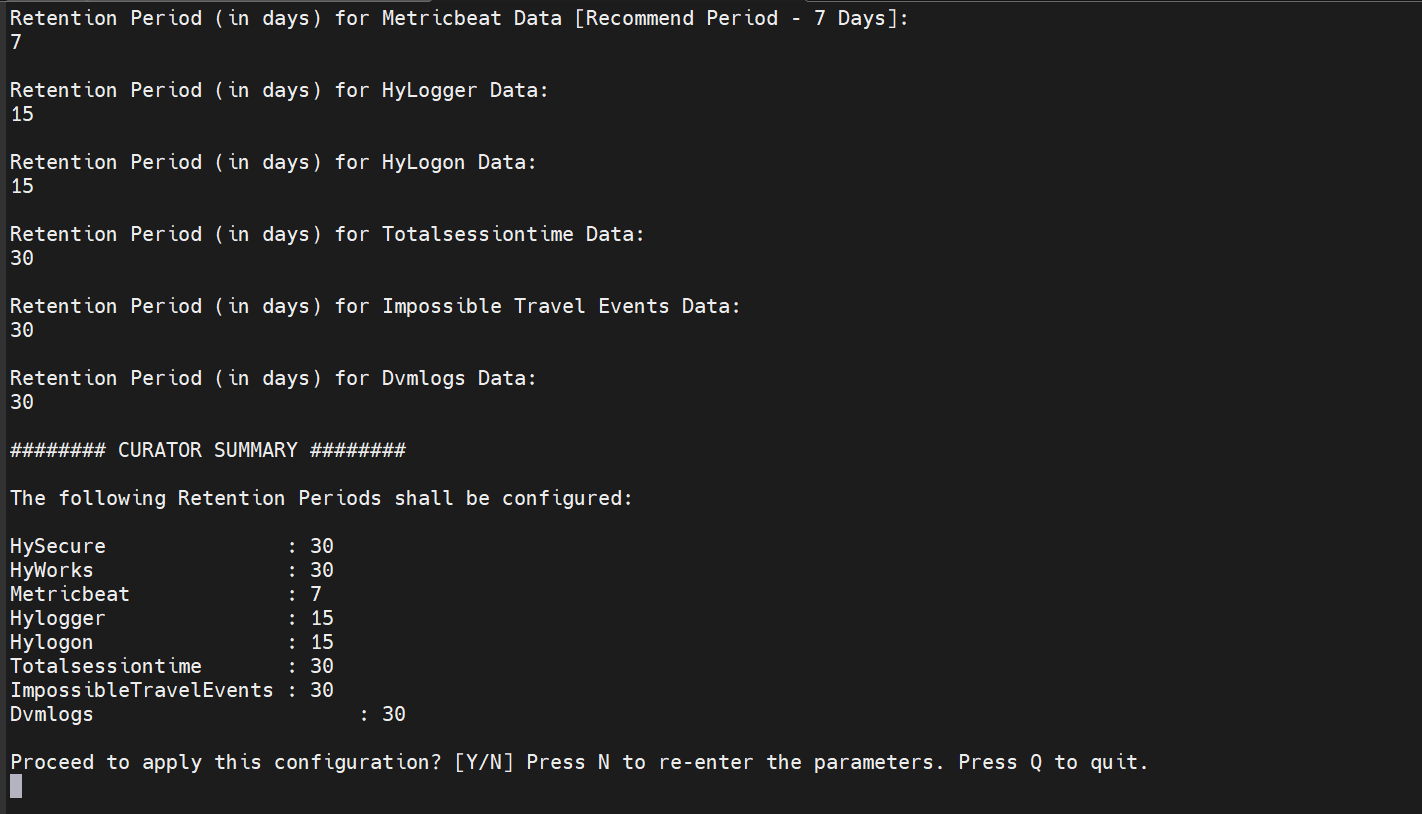
Note
Metricbeat data consumes a large amount of HDD space and may not be as historically important as HySecure and HyWorks data. Hence, it is highly recommended to keep the retention period for Metricbeat data to 7 days or less.
-
After entering the new retention periods, press Y to confirm and apply the new settings. Press N if you would like to re-enter these parameters.
-
ARS provides the functionality of sending a copy of the logs it receives to a syslog server. This is disabled by default. Press Y to enable this feature or N to proceed further.
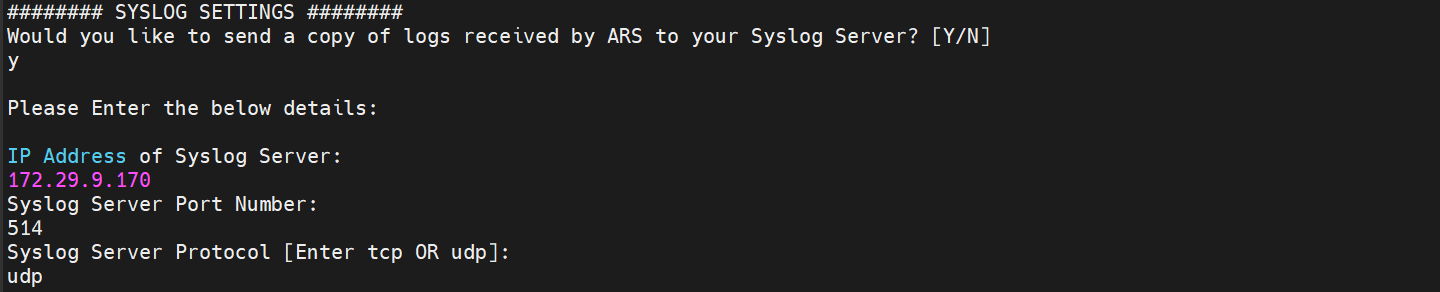
-
A summary of the syslog settings provided will be displayed. Press Y to apply this configuration or N to re-enter the parameters.

-
Configuration is now complete. Please press Y to restart the server for the settings to take effect. Press N if you’d like to restart later.

-
Once the server reboots, please wait for 5 minutes and run the following commands to check if all the required services are up and running.
-
Verify the OpenSearch service operation:
netstat -ant | grep 9200

- Verify the OpenSearch-dashboards service operation:
netstat -ant | grep 5601


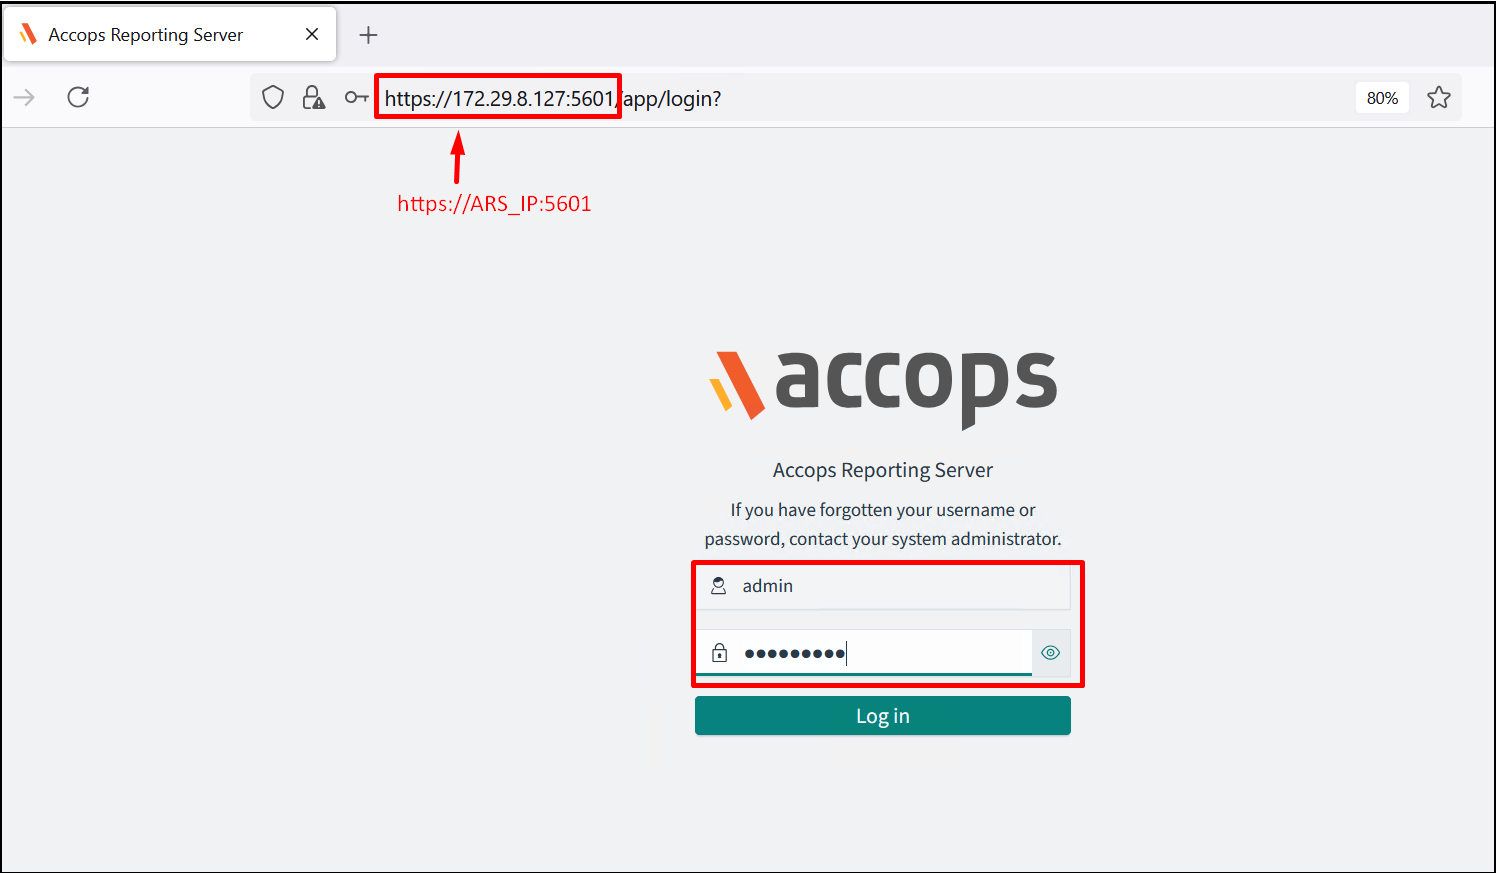
Accessing ARS Web UI
-
Access the ARS Web UI by navigating to the URL https://
:5601 -
When prompted for credentials, enter the default credentials as:
-
Username: admin
-
Password: accopsars.
-
-
Go to the Dashboards section on the left to browse the data from respective instances.
-
You may also go to the Discover tab and click Open on the top right to open pre-built saved templates for user reports.
-
Use the time-frame switch in the top right corner to adjust data for visualizations and generate reports.
Port requirements
After successful installation, we need the following ports open for further log settings:
| Port | Source | Destination | Protocol | Type |
|---|---|---|---|---|
| 9200 | HySecure | ARS | TCP | Unidirectional |
| 9200 | HyWorks | ARS | TCP | Unidirectional |
| 9200 | VDI / SHD | ARS | TCP | Unidirectional |
| 5044 | HySecure | ARS | TCP | Unidirectional |
| 514 | HyWorks | ARS | UDP | Unidirectional |
| 514 | VDI / SHD | ARS | UDP | Unidirectional |
| 9201 | HySecure / HyWorks / VDI / SHD | ARS | TCP | Unidirectional |
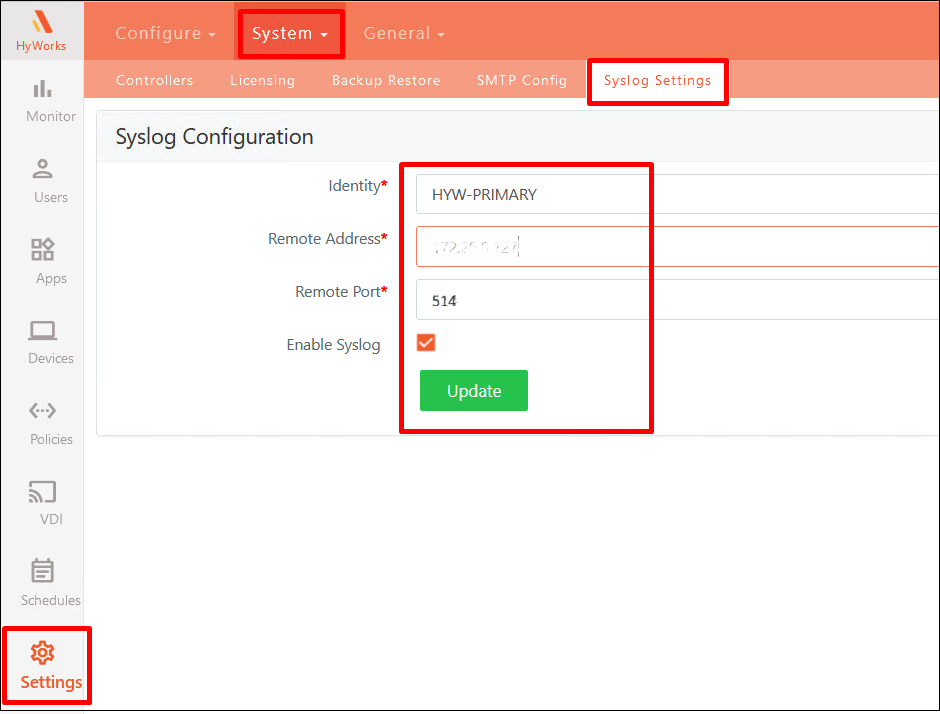
HyWorks Console Settings
-
Log in to the HyWorks Management Console and navigate to Settings > System > Syslog Settings.
-
Enter a unique identifier for the production HyWorks instances under Identity.
-
Enter the ARS server's IP address under Remote Address.
-
Ensure the Remote Port is set to 514 and that the Enable Syslog option is checked. Click Update to save the changes. Repeat the above steps for the secondary HyWorks Controller, if applicable.
-
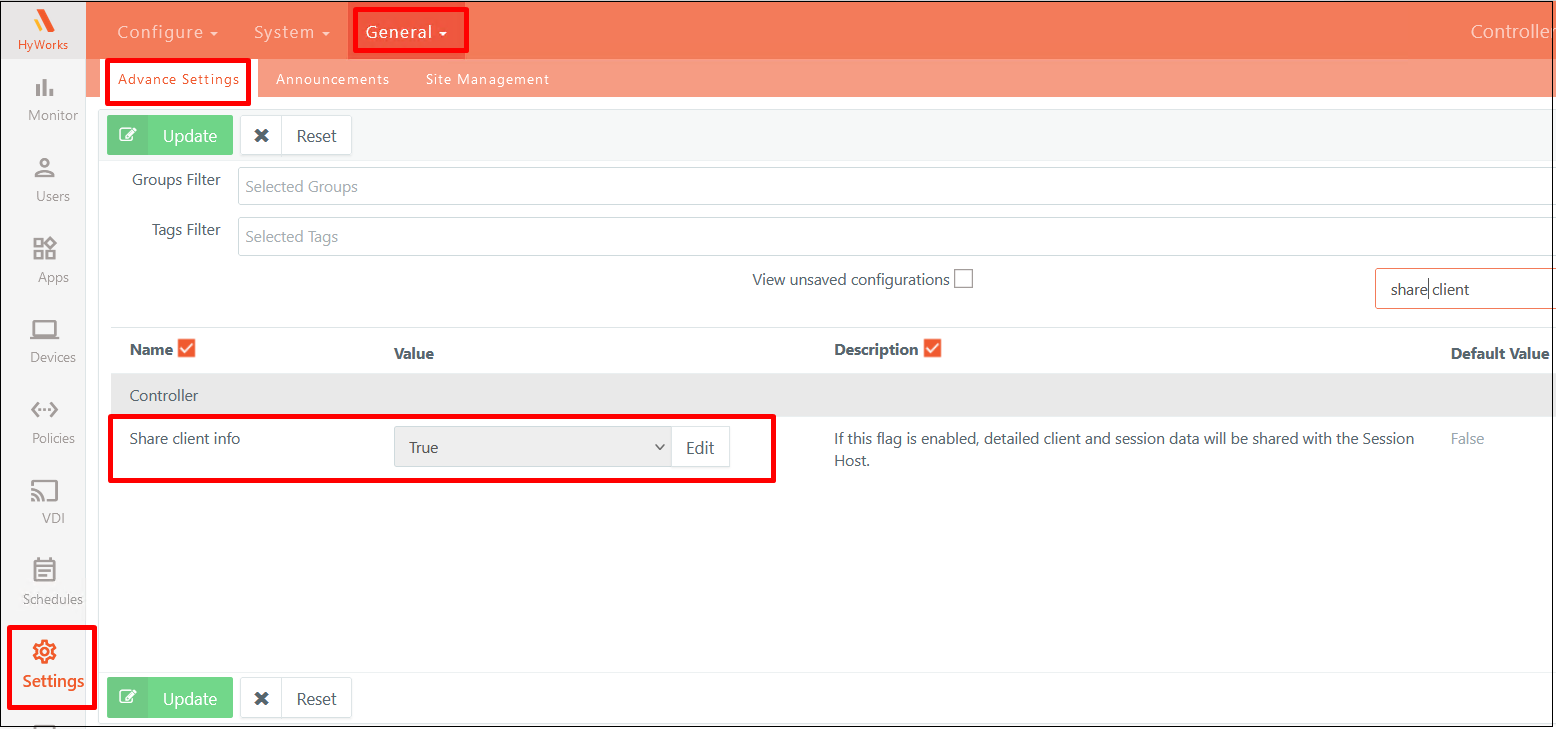
Click on Advance Settings option and set the following parameter values:
-
Controller Session Monitoring: True

-
Controller Session Monitoring Interval: 1

-
Share client info: True
-
-
Click Update to save the configuration.