Download and Install the Client
The following section explains how to download and install the Accops Workspace Windows Client from the official Accops website’s Product Release page on a Windows device.
There are two types of installations available:
-
Admin Installation: Requires administrator credentials. This option is intended for system administrators who need to deploy the client across multiple devices or users. It provides advanced configuration options and supports a broader set of features. This installation type offers the full feature set available to administrators and includes features specifically designed for the admin client.
-
On-demand Installation: Intended for individual users who want to install the client as needed. While it includes the core functionality required for everyday use, some advanced administrative and management features are not available in the on-demand client.
Before you begin, please ensure that your device meets the requirements listed on the Prerequisites page.
Step 1 — Download the Installer
-
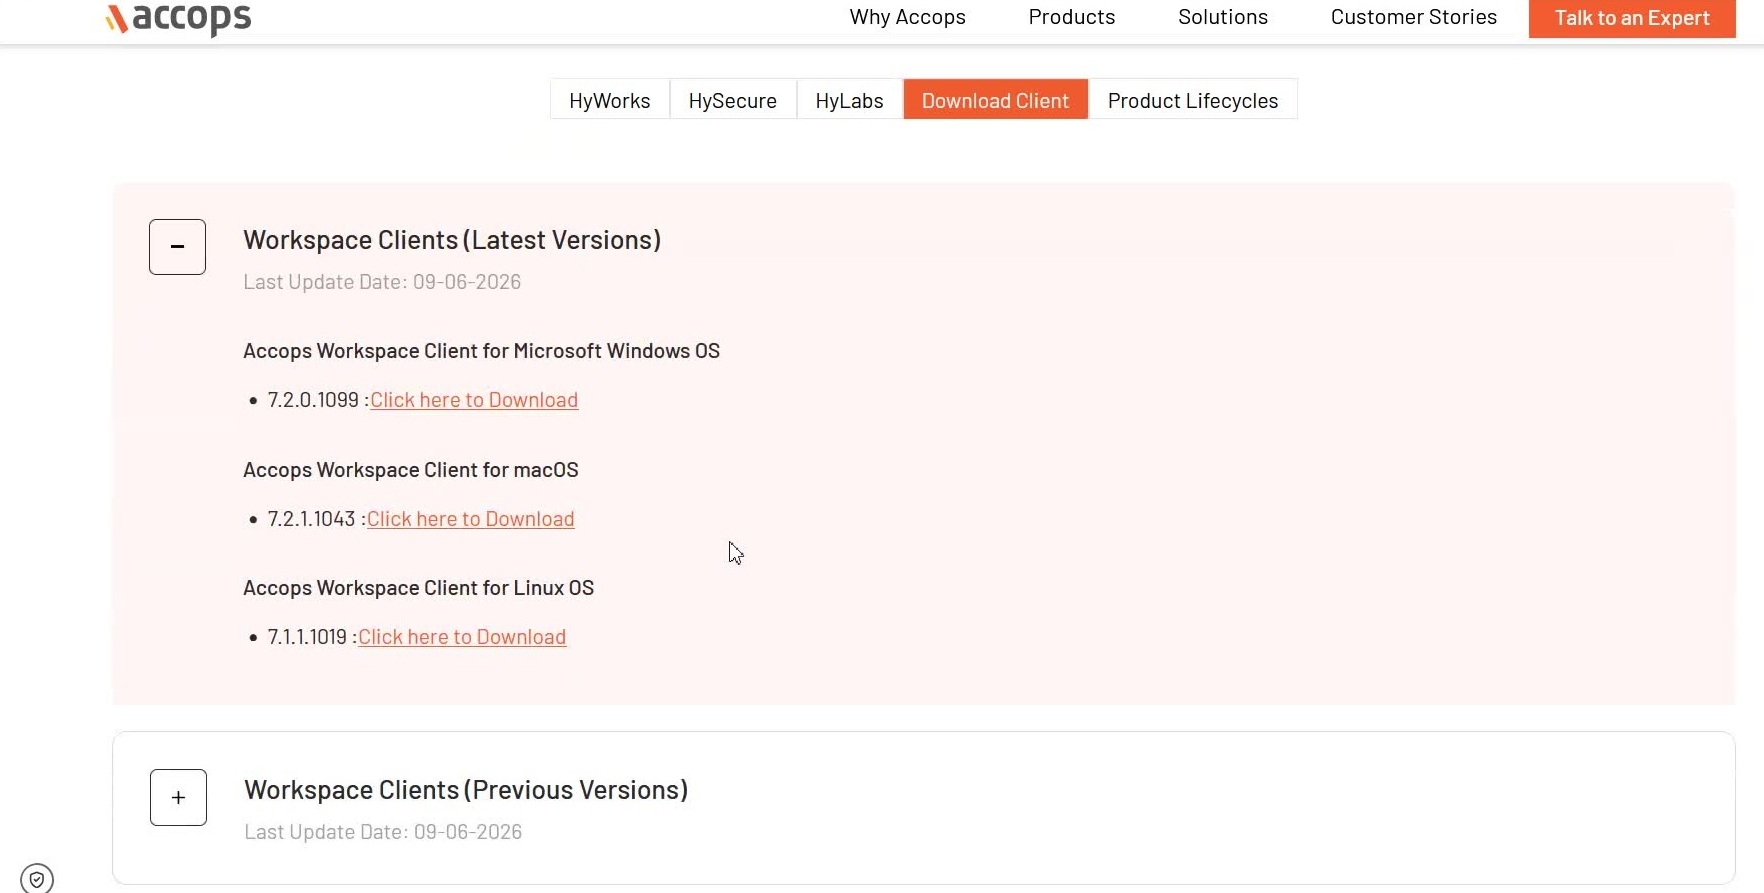
Go to www.accops.com/product-software. This page can also be reached from the Accops homepage, via Resources > Product Documentation or Resources > Product Release.
-
Select the Download Client tab.
-
Under Workspace Clients (Latest Versions), locate Accops Workspace Client for Microsoft Windows OS and click Click here to Download next to the required version.
Note
Client builds for macOS and Linux OS are also listed on this page. Previous versions are available under Workspace Clients (Previous Versions). The version numbers shown in this screen capture are illustrative only; always select the version required for the deployment.
-
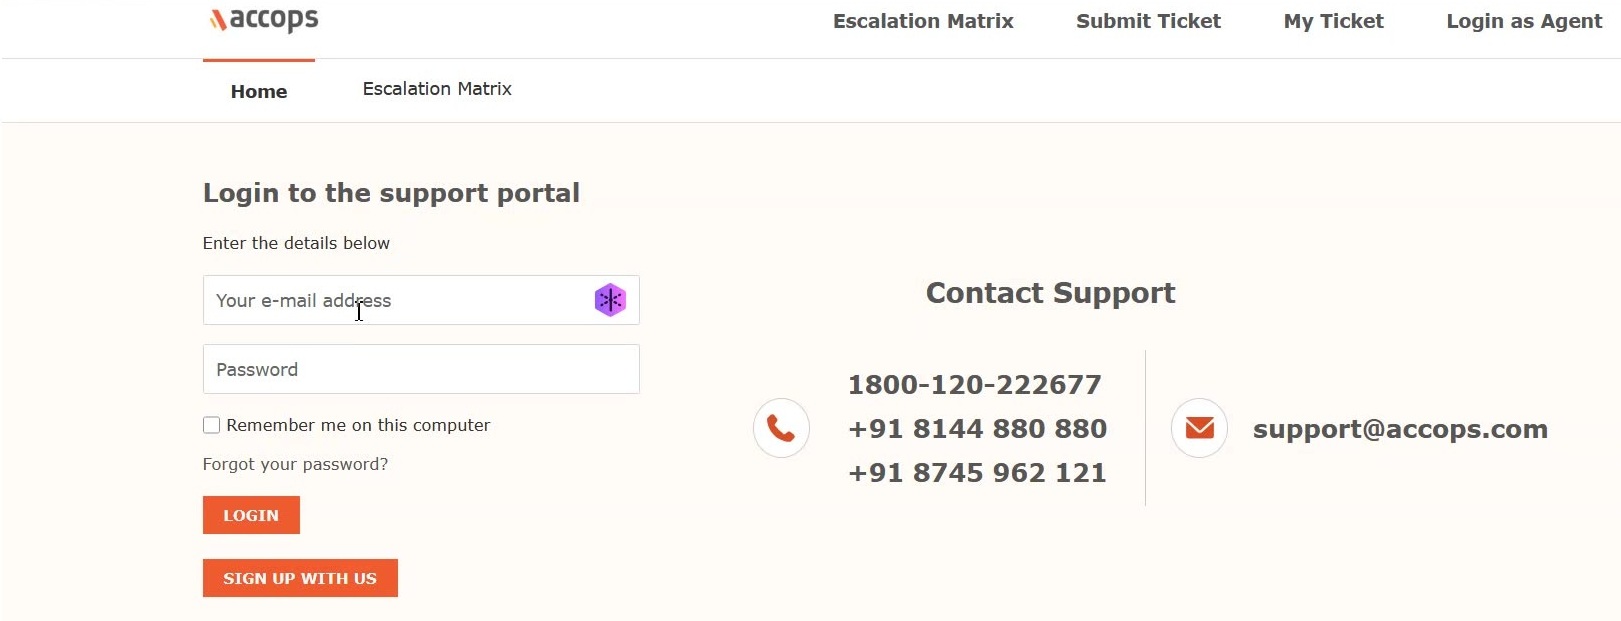
The download link redirects to the Accops support portal sign-in page. Enter the registered support portal credentials and click Login.
Note
New users can register first by using “Sign up with us” on the same page.
-
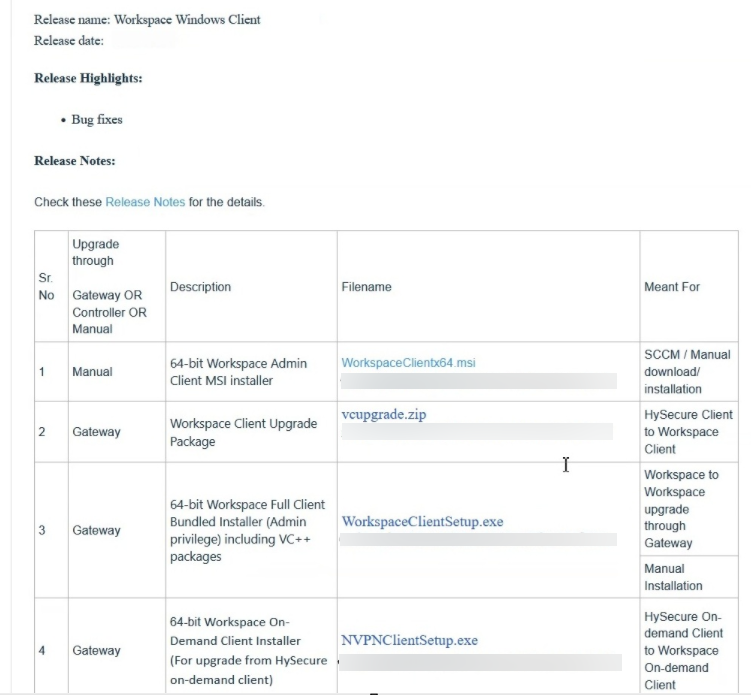
After signing in, the portal opens the release article for the selected version. This article lists the available installer files along with file names and checksums.
Note
The release name, date, and version number shown in this screen capture are illustrative only and reflect a specific past release; the release article layout and download flow remain the same across releases.
-
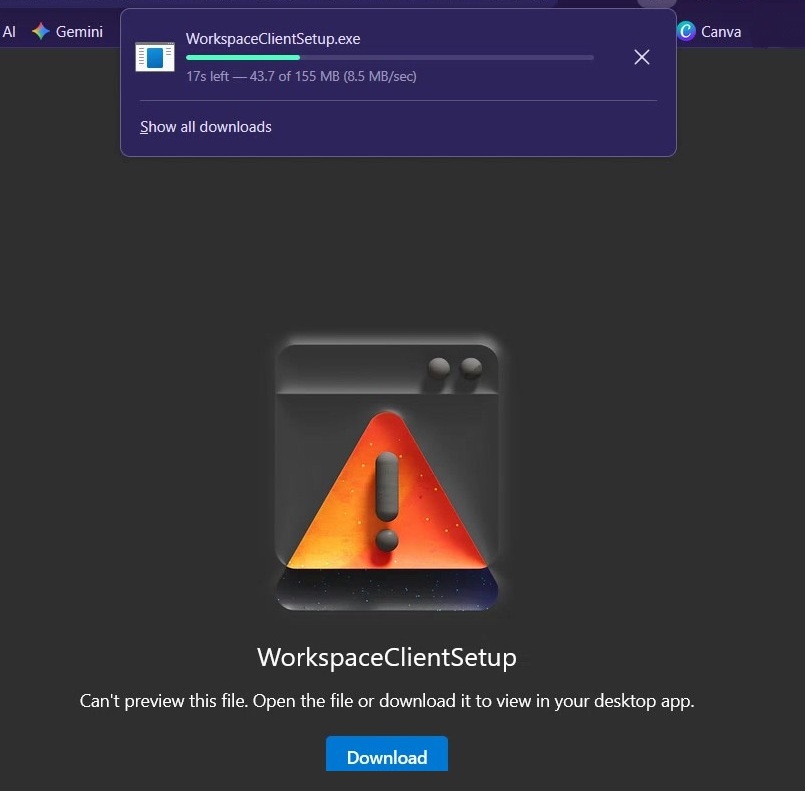
Click the installer file link. The link opens a preview page; the file cannot be previewed directly. Click Download to save the file locally.
-
Once the download completes, the installer file (WorkspaceClientSetup.exe, approximately 155 MB) is available in the device's Downloads folder.

Step 2 — Install the Client
-
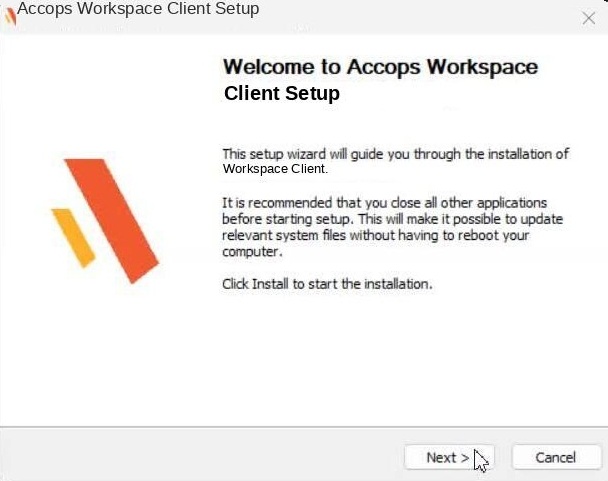
Double-click WorkspaceClientSetup.exe to launch the setup wizard.
-
On the Welcome screen, click Next to continue.
-
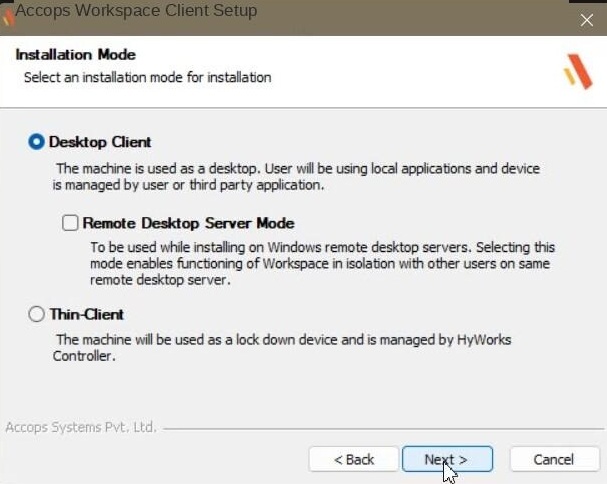
On the Installation Mode screen, select the mode that matches the deployment, then click Next:
-
Desktop Client: the device is used as a desktop, with local applications managed by the user or a third-party application. Selected by default.
-
Remote Desktop Server Mode (sub-option under Desktop Client): used when installing on a Windows remote desktop server. Enables the Workspace Client to function in isolation from other users on the same remote desktop server.
-
Thin-Client: the device is used as a locked-down device, managed by the HyWorks Controller.
-
-
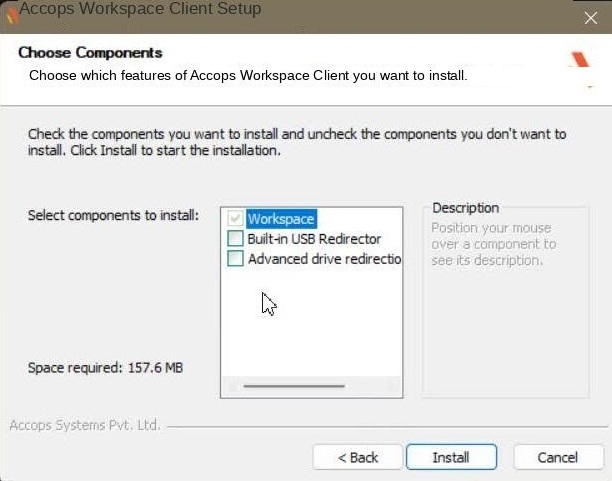
On the Choose Components screen, keep the default selection, then click Install:
- Workspace — Selected by default. This component is required and should remain selected.
- Built-in USB Redirector (optional) — Select this component only if you plan to use USB device redirection through the built-in USB Redirector feature.
- Advanced drive redirection (optional) — Select this component only if you need advanced local drive and storage redirection capabilities within remote sessions.
Note
The components panel displays the total disk space required for the selected components.
-
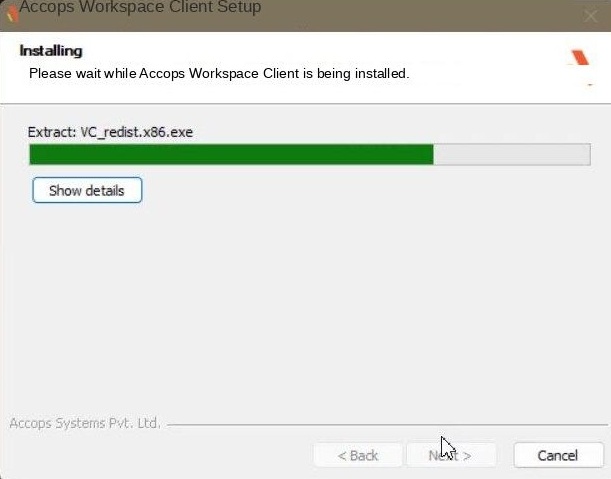
The installer extracts the required packages and installs the client. Progress and the current installation step are displayed during this stage.
-
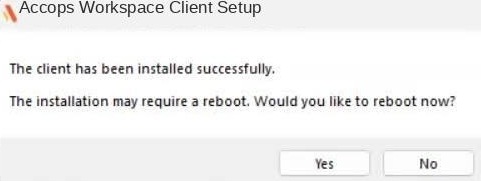
When installation completes, a confirmation message is displayed along with a prompt to reboot.
Important
Click Yes to reboot the device immediately, or No to reboot later. A reboot may be required for the installed components to take effect.
Installation complete
Accops Workspace Windows Client is now installed.
Step 3 — Initial Configuration
After installation (and a reboot, if selected), the client requires a one-time gateway configuration before the first sign-in.
-
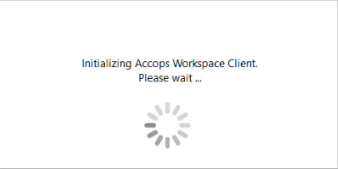
Launch the Workspace Client.
-
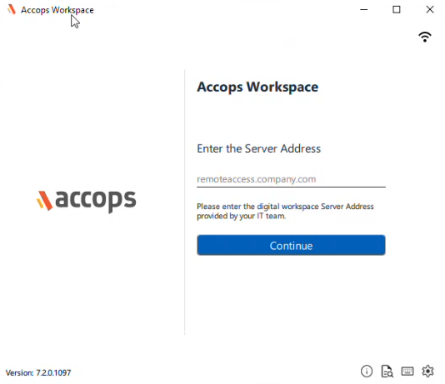
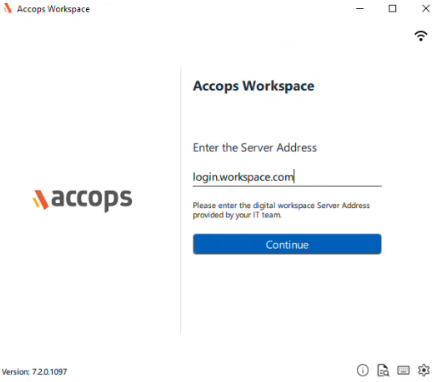
Enter the Digital Workspace Server Address and click Continue.
-
Select your organization and click OK.
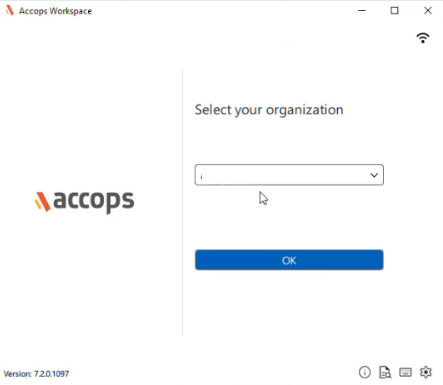
-
The user can now log in with their credentials and click Sign-in.
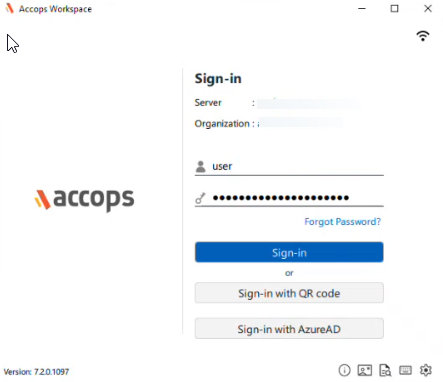
-
Click Settings and change the server address on the Settings page.
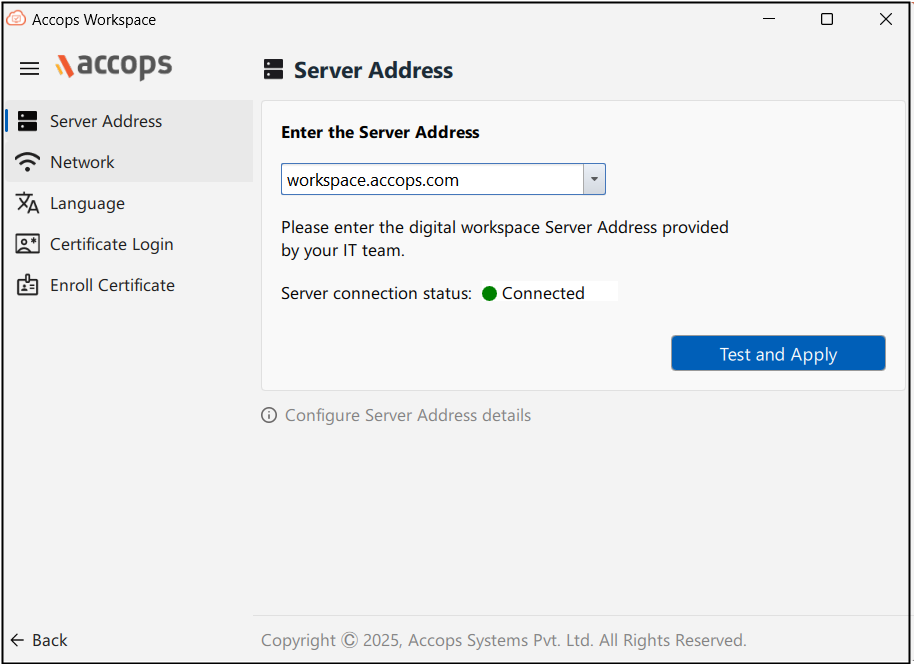
-
Click Test and Apply. The client verifies connectivity with the specified gateway or controller. Once the connection succeeds, the settings are applied.
Note
This step is required only on first use, or when the gateway/controller address changes. The Settings option is not available once the user is logged in.