HySecure Deployment
Help/Support
Work In Progress, please send a mail to support@accops.com for further Help/Support.
Audience
- AWS Cloud Administrators
Environment
- Hysecure Standalone Deployment in Amazon Cloud
- Gateway Version: v5299, v5360, v5420 & v6030
Pre-Requisite
- AWS Account, you can get started with Amazon EC2 using the AWS Free Tier.
- AWS Network Security Group
- AWS Network Interfaces
Create HySecure Node.
Step 1: Open the Amazon EC2 console at https://console.aws.amazon.com/ec2/
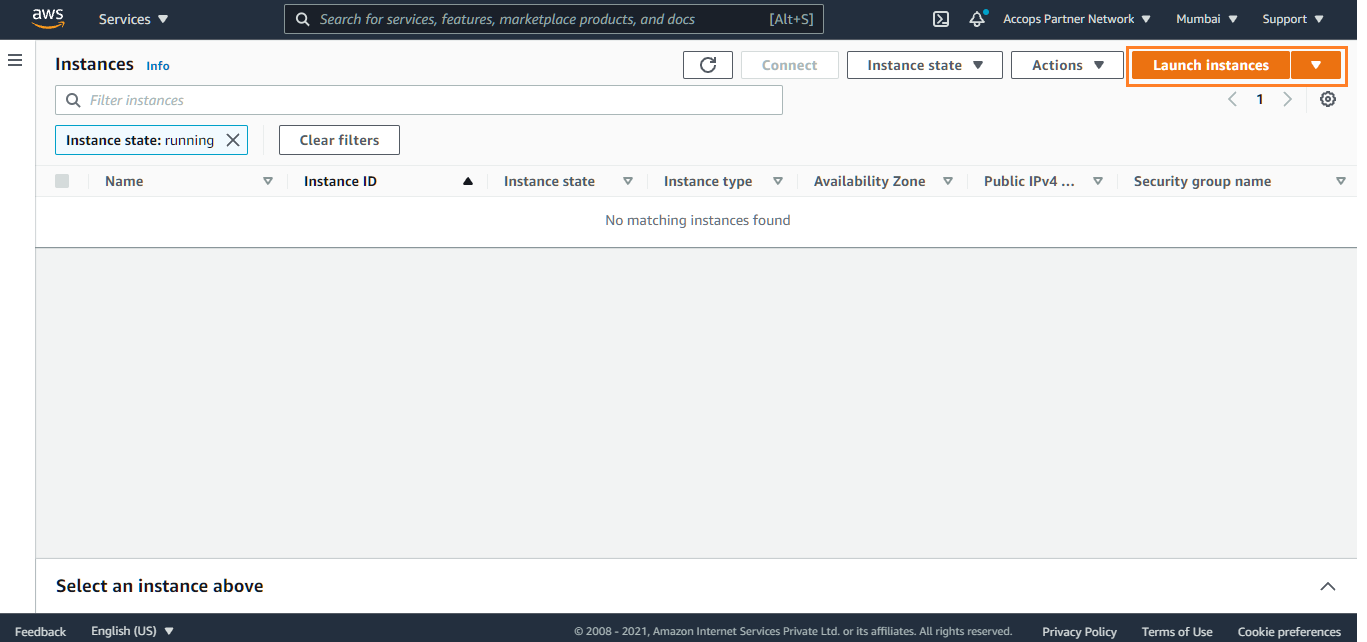
Step 2: In the navigation pane, under Instances, choose Instances.
Step 3: Select launch Instances.
Step 4: Search for Accops in Community AMIs
Info
Deploy Accops HySecure Gateway v5299 Recommended
Deploy Accops HySecure Gateway v5360 For Turbo

Step 5: Choose an Instance Type and then click on Next: Configure Instance Details Tab.

Step 6: Configure Instance Details like, Number of instance, Network, Subnet and then click on Next: Add Storage Tab.
Info
For High availability of HySecure Gateway Please deploy it in two different zone.

Step 7: Add Storage and then click on Next : Add Tags Tab.

Step 8: Add Tags and then click on Next:Configure Security Group Tab.

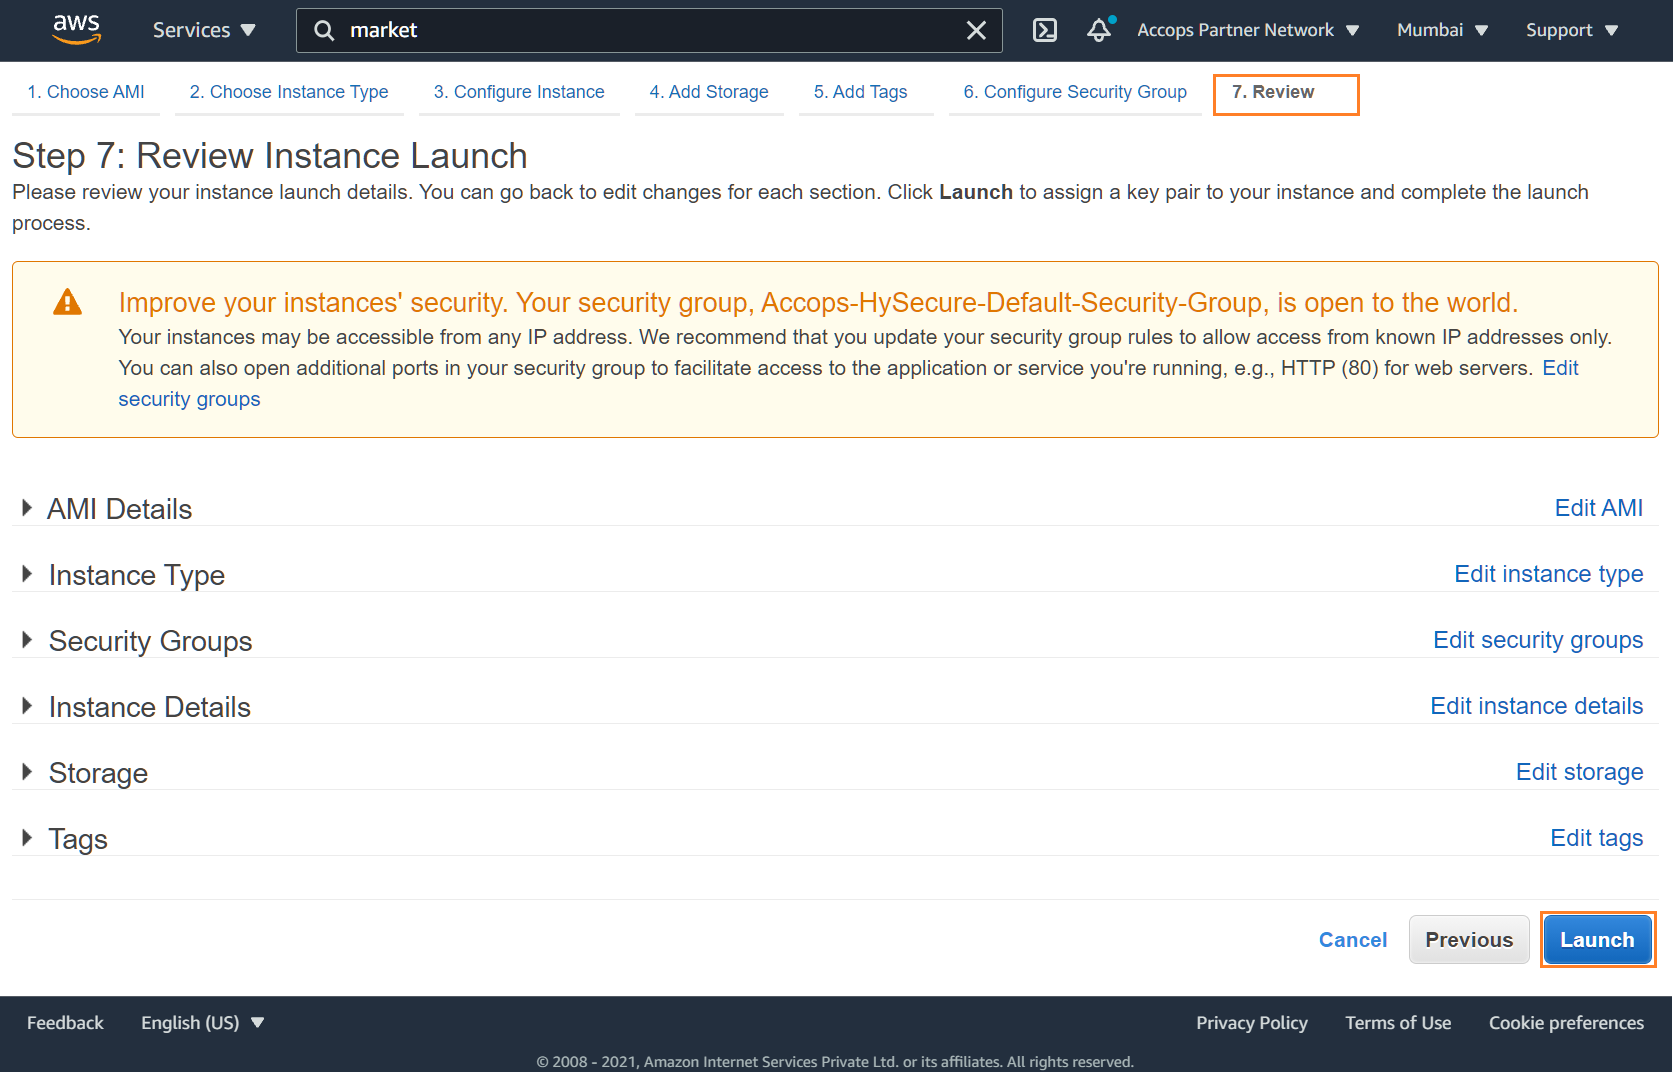
Step 9: Create a new Security Group or select an existing Security Group if it is already created. and then click on Next : Review and Launch Tab.

Step 10: Review Instance Launch and then click on Launch Tab.
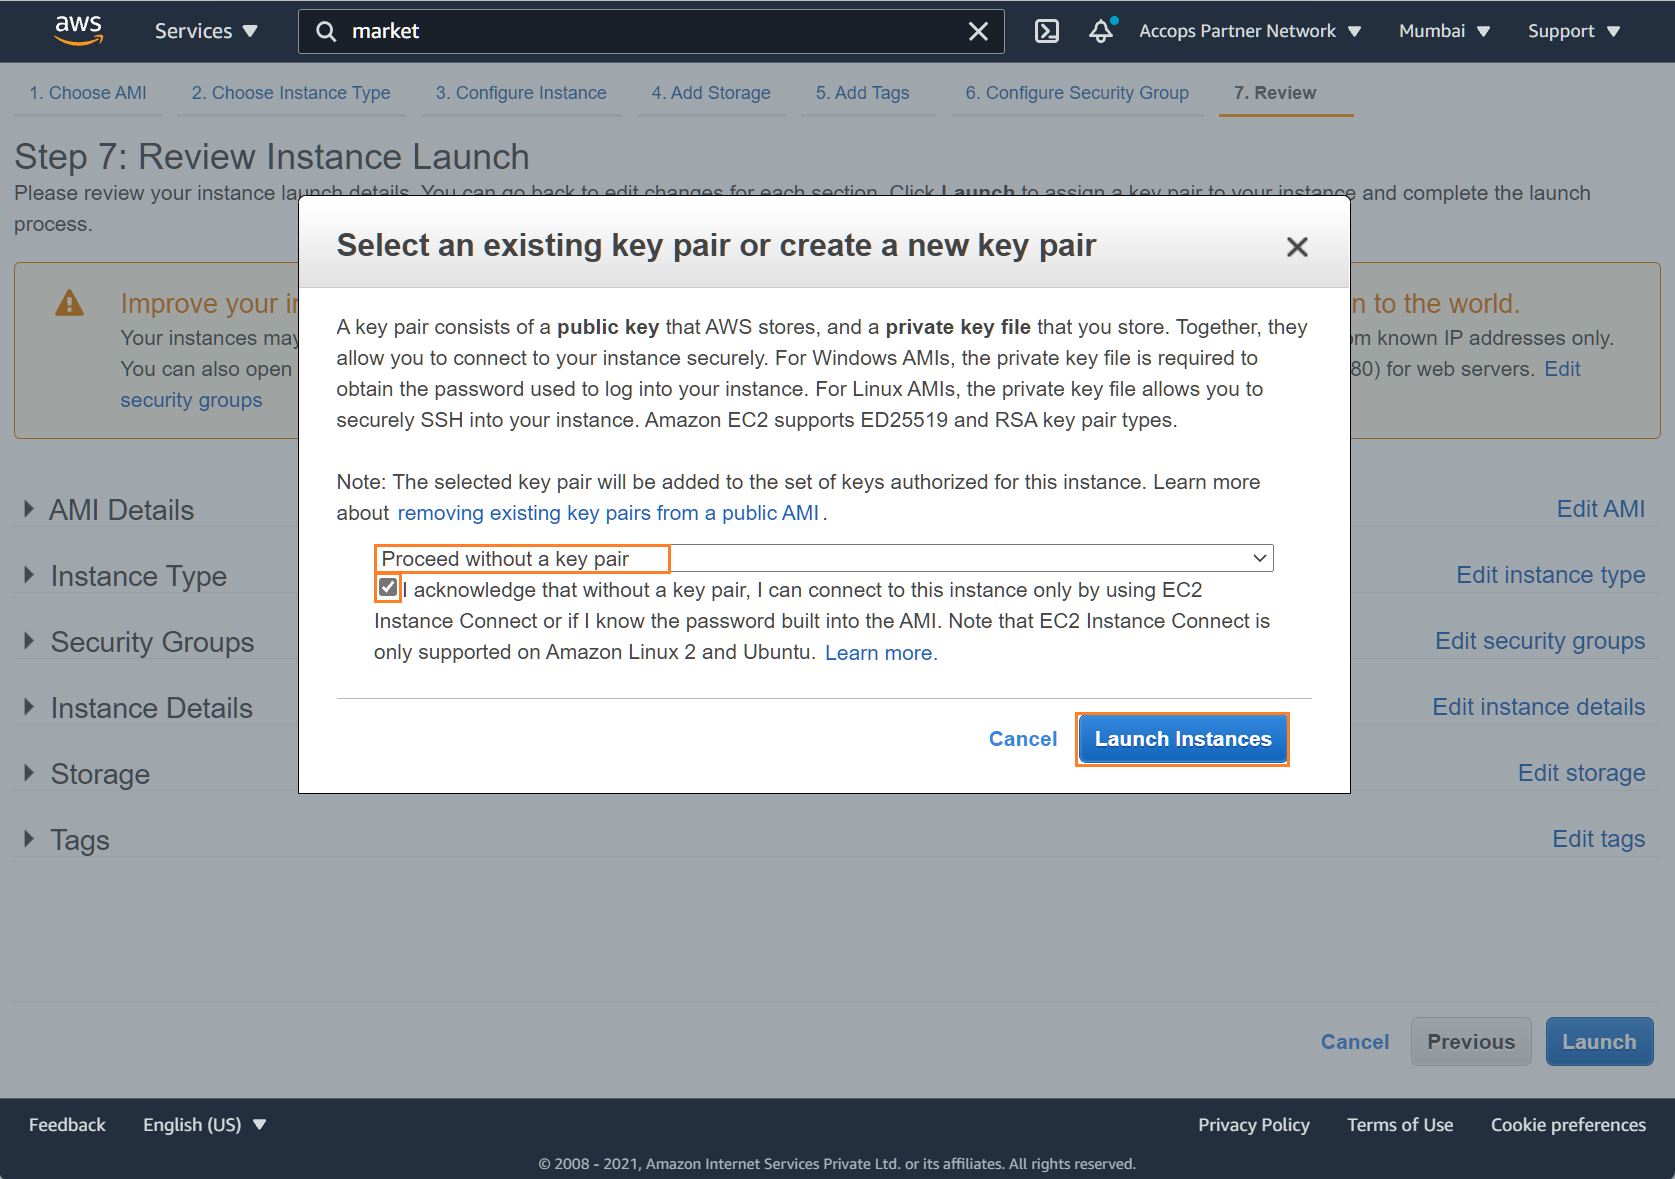
Step 11: Select Procced without a key pair and click on Launch Instance.
Step 12: Select View Instance

Step 13: Add a name to the Instance.

Note
In this article below reference will be used for further configurations.
Accops-HySecure-Gateway-1 : Active Node
Configure Network to HySecure Instances.
Note
Network Address configuration can be be completed by following methods.
1: Connect to instance using Session Manager
2: Temporary assign an elastic IP address to all instance and allow SSH from Public IP (Restrict it from a required Public IP)
3: Create a jump server based on Windows Operating System within same subnet in which HySecure Gateway is deployed.
4: Connect to Hysecure Gateway Private IP using site 2 site Connectivity.
In this article we will be using jump server for configuring the network to all nodes.
Software required:
1: Putty

2: Winscp

3: Notepad ++

4: Any Browser ( Preferable : Google Chrome or Edge Browser)
HySecure Instance Details
| Node Name | Node Type | IP Address | Subnet Mask | Default Gateway |
|---|---|---|---|---|
| Accops-HySecure-Gateway-1 | Active Node | 172.20.0.218 | 255.255.255.0 | 172.20.0.1 |
Step 1: Launch putty application and connect to Accops-HySecure-Gateway-1 server using Private IP Address from jump box.
Step 2: Login using default SSH credentials (Support team can help with login in to hysecure gateway)

Step 3: Switch to consoleadmin user using below command.
[root@hysecure ~]# su consoleadmin
Step 4: Enter option 1 for Network Configuration.

Step 5: Enter option 1 to Configure Ethernet Device.

Step 6: Enter the Device Number of Ethernet to configure it, Enter 0 for eth0 interface.
Example
for eth0, Enter 0. for eth1, Enter 1.
Enter option 0 to select interface eth0.

Step 7: Enter option 1 to Manually configure ETH0, Add the same IP address which is provided by DHCP server set it as static. and save it.

Step 8: Enter option R untill you return to main menu.

Step 9: Press 0 to go to shell mode.

Step 10: Enter Exit to close Putty Session.
Complete Preboot of HySecure Gateway.
Below are the details of Accops Gateway post IP Configurations.
| Node Name | Node Type | IP Address |
|---|---|---|
| Accops-HySecure-Gateway-1 | Active Node | 172.20.0.218 |
** Add additional Network Interface to Accops-HySecure-Gateway-1 which will be used as VIP for configuration.
In this case 172.20.0.222 will be addional Network Interface attached to Accops-HySecure-Gateway-1
Step 1: Connect HySecure gateway (Accops-HySecure-Gateway-1) using Private IP from Browser, Ignore Certificate error and click on Continue to ....
Step 2: Select Configure HySecure Now.

Step 3: Scroll down End User License Agreement and Select I accept the terms and conditions then Click on Submit.

Step 4: Select System Configuration Type and then click on Submit.
Important
Please select below recommended option only.
Installing HySecure Gateway on Physical Host/Virtual machine (Recommended for High Availability in AWS Cloud)
Installing HySecure Gateway on Public Cloud like Amazon AWS, Microsoft Azure (Depreciated and Not Recommended)

Step 5: Change Hostname, Keep IP address Default, Update Date and Time select Timezone, and then click on Submit.

Step 6: Review Hostname, IP address and Interface Configuration and then click on Submit.

Step 7: Select Clustered HySecure installation Type and configure below details.
Info
Enter Virtual IP Address of the cluster : 172.20.0.222
Select Interface Name : eth0
Enter netmask : 255.255.255.0
Enter common(virtual service) hostname of the cluster : Accops-Internal-Load-Balancer
Select Install first node(Load Balancer + HySecure Gateway) and click on Continue.

Step 8: Select Default Accops Internal CA and then click on Submit.

Step 9: Add CA Authority Details, and First Security Office Account Details and then click on Submit.

Step 10: Wait for Processing and then First Security Officer Account Passphrase will be shown.

Active Node Passphrase
Info
First Security Officer: SO_HySecure_Gateway
HySecure Active Node Passphrase: I9BKDI42CL55U17H
[Enroll First Security Officer Account](https://docs.accops.com/hysecure/content_hysecure/content_hysecure_quickstart/enrolling%20first%20security%20officer.html)
Configure Active Node using SSH Access
Step 1: Launch putty application and connect to Accops-HySecure-Gateway-1 server using Private IP Address from jump box.
Step 2: Login using default SSH credentials (Support team can help with login in to hysecure gateway)
Step 3: Update below file
Note
Below configuration is created based on above deployed gateway, please update the IP address as per your instance IPs.
vi /etc/sysconfig/ha/lvs.cf
serial_no = 48
primary = 172.20.0.218
service = lvs
backup_active = 0
backup = 172.20.1.193
heartbeat = 1
heartbeat_port = 539
keepalive = 6
deadtime = 18
network = direct
debug_level = NONE
active_cmd = /etc/sysconfig/ha/active.sh
inactive_cmd = /etc/sysconfig/ha/inactive.sh
monitor_links = 1
syncdaemon = 1
virtual vpn443 {
     active = 1
     address = 172.20.0.222 eth0:1
     vip_nmask = 255.255.255.0
     port = 443
     persistent = 10
     send = "GET /hapage.html\r\n\r\n"
     expect = "HTTP/1.1 200 OK"
     scheduler = rr
     protocol = tcp
     timeout = 6
     reentry = 15
     quiesce_server = 1
     server Accops-HySecure-Gateway-1 {
         address = 172.20.0.218
         active = 1
         weight = 1
     }

}
:wq!
Save and Exit
Restart Pulse service using below command
[root@accops-hysecure-gateway-1 ~]# service pulse restart
Verify Pulse status
    [root@accops-hysecure-gateway-1 ~]# service pulse status
    ● pulse.service - pulse is the controlling daemon that spawns off the lvs daemon as well as heartbeating and monitoring of services on the real servers.
       Loaded: loaded (/usr/lib/systemd/system/pulse.service; enabled; vendor preset: disabled)
       Active: active (running) since Tue 2021-10-19 00:19:37 IST; 20s ago
      Process: 15211 ExecStartPost=/usr/bin/touch /var/lock/subsys/pulse (code=exited, status=0/SUCCESS)
      Process: 15206 ExecStart=/usr/sbin/pulse $OPTIONS (code=exited, status=0/SUCCESS)
     Main PID: 15208 (pulse)
       CGroup: /system.slice/pulse.service
               ├─15208 /usr/sbin/pulse
               ├─15209 /bin/sh /etc/sysconfig/ha/inactive.sh
               ├─15625 sleep 7
               ├─15655 /bin/sh /etc/sysconfig/ha/active.sh
               ├─15656 /usr/sbin/lvsd --nofork -c /etc/sysconfig/ha/lvs.cf
               ├─15665 /usr/sbin/nanny -c -h 172.20.0.218 -p 443 -r 443 -s GET /hapage.html\r\n\r\n -x HTTP/1.1 200 OK -q -a 15 -I /sbin/ipvsadm -t 6 -w 1 -V 172.20.0.222 ...
               ├─15677 /usr/sbin/pulse
               ├─15679 /usr/sbin/pulse
               ├─15697 sleep 7
               ├─15735 sh -c arping -D -I eth0 -c 2 172.20.0.222 > /tmp/ipdebug 2>&1
               └─15736 arping -D -I eth0 -c 2 172.20.0.222

    Oct 19 00:19:55 accops-hysecure-gateway-1 lvsd[15656]: starting virtual service vpn443 active: 443
    Oct 19 00:19:55 accops-hysecure-gateway-1 lvsd[15656]: create_monitor for vpn443/Accops-HySecure-Gateway-1 running as pid 15665
    Oct 19 00:19:55 accops-hysecure-gateway-1 nanny[15665]: starting LVS client monitor for 172.20.0.5:443 -> 172.20.0.218:443
    Oct 19 00:19:55 accops-hysecure-gateway-1 nanny[15665]: [ active ] making 172.20.0.218:443 available
update local.conf file as below
vi /home/fes/local.conf


    [HEALTHCHECKPAGE]
    isAccessDeniedForPublicIP=false
    listOfAllowedPublicIP=*

    [STATUSCHECKPAGE]
    isAccessDeniedForPublicIP=false
    listOfAllowedPublicIP=*

:wq!

save and exit
Change Gateway State to Run State

What's Next
How to Enroll First Security Officer Account
How to Logging in as an SO
How to Configure HySecure Gateway For User Access
More Info About Accops HySecure
Help/Support
Please send a mail to support@accops.com for further Help/Support.