Register and Assign the Device
Overview
After the CMS agent is installed on the client machine, the device registers automatically with the CMS server. This page covers verifying that registration, checking the device's group assignment status, and assigning the device to the appropriate group so that software deployment can begin.
Step 1 — Verify device registration on the CMS portal
Log in to the CMS Admin portal using administrator credentials.
Navigate to the Devices tab and verify that the device appears in the list with the correct hostname.
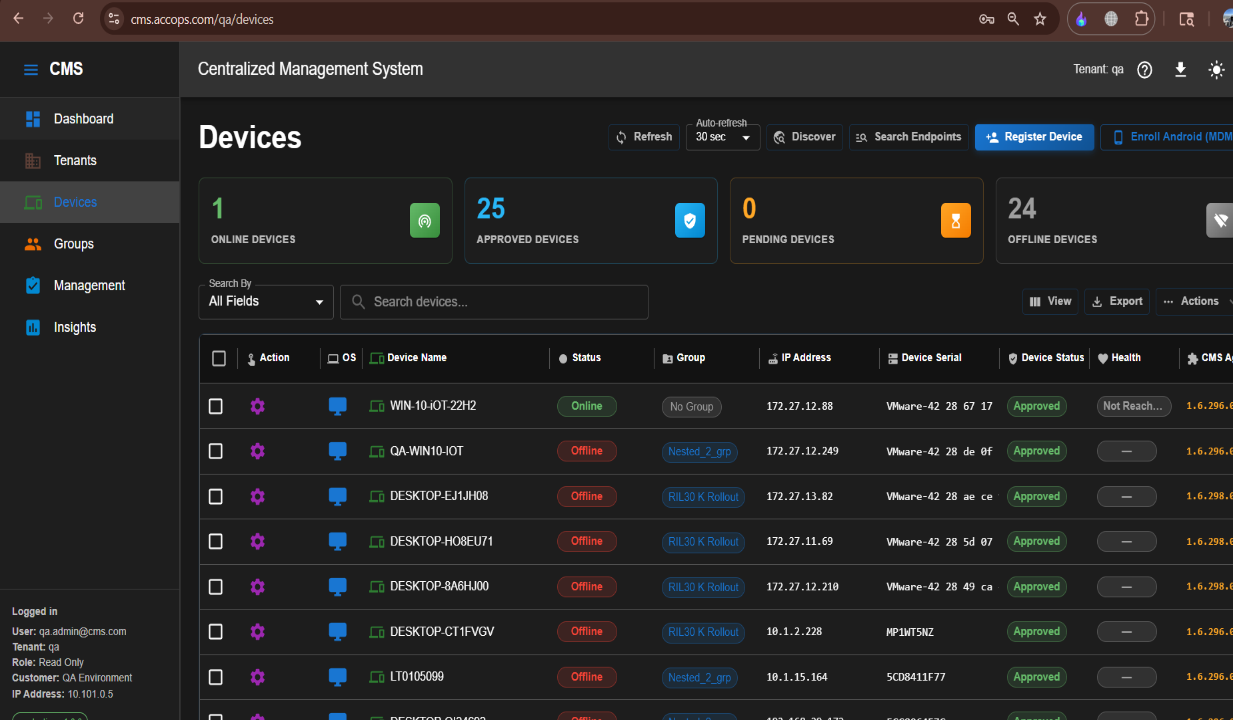
Device registered
The device is now successfully registered in CMS and visible in the Devices tab.
Step 2 — Check group assignment status
On the same Devices tab, check the group assignment column for the device.
If the device has not yet been assigned to a group, the status displays as No Group.
Step 3 — Assign the device to a group
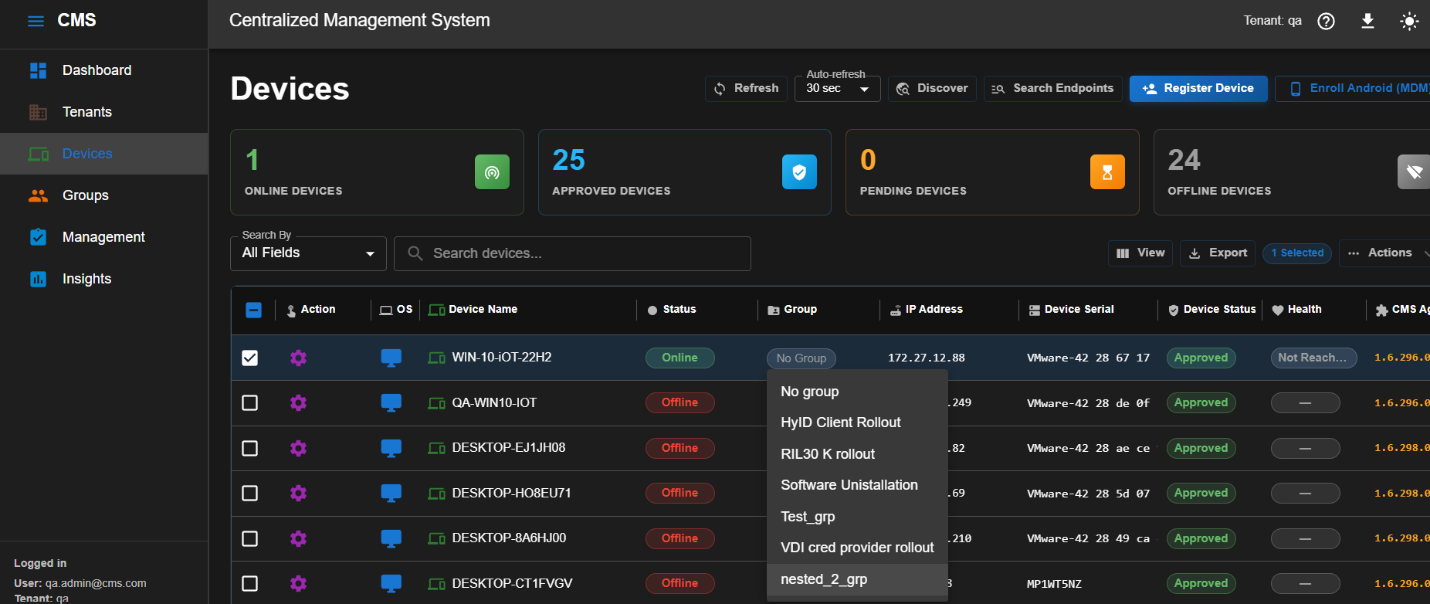
On the Devices tab, locate the device to be assigned. Click on the Group field for that device.
A dropdown list appears showing all groups configured on the CMS server. Select the appropriate group — for example, nested_2_grp.
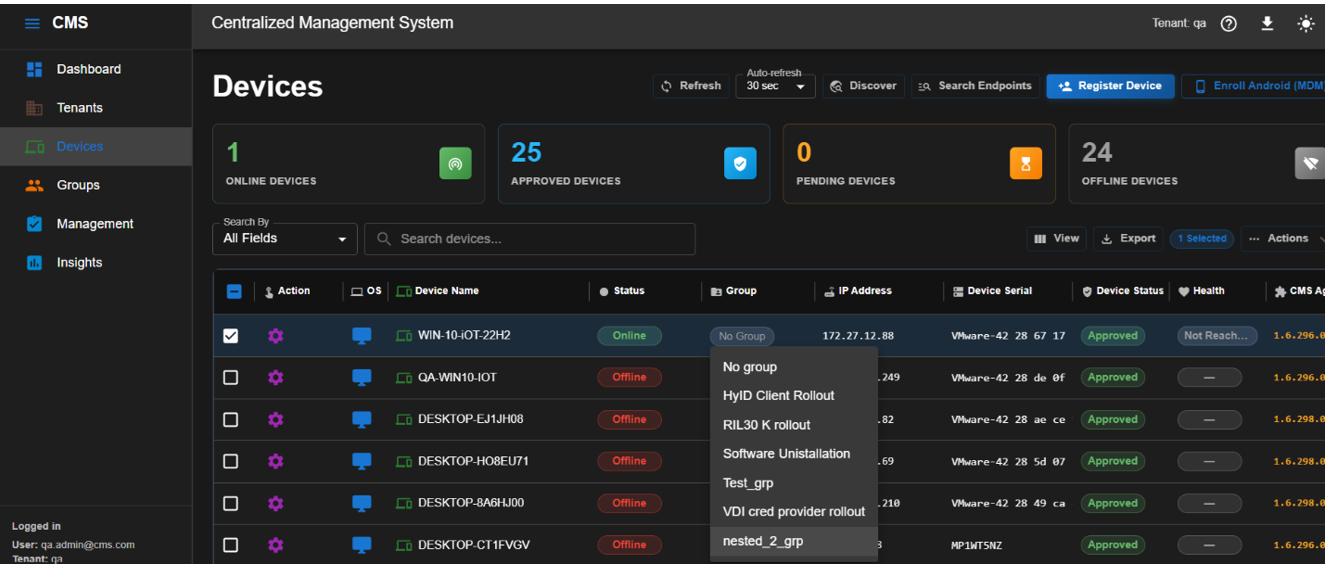
Group assigned
The device is now assigned to the selected group. The CMS server immediately begins pushing the software packages defined in that group's runbook. No further action on the client machine is required to initiate deployment.