Install the CMS Agent
Overview
The CMS agent is installed on each target client machine via the command line. The installation registers the device with the CMS server using a tenant name, server URL, and registration certificate. Once registered, the device appears in the CMS Admin portal under the Devices tab.
Step 1 — Log in to the client machine
Log in to the target client machine using valid domain or local administrator credentials.
Step 2 — Locate the CMS agent setup files
Navigate to the folder on the client machine where the CMS agent setup files have been placed.
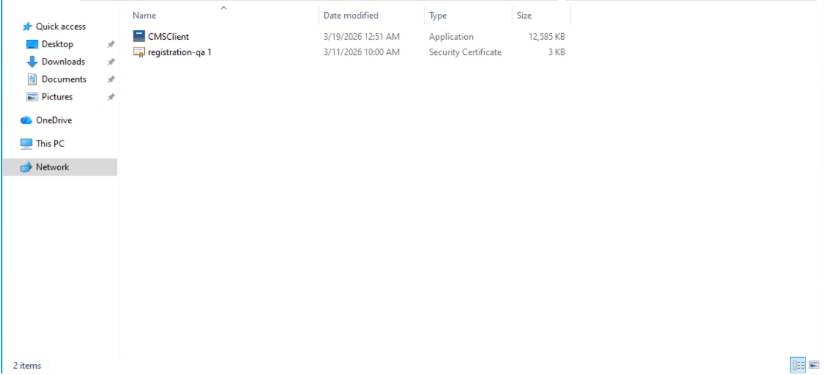
Note
The CMS agent setup package (CMSClient.exe) must be copied to the client machine before installation. Place it in an accessible folder, for example C:\CMSSetup\.
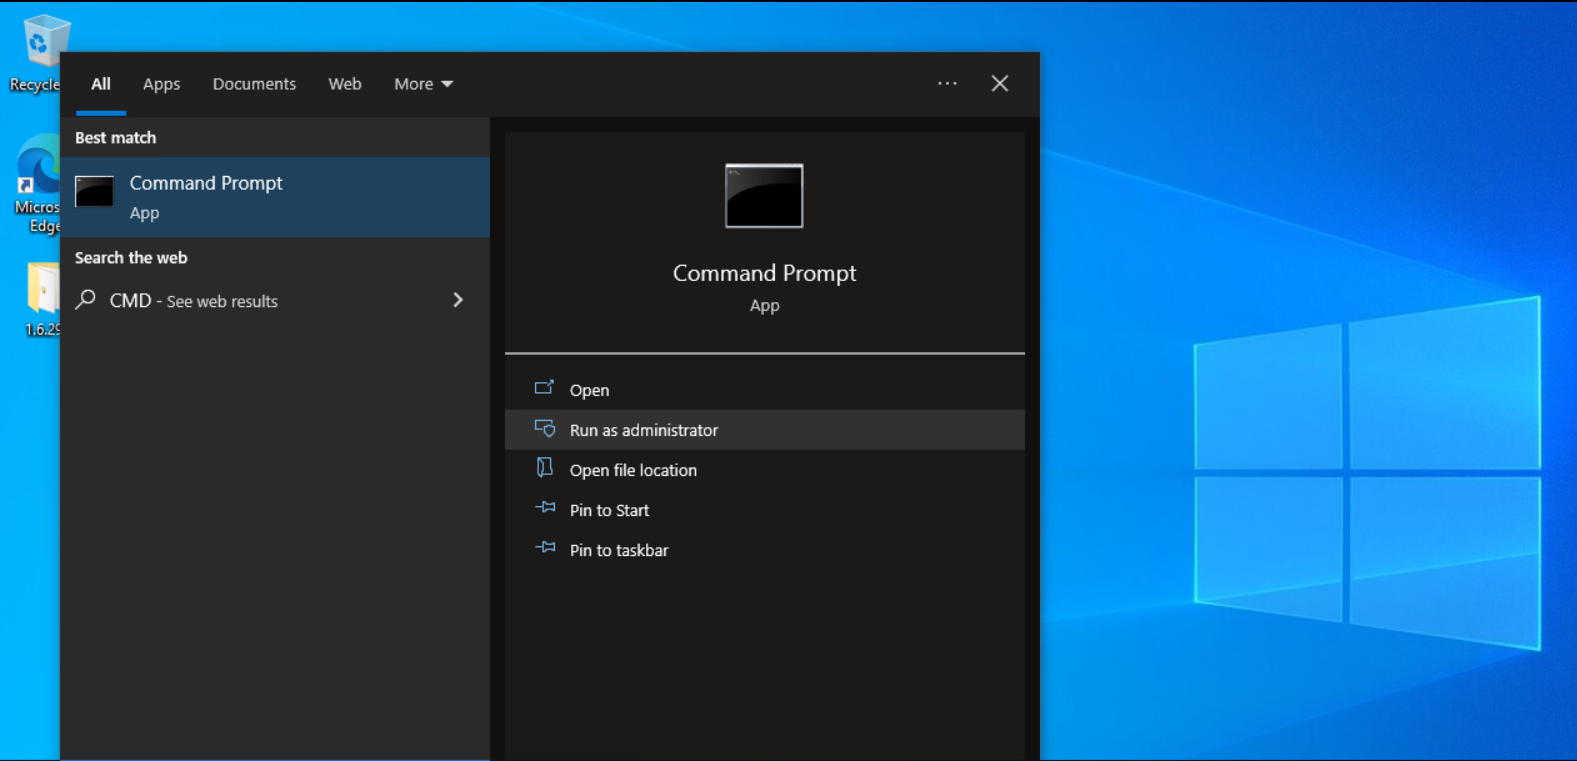
Step 3 — Open Command Prompt as administrator
Search for Command Prompt (cmd) in the Start menu.
Right-click Command Prompt and select Run as administrator.
Step 4 — Navigate to the setup folder
In the Command Prompt window, navigate to the folder containing the CMS agent setup:
cd C:\<path-to-CMS-setup-folder>
For example:
cd C:\Users\admin\Downloads\CMSSetup
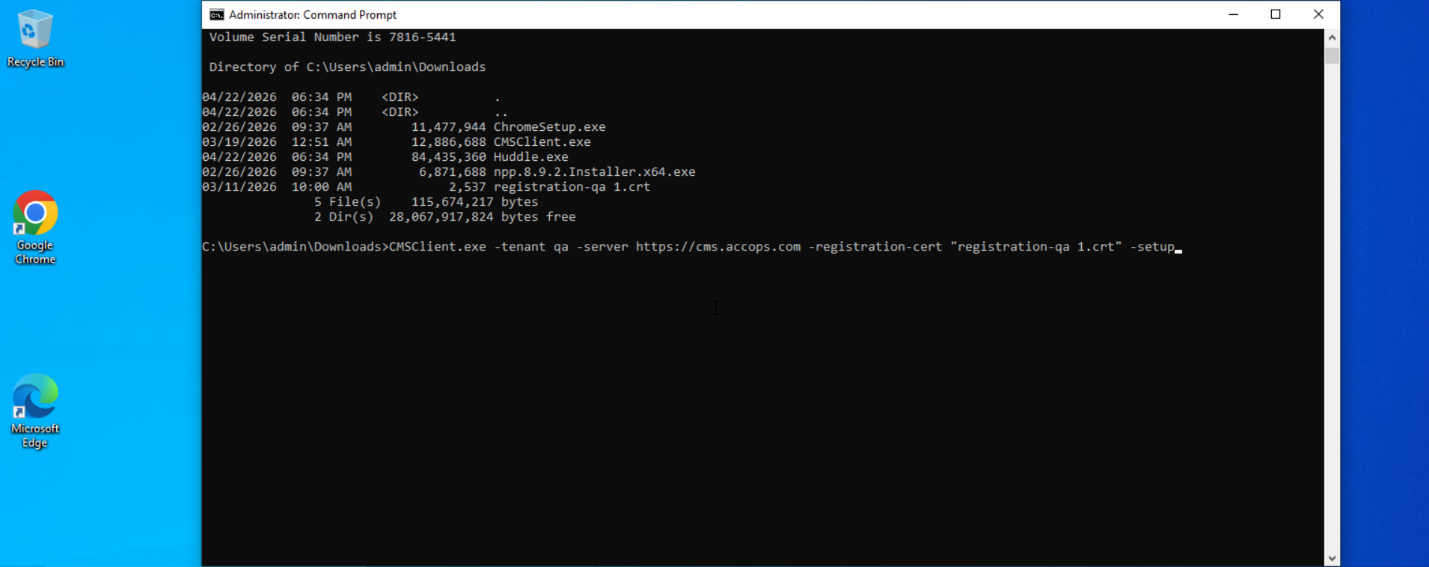
Step 5 — Run the installation command
Execute the following command, substituting the actual values for the environment:
CMSClient.exe -tenant <Tenant_Name> -server <CMS_SERVER_URL> -registration-cert <REGISTRATION_CERTIFICATE_PATH> -setup
Example:
CMSClient.exe -tenant qa -server https://cms.accops.com -registration-cert "registration-qa 1" -setup
Parameters:
| Parameter | Description |
|---|---|
-tenant |
The tenant name configured on the CMS server |
-server |
The full URL of the CMS server |
-registration-cert |
The name or path of the registration certificate |
-setup |
Initiates the installation process |
The CMS agent installation begins immediately after the command is executed.

Agent installed
The CMS agent is now installed on the client machine. The device will register with the CMS server automatically.